


How to prepare a 1kg loaf with a banneton?
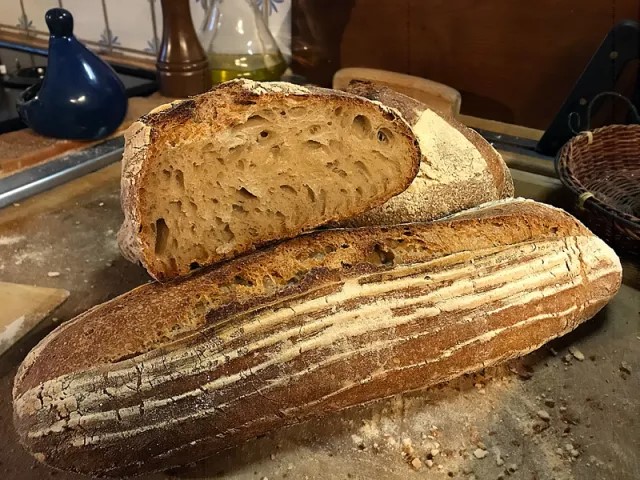

Welcome to the art of artisan baking! In this article, we will explore together the precise techniques for preparing a 1kg loaf using a banneton. You will discover how banneton contributes to the formation of the crust and imprints its characteristic pattern on the bread, while ensuring optimal fermentation and cooking. Whether you are a passionate amateur or a professional looking to perfect your technique, this detailed guide will provide you with all the keys to making delicious and aesthetically pleasing bread.
Choice of ingredients for quality bread
Flour: Foundation of Exceptional Bread
The selection of the flour is crucial in the preparation of high quality bread. It is recommended to opt for flours rich in gluten, such as T65 wheat flour or T150 whole wheat flour, for better elasticity of the dough. For fans of more rustic flavors and different textures, incorporating rye flour or spelled flour can provide a distinctive nuance while enriching the nutritional value of the bread.
The use of organic flours guarantees the absence of pesticides and chemicals, contributing not only to the health of the consumer but also to the preservation of the environment. The traceability of organic flours also ensures consistent quality, a fundamental element for professional baking results.
Water: A Key Ingredient
Water plays an important role in bread making. It is involved in the hydration of flour, the dissolution of yeasts and salts, and influences the temperature of the dough. It is essential to choose spring or filtered water to avoid chlorines and additives present in tap water, which can affect the fermentation of natural leavens and alter the taste of bread.
Yeasts and Sourdoughs: Natural Fermentation Agents
Fresh yeast or natural leaven are essential for good bread rising. Sourdough, a preparation made from naturally fermented flour and water, enriches the flavor of bread and improves its preservation. It is best to cultivate your own sourdough or acquire quality sourdough from a reputable artisan baker to ensure optimal fermentation and authentic taste characteristics.
Enthusiasts can experiment with various sourdough cultures to discover unique flavor profiles, while fresh yeasts are better suited for those seeking a more consistent texture and faster fermentation process.
Salts: More than a Seasoning
Salt is crucial not only to enhance the taste but also to regulate the fermentation of the dough. Unrefined sea salt is preferred for its rich mineral content and lack of chemical processing, providing added value to the nutritional profile of bread. A good measure to keep is to limit the amount of salt to about 2% of the weight of the flour to balance the flavor without inhibiting yeast activity.
FAQ: Frequently Asked Questions
What is the difference between T65 flour and T150 flour?
T65 is a white wheat flour that contains a moderate ash level and is typically used for making baguettes and regular breads. T150, being a wholemeal flour, contains a higher ash level with more fiber, minerals and vitamins, making it ideal for more nutritious breads with a denser texture.
Can you replace yeast with sourdough in all bread recipes?
Yes, but this requires adjustments in preparation methods. Sourdough has a slower rate of fermentation and may require longer resting periods. However, it offers bread with better depth of flavor and longer durability.
How do you know if the water used affects the quality of bread?
If after several tries the bread seems to have texture or taste problems, it might be helpful to change the water source. Try with filtered or bottled water to determine if this improves the end result.
Articles sur le même Sujet

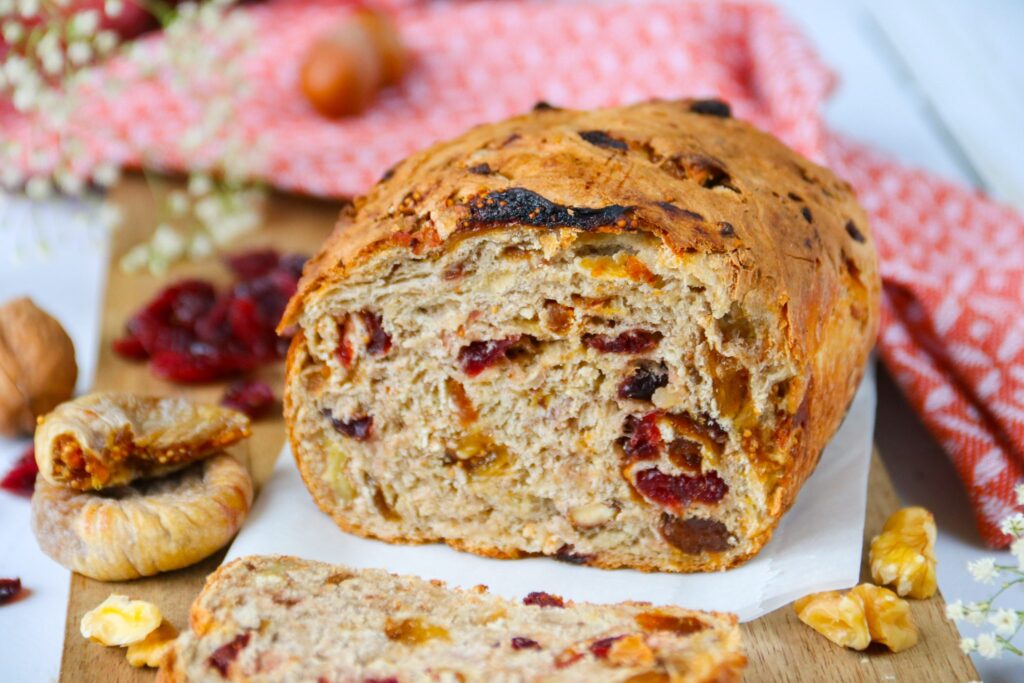
Preparing the dough: techniques and tips
Choice and maintenance of banneton
The choice of a banneton suitable is crucial for successful dough preparation. It is a wicker or rattan utensil whose porous structure allows the dough to breathe. Depending on the type of bread desired, you can opt for a round or oval banneton. Maintaining the banneton is also essential: it must be carefully cleaned and dried after each use to prevent the development of mold and guarantee optimal fermentation of the dough.
Preparing the dough before using the banneton
There preparation of the dough is a fundamental step. Before placing the dough in the banneton, make sure that it is sufficiently kneaded and that fermentation has started. Good hydration and efficient kneading are necessary to develop the gluten network, which will give the bread its structure and texture. Once the first rise is complete, gently shape your dough to prepare it for a second rise in the banneton.
Techniques to Maximize Banneton Efficiency
To maximize the benefits of using a banneton, it is recommended to lightly flour it before placing the dough on it. Using rice flour is particularly effective, as it prevents the dough from sticking without altering its taste or texture. Place the dough seam side up, that is to say with the seam facing up, to facilitate unmolding and to maintain the desired shape during cooking.
FAQs
What type of flour should I use to flour a banneton?
Rice flour is ideal for flouring a banneton because it prevents the dough from sticking while maintaining its lightness and texture.
Can you use a banneton for all types of bread?
Yes, bannetons can be used for a variety of breads, including country bread, wholemeal bread, and specialty breads. However, the size and shape of the banneton must be adapted to the type of bread you want to make.
How to clean and maintain a banneton?
After each use, remove excess flour and let the banneton air dry. Avoid using water to clean a banneton as this can damage its material and encourage the formation of mold.
Articles sur le même Sujet
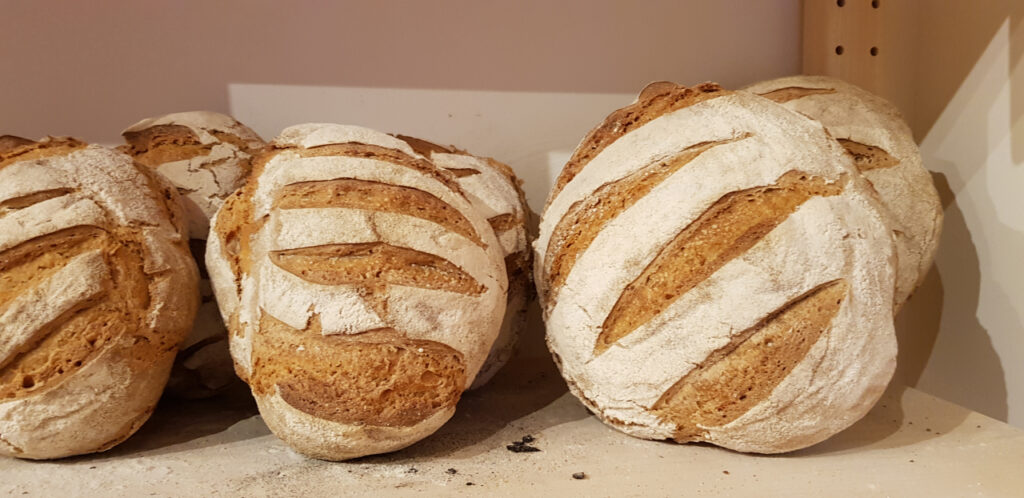
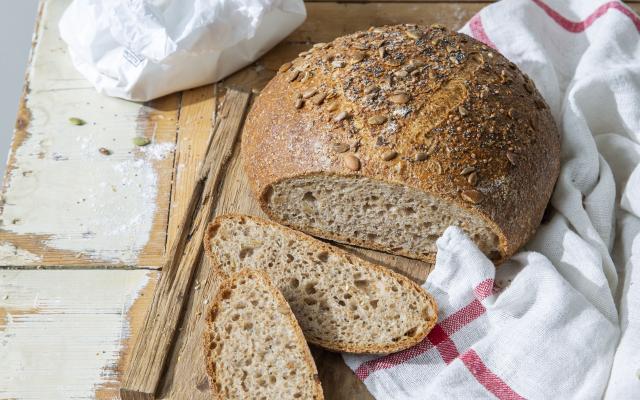
The importance of shaping before using the banneton
What is a Banneton and its Importance in Bakery
THE banneton, an essential tool in the baker’s arsenal, is a shaping basket used to support dough as it rises, just before baking. Mainly made of wicker, it can also be made of synthetic materials or wood. The main function of the banneton is not only to give an attractive shape to the bread but also to help develop proper structure and texture.
Choice of Adapted Banneton
The selection of banneton suitable depends on several factors such as the size and type of bread you want to make. Generally, there are two main shapes: round and oval. Each shape influences the final character of the bread, with specificities in the crust and crumb. Additionally, it is crucial to choose the right coating for the banneton, commonly rice or wheat flour, to prevent the dough from sticking when unmolding.
Preparation and Maintenance of Banneton
Before first use, it is essential to properly prepare the banneton. This process usually involves brushing it lightly with flour to create a non-stick surface. Between uses, it is recommended to dry clean it without using water to preserve its qualities. Storage must be done in a dry place to avoid the formation of mold or other deterioration.
Banneton Shaping Techniques
Shaping the dough in a banneton is a technique requiring precision and delicacy. It is important to place the dough gently in the banneton, ensuring that the smoothest side is in contact with the bottom of the basket, thus allowing a better rise and a nice surface finish after baking. After shaping, the dough must rest and rise in a controlled environment to ensure optimal fermentation.
The benefits of using a Banneton correctly in bread shaping
- Improved crumb structure: thanks to the banneton support, the bread rises evenly.
- Helps create aesthetic patterns on the crust: the texture of the banneton can leave decorative imprints on the bread.
- Fermentation Climate Control: Banneton material helps regulate humidity around the dough.
FAQ: Everything you need to know about using Banneton
How do I choose the right banneton size for my bread?
The size of the banneton should be approximately 1.5 times the volume of your dough before rising to allow for adequate expansion without overflowing.
Can you use a banneton for all types of dough?
Yes, but it is preferable to use specific bannetons depending on the type of dough, particularly more aerated for hydrated doughs.
How do I clean my banneton after use?
It is advisable to dry clean it by removing flour residue and occasionally place it in the sun to eliminate bacteria.
Articles sur le même Sujet
The role of the banneton in the rising of bread
Understanding the importance of bannetons in artisanal baking
THE bannetons, often unknown to bakery enthusiasts, play a crucial role in the production of high-quality breads. These containers, traditionally made of wicker or rattan, but also available in synthetic materials, are used during the last phase of bread fermentation, just before baking.
In professional bakery, the fermentation control is essential to ensure the texture, flavor, and aesthetic appearance of the bread. The banneton supports the dough as it rises, allowing it to maintain its shape and gain a cohesive structure before being transferred to the oven.
The effect of banneton on the texture and shape of bread
One of the most notable advantages of bannetons is their ability to improve the dough structure. By providing a soft but firm support, they prevent the dough from spreading, making it easier to form a sturdy, crispy crust after baking. This characteristic is particularly relevant for bread doughs that tend to be more liquid or loose, such as those used for sourdough bread.
The airy and honeycomb texture so sought after in certain types of bread, such as baguette or country bread, is also favored by the use of a banneton. The dough rests comfortably there, allowing the gluten to relax and the gases produced by the yeast to gradually escape, which promotes the development of uniform cells.
Tips for optimizing the use of banneton
To make the most of the advantages of banneton, some settings must be taken into account:
- Proper flouring: Before each use, it is crucial to flour the banneton well to prevent the dough from sticking to it. Using rice flour is often recommended for its effectiveness in preventing sticking without altering the flavor of the bread.
- Selecting the right type of banneton: The choice of banneton will depend on the shape and size of the desired bread. Round bannetons are perfect for boules of bread, while long and oval ones are ideal for baguettes and elongated loaves.
- Regular maintenance: After each use, it is important to remove flour residue and allow the banneton to dry completely. This preserves the quality of the material and ensures long durability.
Adopting these practices not only ensures optimal results in bread shape and texture, but also contributes to a more enjoyable and less restrictive baking experience.
FAQ on using bannetons
What is the best material for a banneton?
Although wicker bannetons are the most traditional, those made of synthetic material offer a durable and often easier to clean alternative.
Can you use a banneton with all types of dough?
Absolutely, but it is particularly beneficial for hydrated doughs that tend to spread, such as sourdoughs.
How do I preserve the longevity of my banneton?
Good maintenance is crucial: always remove the remains of dough and flour and let the banneton dry in the open air, away from humidity and direct heat.
Articles sur le même Sujet

Baking bread: temperatures and tips
Mastery of the baking bread is essential to obtain a crispy crust and an airy crumb. Combine the good ones temperatures with suitable accessories, such as the banneton, can radically transform the quality of your bread.
The importance of temperature in baking bread
Oven temperature is a key to successful cooking. Generally, a preheated oven between 220°C and 250°C is ideal for most types of bread. This high initial heat level is crucial for the development of the “fog”, creating a nice rise of the bread and a golden crust.
Using the banneton for optimal fermentation
The banneton, a proofing basket, plays a key role in structuring the shape of the bread before baking. It helps maintain the humidity of the dough, thus allowing uniform fermentation. The banneton’s flour coating also prevents dough sticking, allowing for easy release and preserved shape when transferred to the oven.
Tips for maximizing banneton efficiency
- Sprinkle generously with flour : Use rice or corn flour to prevent the dough from sticking.
- Optimal room temperature : Fermentation must take place in a lukewarm environment to promote yeast activity.
- Fermentation time : Let your dough rest in the banneton for quite a long time, usually between one and two hours, depending on the temperature in your kitchen.
Key steps for successful baking with a banneton
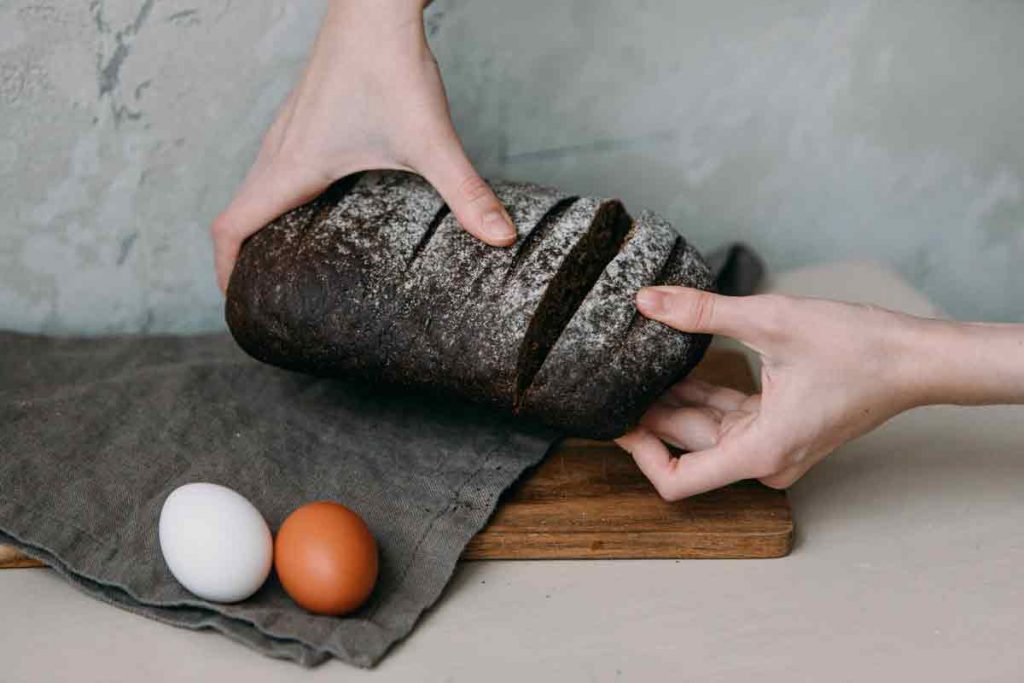
After fermentation, carefully transfer your dough to a preheated baking sheet or pizza stone. Make slits in the top to allow steam to escape easily and to encourage even expansion when cooking. Introduce steam into your oven at the start of baking to allow the crust to remain supple and encourage the bread to rise nicely.
Temperature monitoring and texture improvement
To check doneness, use a bread thermometer. The bread is usually ready when the internal temperature reaches between 90°C and 96°C. Once reached, remove the bread from the oven and let it cool on a rack to prevent moisture from softening the crust.
FAQs
What is the best type of flour for dusting banneton?
Rice flour is often recommended because it contains less gluten and allows for better release of the dough from the banneton without sticking.
How long should you preheat the oven for baking bread?
It is best to preheat the oven for at least 30 minutes to the maximum recommended temperature before baking the bread.
Can you use a banneton for all types of bread?
Yes, bannetons can be used for various types of bread, but they are particularly effective for high hydration breads that benefit from shape support during fermentation.
Unmolding and finishing for perfect bread
Choice and appropriate preparation of banneton
The selection of a banneton adapted is essential to obtain bread with impeccable finishes. Be sure to choose a wicker or food-grade plastic banneton that is the size and shape of the bread you want. Before each use, be sure to flour the banneton well to prevent the dough from sticking. The use of rice flour is recommended for its effectiveness in creating a non-stick barrier between the dough and the banneton.
Shaping and first fermentation techniques
Dough shaping plays a crucial role in successful demoulding. Make sure the dough is taut and smooth after shaping, and carefully place it in the banneton, seam side up. This will allow the dough to maintain a structured shape and develop a smooth surface during fermentation. The period of first fermentation must be adjusted according to the temperature and humidity of your environment, which can greatly affect the texture and ease of release.
Efficient bread release
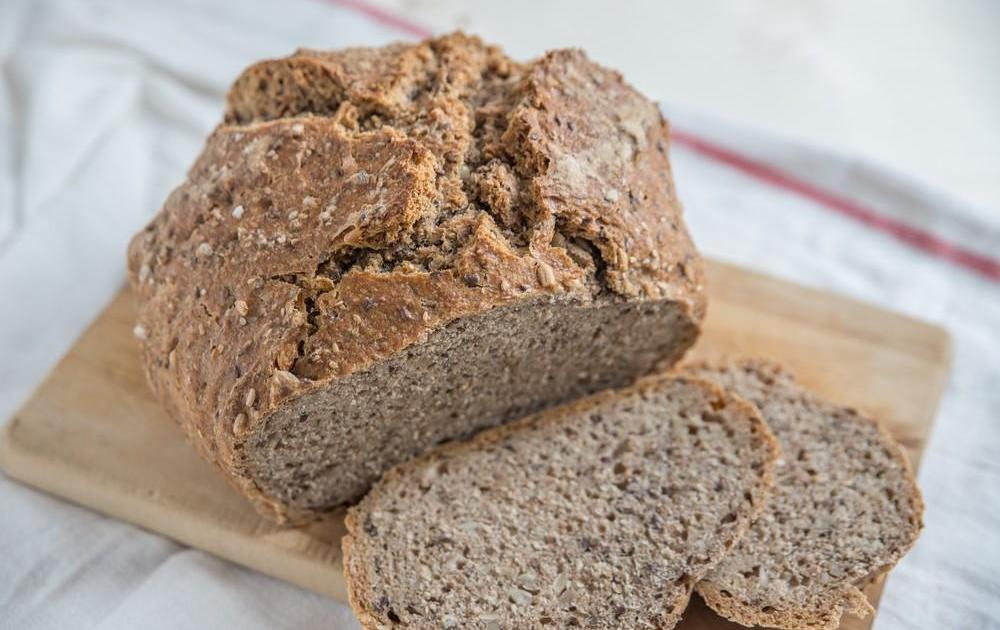
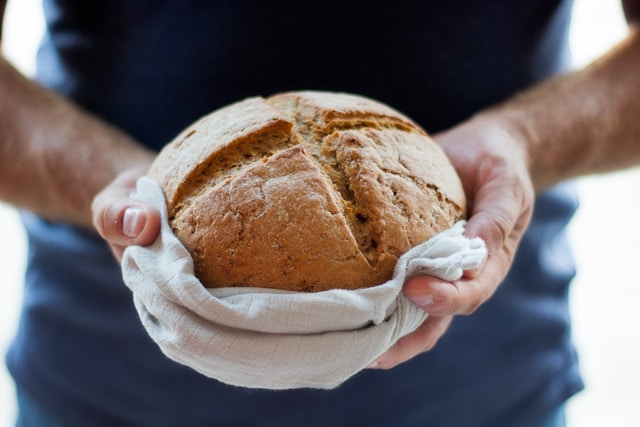
When unmolding, take care to carefully invert the banneton onto your work surface or directly onto the baking tray. A gentle shake can help loosen the dough from the banneton. If the dough seems resistant, do not hesitate to gently tap the sides of the banneton. Once unmolded, the dough must retain the shape given by the banneton, with patterns clearly printed on its surface.
Take care of the finishes for a professional result
After unmolding, the finish of the bread can be improved by a series of incisions made with a sharp blade. These incisions not only enhance the appearance of your bread but also control the way it will open during baking. Particular attention should be paid to the depth and angle of the incisions to ensure uniform expansion of the bread.
FAQs
1. What type of flour is recommended for flouring banneton?
Rice flour is highly recommended for flouring banneton because it has superior non-stick properties that make unmolding the bread much easier.
In addition to flouring the banneton well before each use, make sure that the dough is sufficiently hydrated and correctly shaped to avoid the risk of sticking.
The duration of the first fermentation can vary depending on the recipe and ambient conditions, but it generally lasts between 1 and 1.5 hours at room temperature. Adapting this time according to the activity of your sourdough and the temperature of your kitchen is crucial for optimal results.