


How to make rustic bread with a banneton?
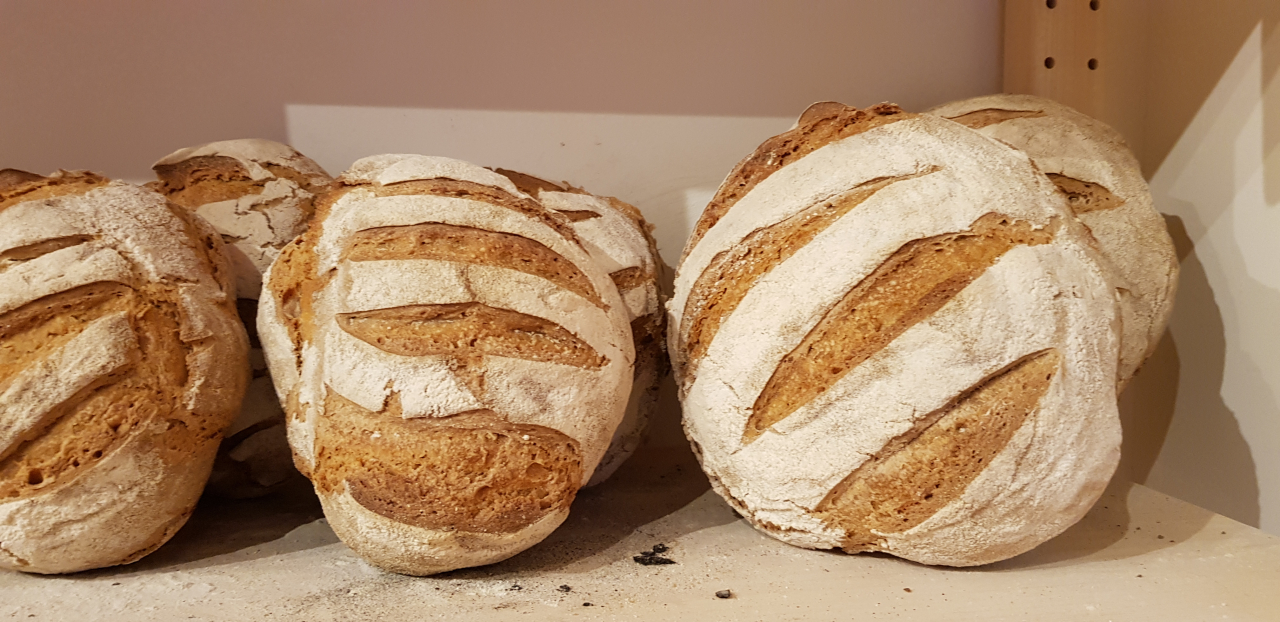

Discovering the secrets of authentic rustic bread through the use of a banneton can transform your baking experience. In this article, we’ll explore professional techniques for mastering the art of making bread with a crisp crust and airy crumb, using a banneton to perfect its shape and texture. Whether you’re an enthusiastic beginner or an experienced baker, these tips will help you make irresistible rustic bread worthy of an artisan bakery.
Choosing the right banneton for your rustic bread
In the world of artisanal baking, the choice of banneton proves crucial for obtaining superior quality rustic breads. Traditionally used to support dough during the final rise before baking, banneton helps form the structure and texture of bread. This article aims to explore the different types of bannetons available and the selection criteria adapted to the production of rustic breads.
Understanding Banneton Materials
Bannetons can be made from a variety of materials, each with their own advantages. The most common materials are rattan, wood and food grade plastic. The bannetons in rattan are highly prized for their ability to absorb moisture, which is essential for the formation of a crispy crust. Wooden models offer durability and a pleasant aesthetic while plastic ones are appreciated for their ease of cleaning and uniformity of shape.
Select the Right Size and Shape
The size and shape of the banneton must correspond to the type of bread you want to make. Round bannetons are ideal for classic bread balls while oval bannetons are perfect for longer loaves. It is important to choose a banneton slightly larger than the size of your dough in its final state after rising, allowing the dough to breathe and expand properly.
Practical Considerations for Maintenance
Maintaining your banneton is essential to ensure the quality and safety of your breads. Bannetons should be properly cleaned and dried after each use to prevent the formation of mold and unwanted odors. Bannetons made from natural materials such as rattan and wood require thorough drying and may benefit from light exposure to sunlight to remove any residual moisture.
FAQ: Frequently Asked Questions
- How long does a banneton last? The service life mainly depends on the material and maintenance. A well-maintained banneton can last several years.
- Can you use all types of flour with a banneton? Yes, however some wetter or stickier flours may require more frequent grooming of the banneton with flour or rice to prevent the dough from sticking.
- Is it necessary to line the banneton? Lining the banneton with a clean cloth can help prevent the dough from sticking and makes unmolding easier, especially for very hydrated doughs.
Articles sur le même Sujet
Preparing the dough: techniques and tips
Selection of ingredients for authentic rustic bread
The quality of ingredients plays a crucial role in the preparation of rustic bread. Favoring wholemeal or semi-wholemeal flours such as T80 or T110 wheat flour offers a richer texture and flavor. The use of a Natural leaven rather than industrial yeast is also essential; this not only improves the taste but also contributes to the preservation of the bread.
Hydration of the dough: key to texture
Hydration is decisive in making rustic bread with crispy crust and an honeycomb crumb. A hydration level around 75% is ideal for most wholemeal flours. This may require adjustments based on the water absorption specific to the flour used.
Kneading technique and first pointing
Kneading should be done carefully to avoid overheating the dough, which could affect fermentation. A “frasage” type kneading at the start of the process allows the ingredients to be gently integrated. Following this, the dough must rest for a proofing period of 4 to 5 hours at room temperature, thus promoting the development of flavors and the structure of the gluten.
Formation of the dough and second scoring
After the first scoring, divide the dough into equal sized pieces. Shape gently so as not to completely degas the dough. A second proofing in the tray, covered with a damp cloth, allows the dough to finalize its fermentation, thus improving the texture and aromatic profile of the bread.
Cooking: final step towards excellence
Cooking must be preceded by steaming – adding steam at the start of cooking – to allow the crust to remain supple during the first minutes and encourage the expansion of the bread. The ideal temperature varies between 230°C and 250°C for the first 10 minutes, followed by a reduction to 200°C to complete cooking.
FAQs
What is the difference between yeast and sourdough?
Sourdough is a culture of yeasts and bacteria naturally present in flour and ambient air, providing a distinct texture and taste to bread, while industrial yeast produces a rapid and predictable rise.
How to adjust the hydration of the dough depending on the flour used?
Start with a lower water ratio and gradually increase until you achieve the desired texture. Absorption capacity can vary significantly between different types of flour.
What are the advantages of a second score?
The second point allows better stabilization of the gluten structure, contributes to a more airy crumb and reinforces the aromas of rustic bread.
Articles sur le même Sujet
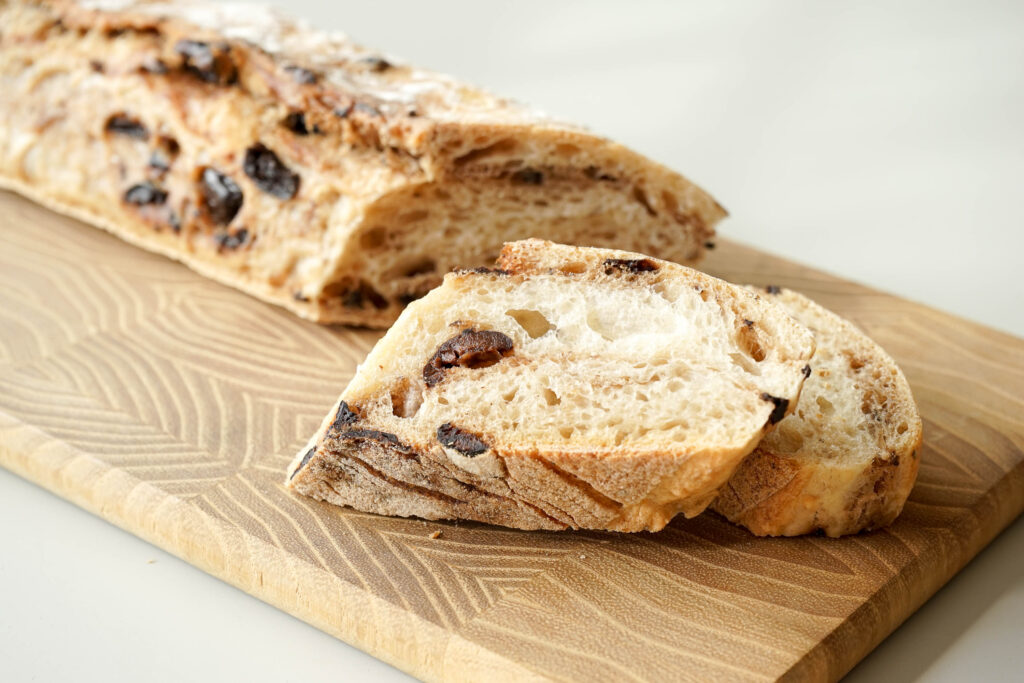
The importance of resting time in banneton
Rustic bread: The importance of resting time in banneton
The banneton is a wicker basket or other natural material, traditionally used in the making of rustic bread for the final resting phase of the dough, also called final fermentation or proofing. This process is crucial to obtain a texture and taste characteristic of traditional bread.
Understanding the role of banneton
The banneton is not only used to maintain the shape of the bread during proofing. It also contributes to the quality of the crust and the structure of the crumb. In fact, the spirals of the banneton print a pattern on the dough which will encourage the formation of a beautiful crust. Additionally, banneton’s natural materials absorb excess moisture from the dough, which improves the texture of the crust, making it crispy and flavorful.
Optimization of rest time
- Ambient temperature : Standing time generally varies between 1 and 2 hours at room temperature. This allows the dough to develop enough strength and volume.
- Refrigerated fermentation : Another method is to let the dough rest in the banneton in the refrigerator for 12 to 24 hours. This slow fermentation improves the aromas of the bread and its texture.
It is essential to cover the banneton with a linen or cotton fabric to protect the dough and prevent it from drying out.
The impact of resting time on bread quality
The resting time in the banneton has a direct impact on the development of gluten and the fermentation of the dough. Adequate fermentation ensures not only good volume and rising of the bread, but also the development of full aromas and a pleasant texture. Insufficient or excessive resting can compromise the structure of the bread, make the crust less crisp and negatively affect the flavor.
FAQs
1. What type of flour is recommended for rustic bread?
For authentic rustic bread, it is preferable to use T65 or T80 type flour. These flours retain some of the wheat germ and bran elements, enriching the bread with fiber and nutrients while giving it a distinct texture.
2. Can we use a plastic banneton?
Although wicker bannetons are the most traditional, there are plastic alternatives designed to simulate optimal resting conditions. These plastic bannetons are easy to clean and can be a practical option, but they may not offer the same moisture absorption capacity as those made from natural materials.
3. How to clean and maintain a banneton?
After each use, it is important to let the banneton dry thoroughly before brushing it to remove flour residue. Avoid washing the banneton with water so as not to alter the natural properties of the material and be careful when cleaning to preserve its shape and functionality.
Articles sur le même Sujet
Shaping bread: effective methods for a perfect result
The Fundamentals of Rustic Bread Making
The shaping of rustic bread is a crucial step that not only dictates the aesthetic appearance of the bread but also influences its texture and honeycomb structure. The shaping methods must be mastered to guarantee an impeccable visual and gustatory result.
Firstly, it is essential to work the dough delicately and precisely. After the first rise, it is essential to degas the dough gently to evacuate excess carbon dioxide without destroying the gluten structure formed. Too much pressure could compromise the airy texture so sought after in a rustic bread.
Manual Shaping Techniques
One of the most popular techniques for shaping rustic bread includes the “folding” method, which involves folding the dough over itself several times in order to align the gluten chains and strengthen the structure of the bread. This contributes to a more honeycombed crumb and a crispier crust.
The use of the “boudinage” technique is also widespread. It involves rolling the dough into an elongated shape to create surface tension, which helps maintain the shape of the bread when baking. This process requires exacting precision to ensure that the tension is uniform across the entire surface of the dough.
Use of Bakery Tools in Shaping
The use of bannetons or proofing baskets is recommended for rustic doughs. These tools not only maintain the shape of the bread during the final fermentation, but also add texture and decorative pattern to the crust through the spirals or other designs woven into the banneton.
The grignettes, these small tapered blades, are essential for scoring the bread before baking, allowing the dough to expand correctly and in a controlled manner, thus promoting the formation of a beautiful baking ear typical of rustic breads.
Fermentation and Cooking Control
Shaping must also take into account the remaining resting and fermentation time. Adequate post-shaping fermentation ensures uniform distribution of cells in the crumb and improvement in the flavor and texture of the bread. A controlled environment, with adequate temperature and humidity, is vital for optimal bread development.
Baking is the final step which will crystallize all the baker’s efforts. The bread should be introduced into a properly preheated oven, with steam present at the start of baking to allow maximum expansion of the bread and development of a crisp, rich crust.
FAQ on Shaping Rustic Bread
How important is the choice of flour in making rustic bread?
The quality and type of flour directly impacts the workability of the dough and the final result of the bread. A flour with a good protein level is generally recommended for rustic breads, because it supports long fermentation better and contributes to the elasticity of the dough.
How long should fermentation last after shaping?
Fermentation time may vary depending on room temperature and recipe used. In general, a period of 1 to 2 hours at room temperature is sufficient for the dough to fully develop its aromas and texture.
Can you prepare the dough in advance before shaping it?
Yes, many bakers prepare the dough in advance and store it in the refrigerator during the first fermentation. This method, called autolysis, allows enzymes to work on the flour for longer, improving the texture and taste of the finished bread.
Articles sur le même Sujet
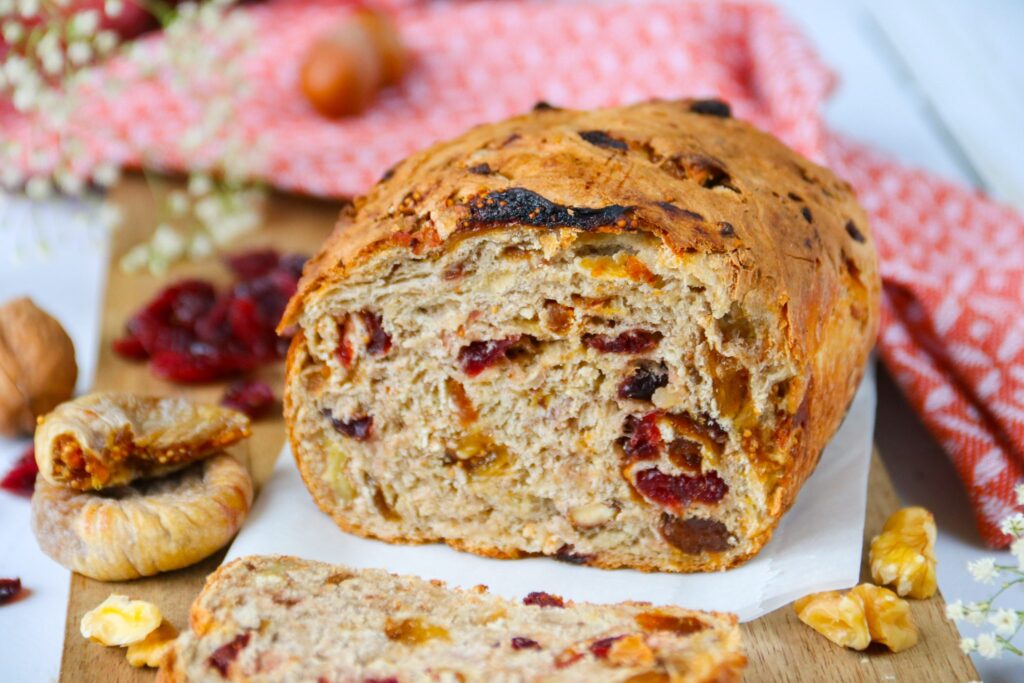
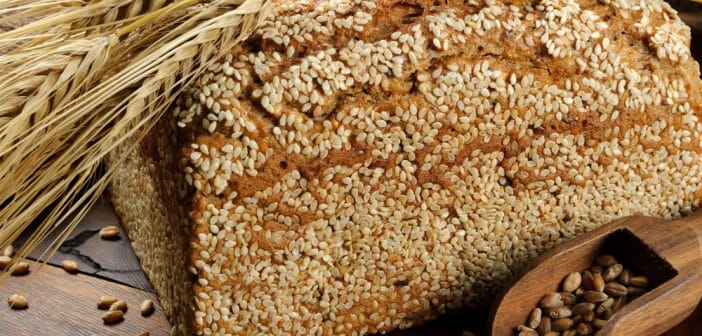
Baking rustic bread: optimal temperature and duration
The Basics of Baking Rustic Bread
To master the rustic bread baking, it is essential to understand some basic principles that govern the cooking process. First of all, oven temperature is crucial. An oven preheated to a high temperature (between 230°C and 250°C) allows the dough to rise quickly and form a crispy crust. Using steam at the start of baking also contributes to this crust by preserving the elasticity of the dough surface.
Choice of Ingredients for Optimal Results
The choice of ingredients plays a determining role in the success of your rustic bread. Wholemeal or semi-wholemeal flour, often used for this type of bread, requires appropriate hydration because it absorbs more water. In addition, the incorporation of natural sourdough not only promotes rising but also the development of deep and complex flavors, characteristic of rustic bread.
Kneading and Shaping Techniques
The purpose of kneading is to activate the gluten contained in the flour, which will give the bread its texture and structure. For rustic breads, moderate kneading is generally recommended to preserve the irregular texture of the crumb. Shaping must also be carried out carefully so as not to completely degas the dough, thus maintaining a honeycomb texture.
Fermentation Management
Fermentation is a central aspect of rustic bread making. A long fermentation, ideally carried out at low temperatures, will improve the structure of the bread and intensify the aromas. Patience is essential: rushed fermentation can compromise the quality of the final bread.
Monitoring and Adaptation During Cooking
Careful supervision is necessary during cooking. Each oven being different, it is crucial to adapt the cooking time and temperature according to the reactions of the dough and the specific characteristics of your equipment. An effective way to judge whether the bread is well done is to tap the bottom of the bread: a hollow sound indicates that the bread is ready.
FAQs
1. How important is steam in baking rustic bread?
Steam plays a crucial role at the start of baking rustic bread by preventing the crust from forming too quickly. This allows the dough to continue to rise and develop a crisp, golden crust after the steam evaporates.
2. How long should you knead the dough for rustic bread?
For rustic bread, kneading for 10 to 15 minutes is usually sufficient. This time may vary depending on the strength of the flour used and the kneading method (manual or mechanical).
3. Can you use all-purpose flour to make rustic bread?
It is possible to use all-purpose flour, but for optimal results, it is recommended to mix all-purpose flour with wholemeal or rye flour to reproduce the characteristic textures and flavors of rustic bread.
Banneton maintenance for long-lasting use
Cleaning after each use
To guarantee the longevity and efficiency of your banneton, it is crucial to clean it thoroughly after each use. Start by removing any dough residue using a specific brush or a soft toothbrush to avoid damaging the natural fibers of the banneton. It is important not to use water, as moisture can lead to mold growth.
Once the residue has been removed, allow the banneton to air dry completely, preferably in a dry, well-ventilated area. Avoid direct exposure to sunlight which could warp or damage the wood or fibers.
Periodic disinfection
It is recommended to disinfect the banneton periodically to eliminate any bacteria or mold that could develop there. An effective method is to use a low concentration of white vinegar diluted in water. Lightly spray this solution on the banneton, then let it air dry completely.
Another option is to place the banneton in an oven preheated to 100°C for 10-15 minutes, which will help kill bacteria without damaging the banneton, provided you do not extend the heating time.
Proper storage
For a storage optimal, make sure the banneton is completely dry before storing it. Cool, dry places, protected from light, are ideal to avoid any development of mold. Do not store bannetons made of plastic or non-natural materials near heat sources, such as radiators, as this may distort them or alter their shape.
It is also advisable to wrap the banneton in a clean cloth to protect it from dust while allowing air to circulate around it. Do not stack the bannetons on top of each other without intermediate protection to avoid marking the fibers.
Special advice for wicker and plastic bannetons
Bannetons made ofwicker require special attention as they are more likely to absorb moisture and odors. Good ventilation is essential, as well as regular inspection to check for mold or decay. For bannetons in plastic, avoid contact with sharp or abrasive objects that could create scratches on the surface, where bacteria could lodge.
FAQs
- How do I know if my banneton is too worn to use?
If you notice significant changes in the texture or shape of the banneton, or if mold appears and cannot be completely removed, it is time to replace it. - Can you machine wash a banneton?
No, machine washing is strongly discouraged because it can damage the fibers of the banneton and deform its structure. - Is it necessary to flour banneton before each use?
Yes, flouring the banneton before placing your dough on it prevents it from sticking and makes it easier to unmold the bread after fermentation.