


How to prepare delicious bread with organic flour and banneton?
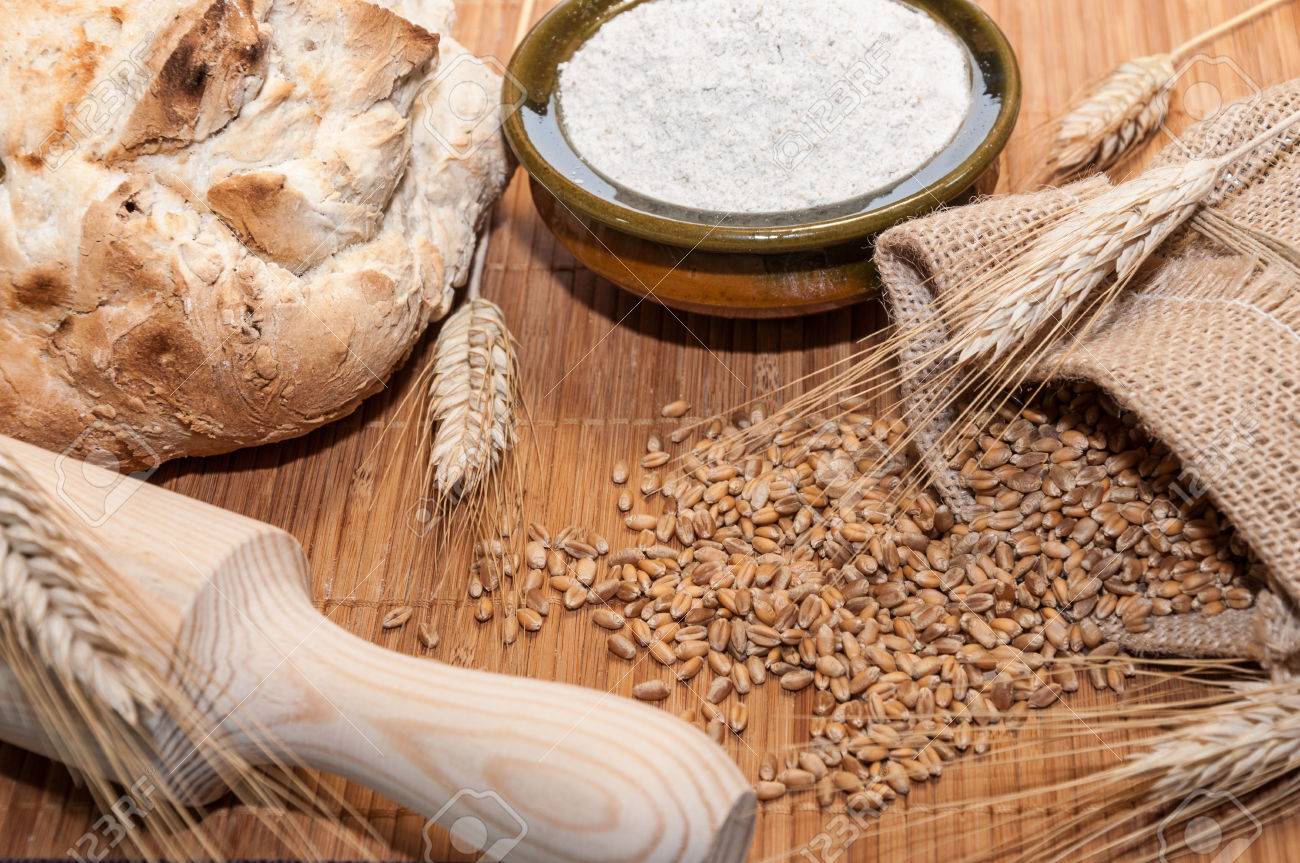

In this article, we’ll explore artisanal techniques for making delicious bread using organic flour and banneton. Discover the precise steps, from flour selection to fermentation control, to obtain an airy crumb and a crispy crust. Transform your kitchen into a traditional bakery and treat yourself to bread that is as healthy as it is tasty.
Choosing Organic Flour for Quality Bread
The choice of flour in organic baking
Flour is the cornerstone of all good bread, and choosing one organic flour can transform a simple loaf into an exceptional taste and health experience. Different types of organic flour are available on the market, each bringing its own flavor profile, texture and nutritional benefits to your baking creations.
Among the most common options, we find the wheat flour, rye flour, and ancient grain flours such as spelled and kamut. These varieties not only enrich the taste of your breads, but they also offer distinctive health benefits, thanks to being grown without pesticides or synthetic chemicals.
Understanding organic certifications
To ensure the organic quality of a flour, it is essential to check its certifications. These are issued by independent organizations which certify that the flour meets the strict standards of organic farming. These standards guarantee not only the absence of chemical contaminants, but also compliance with farming practices promoting biodiversity and soil health.
In France, the label AB (Organic Agriculture) is a reliable indicator, while at the international level, labels such as USDA Organic in the United States or European Organic are also quality references.
Impact of grinding on bread quality
The type of flour grinding plays a crucial role in the final quality of the bread. The grind can be fine or coarse, whole or white, each type influencing the taste and texture of the bread. Wholemeal flours, for example, contain the germ and bran of the grain, thus offering more fiber, vitamins and minerals. However, they can also make bread denser and often require adjusted hydration during kneading.
For lighter, airier breads, white flour might be preferable, but it offers less nutritional benefits than wholemeal or semi-wholemeal flours. It is important for bakers to balance sensory and nutritional qualities based on the preferences and needs of their consumers.
The practice of Natural leaven with organic flours is also a popular technique for improving the aromatic profile of bread, in addition to increasing its natural preservation and strengthening the assimilation of nutrients by the body.
FAQ: Popular questions about organic flours
What is the difference between organic flour and conventional flour?
Organic flour is produced without the use of synthetic chemicals such as pesticides or artificial fertilizers. This not only preserves soil quality and biodiversity, but also ensures that the grain is free of these potentially harmful substances.
Can we use organic flours for all types of bread?
Yes, organic flours can be used for a wide range of breads, from traditional baguettes to specialty grain-rich breads. The important thing is to choose the type of flour suited to the desired texture and taste.
Are organic flours better for your health?
Organic flours are often more nutritious because they retain more nutrients during the less intensive growing and milling process. They also help reduce exposure to pesticide residues, thus promoting a healthier diet.
Articles sur le même Sujet
Using the Banneton to Shape Bread
What is a Banneton and Why Use It?
THE banneton, also known as brotform in Germany, is an essential accessory in the art of artisanal baking. This utensil is intended for fermenting dough before cooking. Usually made of wicker or natural materials such as rattan, bannetons help maintain the shape of the bread while allowing the dough to breathe. The use of this support promotes the formation of a beautiful crust and improves the structure of the bread.
Correct preparation of Banneton before use
Adequate preparation of banneton is crucial to prevent the dough from sticking. It is recommended to dust the banneton generously with flour before each use. For beginners, using a mixture of rice flour and wheat flour can be particularly effective in preventing sticking. Also be sure to shake and brush the banneton after each use to remove dough and flour residue.
Fermentation Techniques in Banneton
The art of fermentation in a banneton requires precision. Place the prepared dough seam side up in the floured banneton. This allows the dough to retain its shape and makes unmolding easier by keeping the seam underneath when transferring to the baking sheet. The dough must ferment in a controlled environment, ideally between 24°C and 28°C. Cover the banneton with a damp cloth or a specific lid to prevent the surface from drying out.
Transferring the Bread from the Banneton to the Oven
Transferring the dough from banneton in the oven is a delicate step that requires delicacy and speed. Carefully invert the banneton onto a prepared baking sheet or directly onto a bread server. It is essential to carry out this operation quickly so that the dough does not begin to sag, which would affect the volume and shape of the final loaf.
Banneton Maintenance for Long Life
Proper maintenance is essential to prolong the life of your banneton. After each use, remove excess flour and let the banneton air dry. Avoid washing it with water or detergents, as moisture can alter the shape and functionality of the banneton. If mold or odors occur, brief exposure to sunlight can help sanitize and deodorize the product.
FAQs on Using Banneton
1. Can we use a banneton for all types of bread dough?
Yes, banneton can be used for a wide variety of bread doughs, including hydrated doughs. However, it is important to choose the right type and size of banneton depending on the type of bread you want to make.
2. How to prevent the dough from sticking to the banneton?
To prevent the dough from sticking, it is essential to flour the banneton well before each use and to choose a suitable flour, such as a mixture of rice and wheat flour. Also ensure good aeration of the dough during fermentation.
3. How long can the dough be left to ferment in a banneton?
Fermentation time depends on the recipe and environmental conditions, but in general it should not exceed 4 to 5 hours at room temperature. For slower, more controlled fermentation, you can also place the banneton in the refrigerator.
Articles sur le même Sujet

Preparing the Dough: Techniques and Tips
Choice of Ingredients for a Quality Dough
The selection of ingredients is crucial to making high-quality bread or pastry dough. The use of flour adapted for the type of bread targeted, such as wheat flour for traditional bread, or rye flour for denser breads, greatly influences the texture and final taste. It is imperative to consider the freshness of the yeast, whether fresh or dry, because it is the engine of fermentation necessary for the dough to rise.
Water, preferably filtered and at room temperature, should be added gradually to control the consistency of the paste. The introduction of salt must be done with caution, as an excessive amount can inhibit the action of the yeast.
Kneading and Manipulation Techniques
Kneading the dough is a decisive step which develops the gluten, responsible for the elastic and airy texture of the bread. This operation can be done by hand or with a mixer. Kneading for at least 10 to 15 minutes is essential to obtain a homogeneous and elastic dough.
After kneading, shaping the dough is equally important. Depending on the desired shape, several techniques can be applied to shape sticks, balls or other specific shapes. Adequate rest between each shaping allows the dough to relax and makes work easier.
Fermentation: Control of Time and Temperature
Fermentation is a key phase where the dough must be allowed to rest in a controlled environment. The optimal temperature for good rising is around 24°C. This step can vary from a few hours to an entire night, depending on the type of bread and the desired texture.
It is also possible to adopt a slow fermentation in the refrigerator, which allows more complex aromas to develop and better preservation of the bread once baked.
Baking: Final Step for a Perfect Crust
Cooking must be adapted to the type of dough prepared. A high temperature (between 220°C and 250°C) is generally recommended to obtain a golden crust and crispy. Adding steam at the start of baking helps develop a thicker, more flavorful crust, while allowing the dough to continue to rise for the first few minutes.
Baking time will vary depending on the size and shape of the loaf, so it is crucial to monitor cooking to prevent the bread from burning or remaining too pale.
Articles sur le même Sujet
Fermentation: Key Steps for Better Flavor
Understanding the Fermentation Process
There fermentation is an essential biochemical transformation that modifies the flavor, nutritional profile and digestibility of foods. During this process, microorganisms such as bacteria and yeast convert sugars and starches in food into alcohol or organic acids. This biochemical reaction is particularly crucial in the preparation of premium baked goods.
Microorganisms at the Heart of Fermentation
The key candidates of the fermentation are probably yeasts and lactic acid bacteria. For bakeries, Saccharomyces cerevisiae yeast is frequently used for its ability to produce carbon dioxide and alcohol during alcoholic fermentation. Lactic acid bacteria, on the other hand, are responsible for lactic fermentation, creating acids that add flavor and improve the preservation of baked goods.
Mastering the Stages of Fermentation
To get the most out of the fermentation process, it is crucial to control the following conditions:
- Temperature: An optimal temperature must be maintained to promote the activity of microorganisms without killing them.
- Humidity: An environment that is too dry or too humid can negatively impact fermentation.
- Time: The fermentation time must be adjusted according to the type of product and the desired texture.
- Nutrients: Microorganisms require adequate nutrients for their growth and fermentation activity.
Optimization of Fermentation Conditions
Successful fermentation is often a question of a delicate balance between these different factors. Using inhibitors or catalysts can help regulate fermentation activity. Experienced bakers will know how to adjust these parameters according to the desired results, thus influencing the taste, texture and nutritional quality of the breads.
Bakery Fermentation FAQ
How important is temperature in bread fermentation?
Temperature plays a crucial role in influencing the rate of biochemical reactions in the dough. Too low a temperature slows fermentation, while too high a temperature can kill yeast.
How does fermentation time affect bread quality?
A longer fermentation time allows for fuller flavor development and improves the texture of the bread. This also promotes better digestibility of complex carbohydrates.
What are the essential nutrients for good fermentation?
Yeasts and lactic acid bacteria need sugars, amino acids, minerals and vitamins to grow properly. The quality of the flour as well as the other ingredients added to the dough directly influence the availability of these nutrients.
Articles sur le même Sujet
Baking Bread: Ideal Temperature and Duration
The Basics of Bread Baking Temperature and Time
Understanding the basic principles of baking bread is essential to achieving the perfect loaf. THE type of bread, there size and the composition of the dough directly influence the temperature and time required. In general, the oven temperature varies between 220°C and 250°C, and the duration can extend from 20 to 45 minutes depending on the specific characteristics of the dough and your preferences in terms of texture and crust color.
Understanding the Impact of Temperature
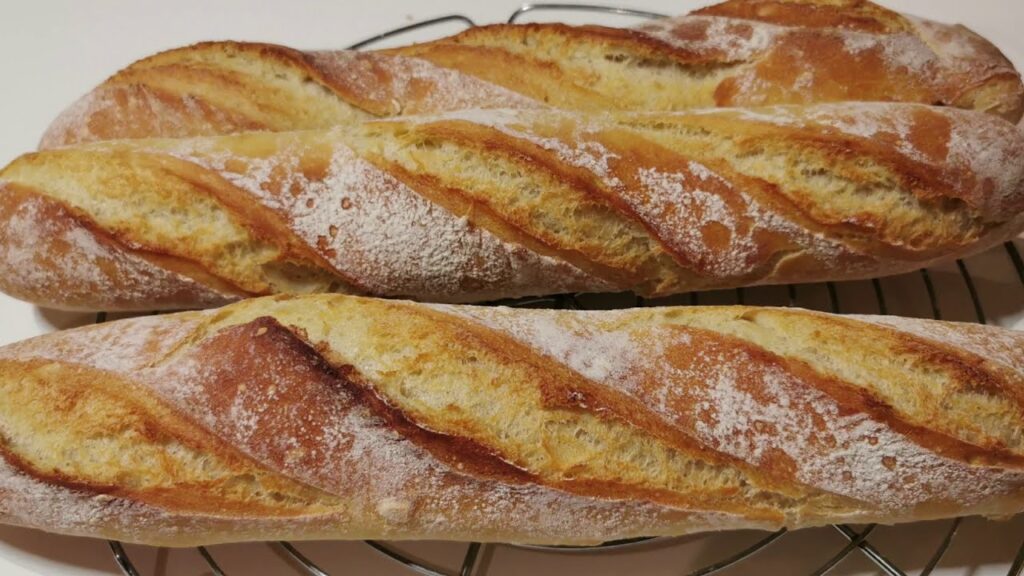
Temperature is a key factor in baking bread. A high temperature allows the dough to rise quickly, forming a crispy, golden crust. However, too high a temperature can char the outside of the bread before the inside is completely cooked. Ideally, for a classic bread like baguette, it is recommended to start cooking at 240°C and reduce the temperature slightly after the first few minutes. This control stabilizes the rise and ensures uniform cooking.
Cooking Time: Finding the Balance Point
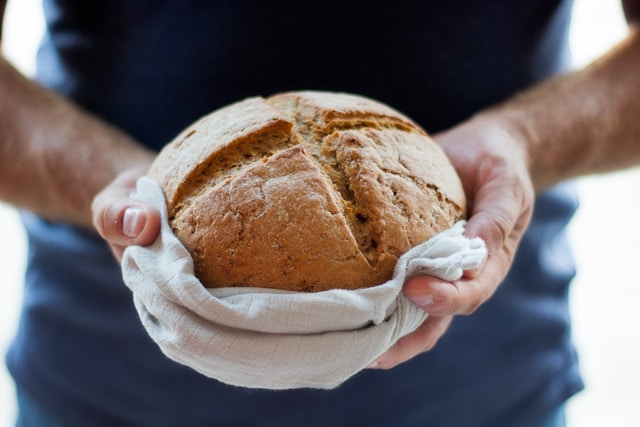
The cooking time, for its part, must be adjusted according to the volume and type of flour used. Wholemeal bread, for example, often requires a longer baking time at a slightly lower temperature, to allow for complete baking without drying out the crust. A duration of 35 to 40 minutes has 220°C is typical for this type of bread. To test for doneness, tap the bottom of the bread: a hollow sound indicates that the bread is well cooked.
Using Steam for a Perfect Crust
Adding steam at the start of baking is a technique used to improve crust quality. Steam allows the surface of the bread to remain supple longer, giving the dough more time to rise before the crust begins to form. To do this, you can add a heat-resistant container filled with water to the oven or use the steam function if your oven is equipped with one.
FAQs
1. What temperature is ideal for baking cereal bread?
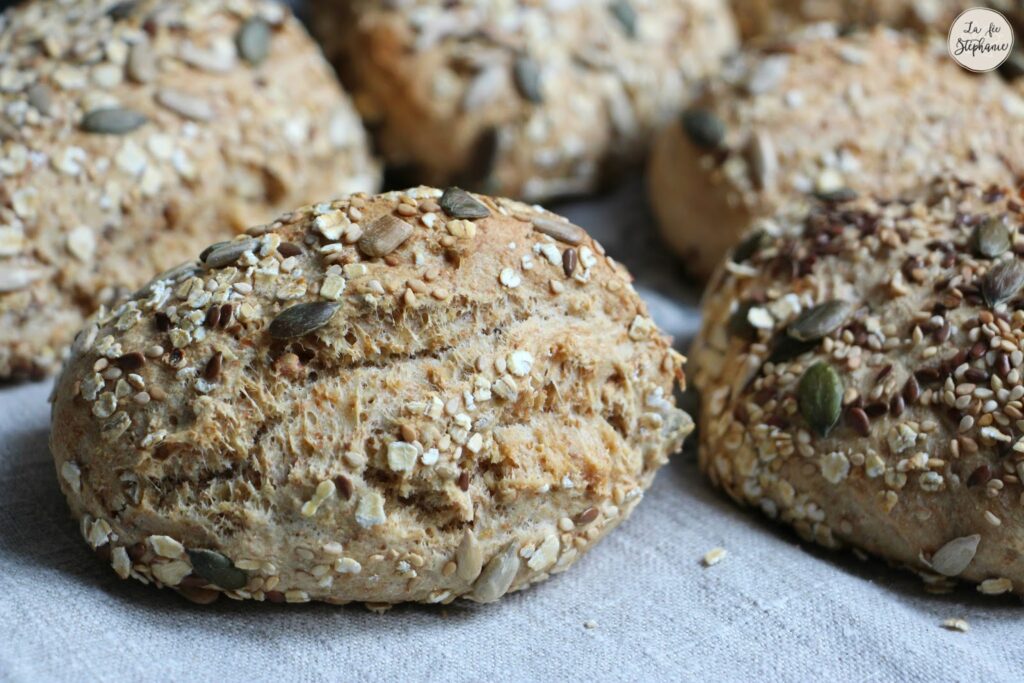
Answer: For cereal bread, a temperature of 210°C to 220°C is often recommended, with an adjusted cooking time to allow the diversity of grains to cook well without burning.
2. How do I know if my bread is sufficiently cooked inside?
Answer: Besides testing for hollow sound by tapping the bottom of the bread, using a bread thermometer can be very helpful. A loaf is generally considered well done when the internal temperature reaches approximately 190°C to 200°C.
3. Is it necessary to preheat the oven for baking bread?
Answer: Yes, preheating the oven is essential to ensure that the desired temperature is reached as soon as the bread is introduced. This helps maximize the dough’s rise and form a nice crust. Preheat your oven at least 15 to 20 minutes before baking your bread.
Tips for Keeping Your Organic Bread Fresh Longer
1. Choosing the right packaging
Packaging plays a crucial role in maintaining the freshness of the organic bread. To maintain the necessary humidity and protect the bread from air, it is recommended to use a fabric or linen bag. These materials allow the bread to “breathe” while retaining moisture, which is essential to prevent drying out.
2. Temperature and storage conditions
Storing organic bread at room temperature in a cool, dry place is ideal. Absolutely avoid refrigerators, as the cold accelerates the staleness of bread. If necessary, breads such as sourdough can benefit from storage in wooden or ceramic bread boxes that regulate humidity.
3. Freezing techniques for a long time
Freezing is a great option for extending the life of your organic bread without losing quality. Slice the bread before freezing for easier use later. Be sure to use airtight freezer bags to avoid freezer burn, and store the bread for up to three months.
4. Daily management and reheating
To consume bread that is a few days old, lightly reheating in the oven or toasting can restore its crisp texture and aroma. Lightly moisten the crust with water before baking to revive its flavor and texture.
FAQs
- How do you know if organic bread is still fresh?
Observe the texture and smell. Fresh bread will have a crispy crust and a soft crumb. A sour smell may indicate that it is starting to pass its peak. - Can you refreeze organic bread once thawed?
It is possible to refreeze organic bread that has already been thawed, but this could affect its quality, particularly its texture and flavor. It is best to consume it quickly after the first defrosting. - Are there any natural alternatives to plastic bags for freezing?
Yes, beeswax wraps or reusable silicone bags offer sustainable and efficient alternatives for freezing organic bread while reducing the ecological footprint.