


How to make delicious wholemeal bread with a banneton?
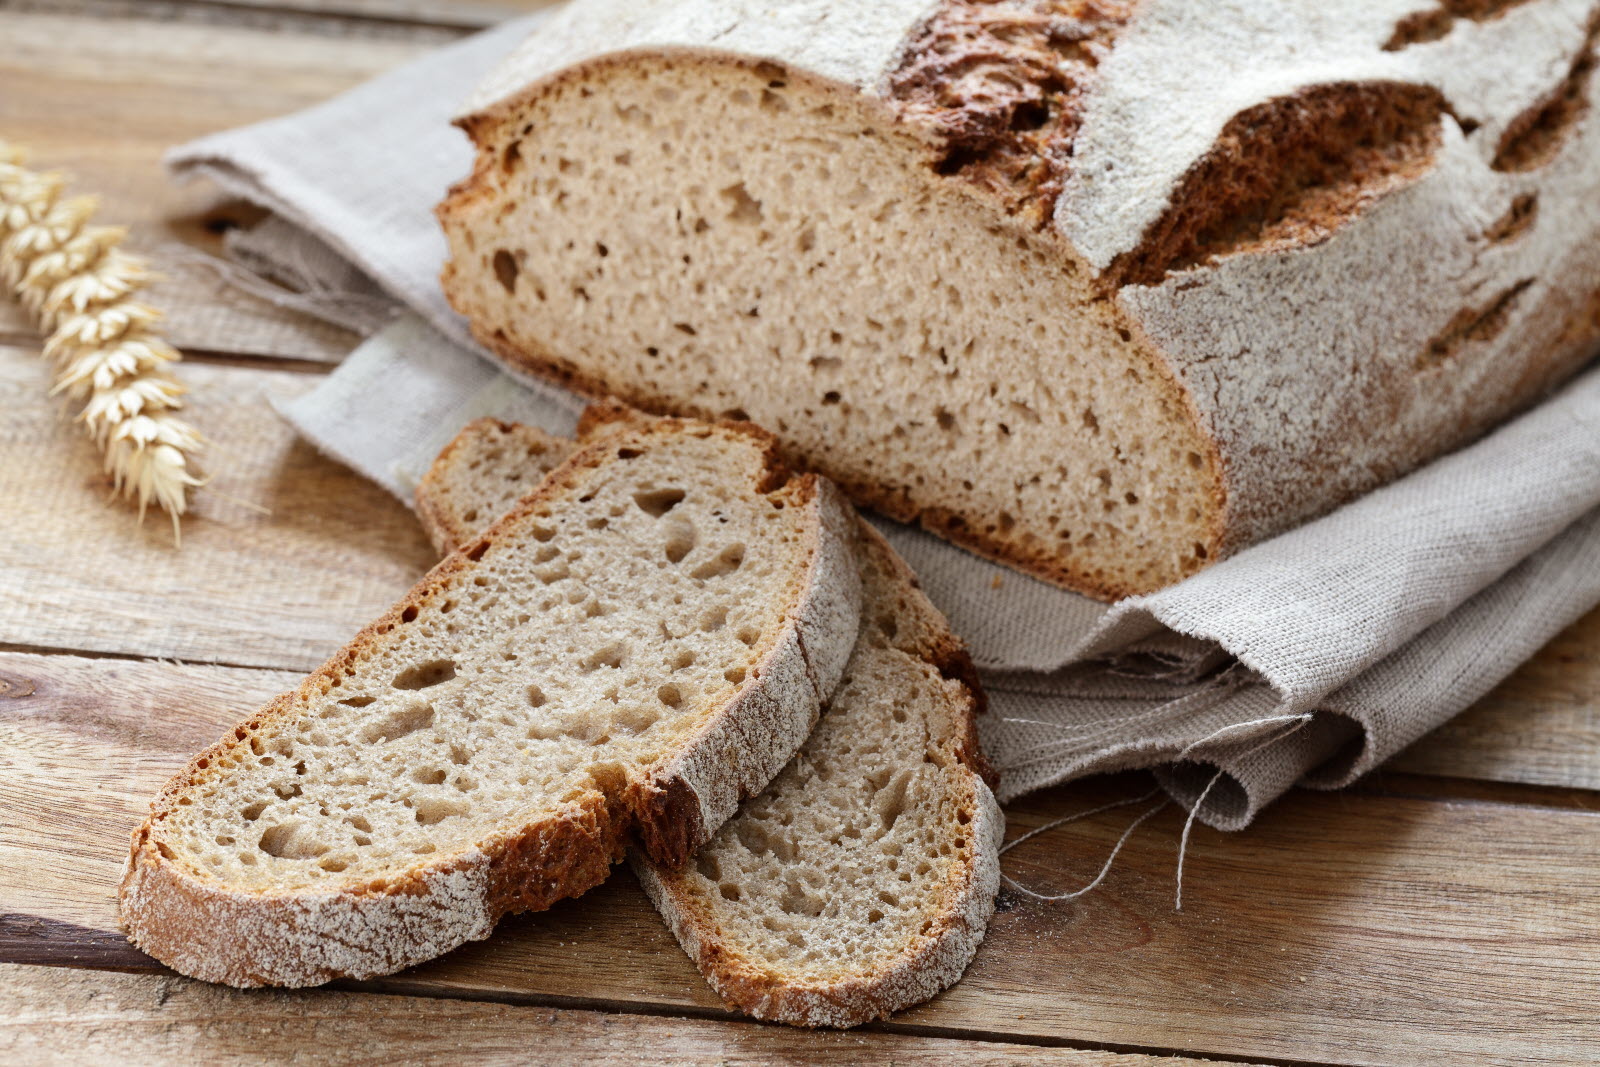

In the world of artisanal baking, the use of banneton is essential to shape and prepare wholemeal bread with unrivaled texture and taste. This article guides you through the precise steps to mastering the art of making wholemeal bread with a banneton, exploring the best fermentation, shaping and baking techniques to achieve a crispy crust and perfectly dimpled crumb. Whether to enrich your daily meals or to impress on special occasions, learn how to create authentic and flavorful wholemeal bread that will delight every palate.
Choice of ingredients for authentic wholemeal bread
Flour Selection
For a whole wheat bread quality, the choice of flour is essential. Opt for one wholemeal flour (T150) which retains all the elements of the wheat grain, including the germ and bran, thus providing more fiber, vitamins and minerals. To diversify the flavors and nutrients, mix it with a portion of rye flour or einkorn flour.
Yeast Quality
Yeast plays a crucial role in making wholemeal bread. Prefer one fresh organic yeast for better fermentation and a more authentic taste. Dry yeast can also be used, but make sure it is without additives.
Types of Liquids to Use
Water is the most common liquid used in bread preparation, but for a whole wheat bread, consider using partially skimmed milk or a mixture of water and milk. This will add softness to the crumb and contribute to a more golden crust.
The importance of Seeds and Cereals
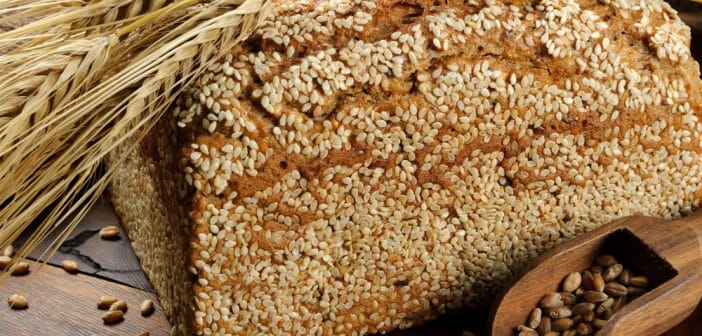
Integrate seeds such as linen, THE sesame where the sunflower in your wholemeal bread can enrich its texture as well as its nutritional values. Add them to the dough or sprinkle them on the crust before baking for a crunchy, appealing flavor.
Choosing the Right Salt
Salt doesn’t just salt; it also influences the fermentation of the dough. A unrefined sea salt enriches the taste while providing beneficial minerals. Be sure to moderate its quantity so as not to inhibit the activity of the yeast.
FAQs
1. What is the best water temperature to mix with yeast?
The ideal temperature for yeast activation is around 37°C. Water that is too hot might kill the yeast, while too cold might not activate it properly.
2. How long should you knead the dough for a wholemeal loaf?
Kneading should last at least 10 minutes by hand or 5 minutes with an electric mixer to properly develop the gluten which gives the bread its texture.
3. Can you make wholemeal bread without kneading?
Yes, there are no-knead wholemeal bread recipes. These methods typically involve long periods of fermentation to allow the bread to develop its texture and flavor.
Articles sur le même Sujet

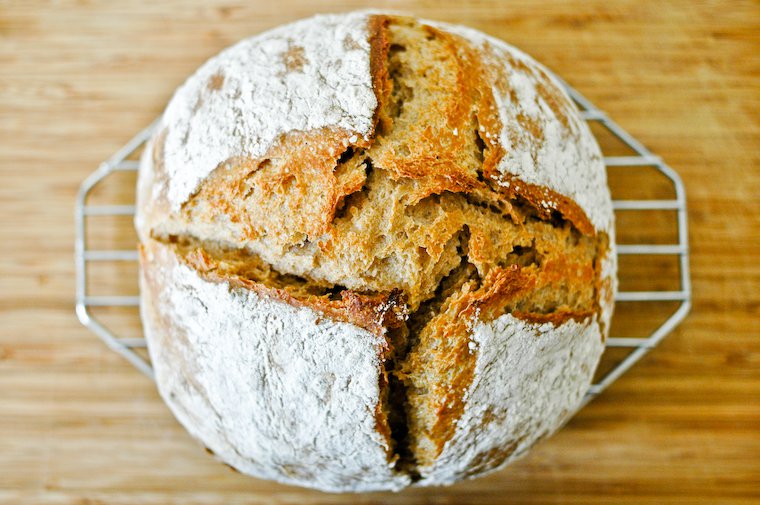
Preparing the dough: techniques and tips
Choice and Preparation of Ingredients
The quality of your dough depends greatly on the selection and handling of ingredients. First of all, it is essential to use flour from high quality. Depending on the type of bread desired, choose between a flour rich in gluten, such as durum wheat flour, for an elastic and resistant dough, or a flour with less gluten, such as rye flour, for a denser texture.
The water, for its part, must be at room temperature to promote the reaction with the yeast. Water that is too cold will slow down the fermentation process, while water that is too hot can damage the structure of the yeast. Adding little extras like salt or sugar should be done with care, as they can affect the activity of the yeast and therefore the rising of the dough.
Kneading Technique
Kneading is vital to develop the gluten network, which will give the dough its texture and structure. Kneading can be done by hand or with a mixer. Start by gradually incorporating your liquid into the flour and work the dough until it becomes soft and elastic, which can take about 10 to 15 minutes by hand. Be careful not to overknead, as this can cause the gluten to break down and make the dough too stiff.
Fermentation Control
Fermentation is a crucial process that influences the taste, texture and appearance of the final bread. Temperature is a key factor in regulating the rate of fermentation. A temperature of around 24°C to 28°C is ideal for optimal fermentation. Keep the dough in a warm, draft-free place to maintain regular fermentation. The length of fermentation depends on preference and can vary from a few hours to long periods for slowly fermented doughs to develop more flavors.
Forming and Final Handling
Once the dough has sufficiently fermented, it should be degassed gently to redistribute the yeast. This helps ensure even rising during baking. The shaping of the dough should be done in accordance with the type of bread you want. Be gentle during forming so as not to disrupt the network too much. gas bubbles developed during fermentation. Let the dough rest briefly after forming before baking, to allow for a final rise.
FAQs
1. How long should you knead the dough to obtain good elasticity?
Kneading time generally varies between 10 and 15 minutes by hand. In the machine it may be slightly shorter. The goal is to reach a state where the dough is smooth and elastic.
2. How do I know if my dough has fermented enough?
A well-fermented dough should double in volume. It should be soft to the touch, and when light pressure is applied, the dough should slowly spring back into place.
3. What is the best way to store dough before baking?
To store the dough before cooking, cover it with a damp cloth or plastic wrap. This prevents the dough from drying out while allowing fermentation to continue at a controlled temperature.
Articles sur le même Sujet
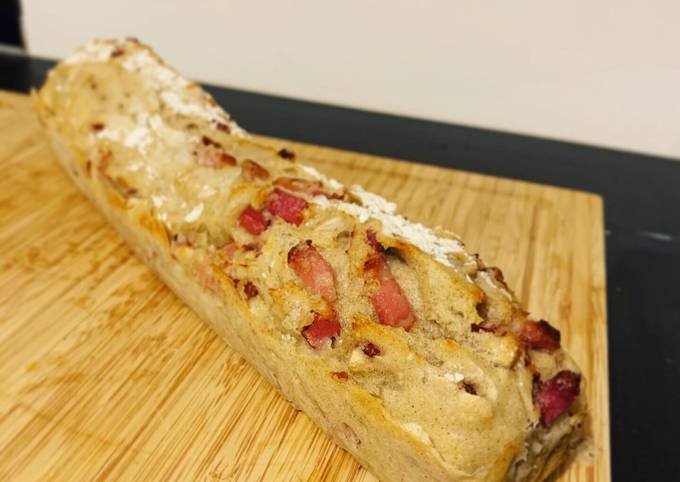
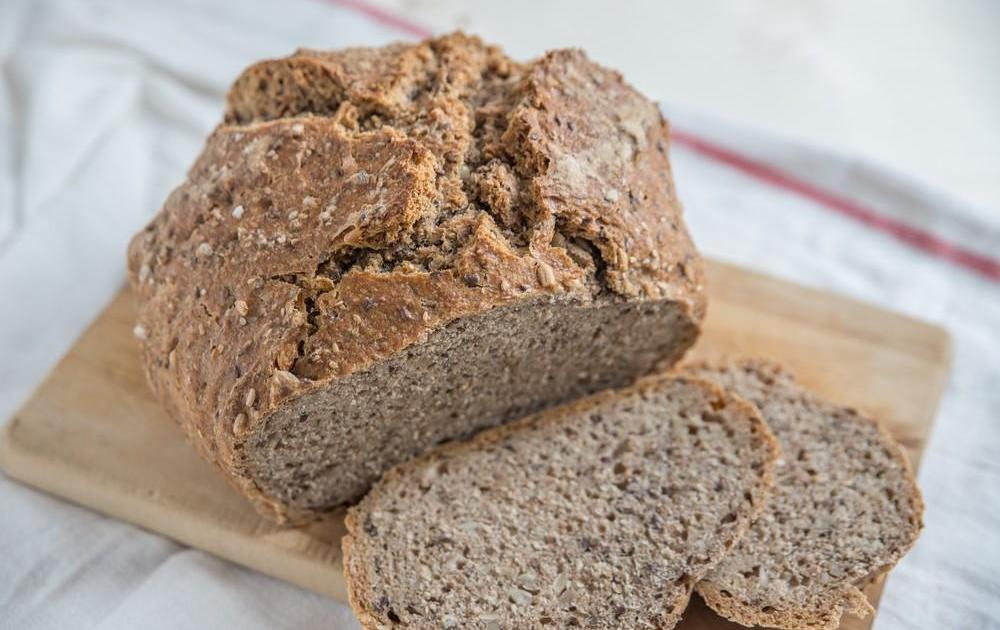
Using banneton for better fermentation
A banneton, also called fermentation basket, is an essential tool for any baker looking for a optimal fermentation bread. In bakery, controlling fermentation is crucial because it directly influences the taste, texture and quality of the bread.
Banneton is traditionally made from natural materials such as rattan or wicker wood, which allows the dough to breathe throughout fermentation, thus avoiding excess humidity and promoting the formation of a golden crust.
Choosing the Right Material
The choice of banneton material has a significant impact on the quality of fermentation. Rattan bannetons are particularly popular for their ability to absorb humidity. This guarantees a non-sticky dough surface, ideal for easy handling and perfect release before baking.
Preparing and Maintaining the Banneton
Before using a banneton for the first time, it is recommended to prepare it correctly. This often involves brushing it lightly with flour to create a non-stick barrier between the dough and the wood. Regular maintenance is also essential to prevent the formation of mold and extend the life of the banneton. After each use, simply brush gently to remove paste residue and air dry.
Fermentation Techniques with a Banneton
Using a banneton for fermentation requires certain specific techniques to optimize the development of the bread. After shaping the dough, it should be placed in the banneton with the seam side up. This will allow the dough to maintain its shape and support the gas cells formed during fermentation, which contributes to better rising and an airy texture of the bread.
Impact on the Crumb and Crust of Bread
The unique banneton structure leaves a light and aesthetic imprint on the surface of the bread which is not only visually appealing, but also contributes to the formation of a crisp and even crust. Air circulation through the grooves of the banneton prevents the dough from becoming too wet, which is crucial for obtaining a light, dimpled crumb.
FAQs
What size banneton should I use for my bread?
The size of the banneton should match the weight of dough you plan to use. Generally, a 1 kg banneton is sufficient for most household breads.
Can you use a banneton for all types of bread?
Yes, bannetons can be used for a variety of breads, but they are especially useful for high hydration breads that benefit from extra support during fermentation.
How do I know if my banneton is still good to use?
Inspect the banneton for mold or unpleasant odors. If the banneton is clean and dry, it is generally good for continued use.
Articles sur le même Sujet
Shaping and attention to detail before cooking
Shaping the bread is a crucial step before baking. Mastering this technique allows not only to obtain an aesthetically pleasing bread, but also to guarantee an optimal internal structure which will influence the taste and texture of the finished product. Here are some techniques and tips to perfect this essential step.
Choice of shaping method depending on the type of bread
Each type of bread requires an adapted shaping method to enhance its specific characteristics. For example, a tight shaping is often preferable for breads with a dense crumb, such as rye bread, while a looser shaping is better for breads with a light crumb, such as baguette or ciabatta.
Preparing the work plan
Before starting shaping, it is imperative to properly prepare your work plan. Make sure the surface is clean, dry and lightly floured. Too much flour can dry out the dough and affect crust formation, while too little flour can cause the dough to stick, making shaping difficult and messy.
Shaping techniques
There are several shaping techniques, each suitable for different types of dough and bread. One of the most common is the ball, ideal for round dough pieces. This method consists of creating tension on the surface of the dough by rolling it on the work surface without tearing it.
- For elongated breads such as baguettes, the technique of rolage is recommended.
- For more rustic breads, opt for freer shaping, allowing the dough to show its natural characteristics.
Fermentation control
After shaping, it is crucial to control thefinal fermentation stage (primer). Fermenting too long can cause over-fermentation, where the dough becomes too loose and sticky, making the bread dense after baking. Conversely, insufficient fermentation will prevent the bread from fully developing its volume and aroma potential.
Use of surface treatment agents
Applying conditioning agents such as seeds or bran before baking can not only add to the aesthetics of the bread, but also improve its texture and contribute to crust formation. Make sure the surface of the dough is slightly damp to help these agents stick.
FAQ:
- How do I know if my dough is fermented enough to be shaped?
The dough is ready to be shaped when it has doubled in volume and a lightly pressed finger print slowly springs back. - What is the ideal duration for the final fermentation after shaping?
It depends on the type of bread and temperature conditions. Typically this takes 1-1.5 hours at room temperature. - How can I prevent my bread from sticking to the work surface while shaping?
Use just enough flour on the work surface to prevent sticking without drying out the dough.
Articles sur le même Sujet
Tips for baking your wholemeal bread perfectly
When you start cooking your whole wheat bread, it is crucial to pay close attention to each step of the process. Following these few tips will help you obtain bread with enhanced flavor, the ideal texture and a perfectly golden crust.
Choice of flour and preparation of dough
For quality wholemeal bread, choose a wholemeal flour good quality organic. It is rich in fiber and nutrients, essential for a healthy diet. Before you begin, make sure all of your ingredients, including the flour, are at room temperature to encourage even fermentation. Kneading should be long enough to develop the gluten network, which will give your bread its structure and elasticity.
Fermentation management
Fermentation is a critical phase in bread making. It requires a stable temperature around 24°C for natural sourdough. Once the dough has doubled in volume, it is ready for shaping. Be gentle during this step so as not to deflate the dough, and let it relax for a few minutes after shaping before baking.
Optimization of wholemeal bread baking
Cooking must be adapted to the type of bread you want to obtain. For wholemeal bread, an oven temperature of around 220°C is recommended. Start by preheating your oven with a roasting pan on the bottom. Just before baking, pour a small glass of water into the roasting pan to create steam, which will help develop a nice crust. Then reduce the temperature to 200°C after 10 minutes and continue cooking depending on the volume of your bread (generally, around 30-45 minutes).
FAQs on Baking Wholemeal Bread
- What is the role of steam in baking bread?
The steam at the start of cooking allows the crust of the bread to remain supple during the first minutes, thus promoting good expansion of the crumb and the formation of a golden and crispy crust once evaporation is complete. - Should I use wholemeal flour only for my wholemeal bread?
No, it is possible to mix wholemeal flour with other types of flour such as white flour to adjust the texture of the crumb to your taste, while retaining the nutritional benefits of wholemeal flour. - How long should I knead the dough for a wholemeal loaf?
Kneading should take at least 10 minutes by hand or 5 minutes at medium speed if using a mixer. This time may vary depending on the quality of the flour used and the type of bread desired.
Banneton maintenance for long-lasting use
Choice and First Use of Banneton
Before any use, it is essential to choose a banneton adapted according to the size and type of bread you want to make. Bannetons can be made of wicker, rattan, wood or food grade plastic. Each of these materials has its own advantages and requires specific maintenance to optimize its lifespan. Once acquired, preparing it for first use is crucial; You should generously flour the banneton to create a non-stick barrier between the wood and the dough.
Cleaning After Each Use
Regular maintenance of the banneton is essential to preserve its quality and avoid contamination by bacteria or mold. After each use, remove excess flour with a soft brush or dry cloth. It is not recommended to use water to clean bannetons made from natural materials such as rattan or wicker, as humidity can encourage the growth of mold.
- Use a soft bristle brush.
- Never wash the banneton with plenty of water or in the dishwasher.
- Avoid prolonged exposure to humidity.
Humidity and Storage Management
L’humidity is the main enemy of banneton. To avoid any deformation or appearance of mold, it is recommended to store the banneton in a dry and well-ventilated place. This is especially important if you live in areas with high humidity. Vertical storage is often recommended to allow better air circulation.
Tips to Extend Lifespan
Besides proper cleaning and storage, a few tips can help extend the lifespan of your banneton. If you notice mold, wiping with a cloth dampened with vinegar can be an effective solution. Also be sure to alternate the use of several bannetons if you have several, to avoid premature wear.
FAQs
Can you wash a banneton in the dishwasher?
No, washing in the dishwasher can seriously damage the banneton by deforming the material and encouraging the appearance of mold.
How do I know if my banneton can still be used after mold has appeared?
If the mold is small, it can be cleaned with a cloth soaked in white vinegar. After cleaning, make sure the banneton is completely dry before using it again.
Is it necessary to flour banneton before each use?
Yes, flouring the banneton before each use is essential to prevent the dough from sticking and make it easier to unmold the bread.