


How to prepare delicious traditional sourdough bread with Benenton durum wheat sourdough?
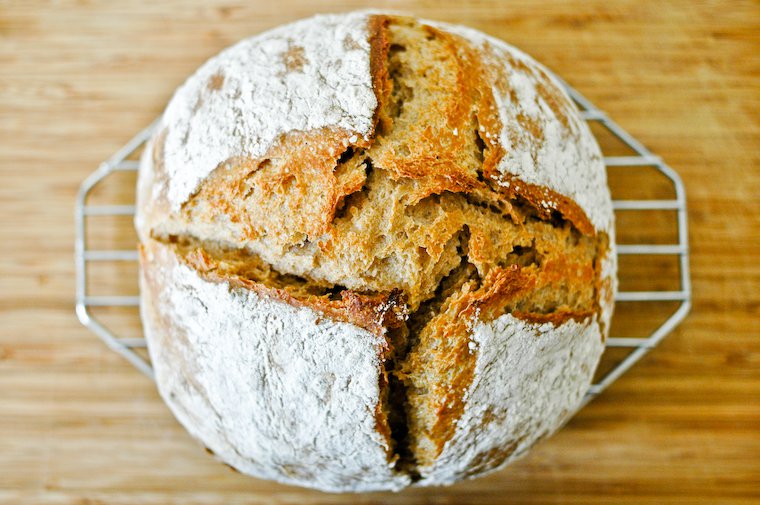

Discover the secrets of making traditional sourdough bread using Benenton durum wheat sourdough, an age-old method that promises an airy crumb and crispy crust. This article will guide you through the essential steps, from refreshing the sourdough to baking, to transform your kitchen into a true artisan bakery. Embark on this culinary journey to master the art of sourdough bread!
**The ingredients needed for your Benenton sourdough bread**
The Base: Flour and Sourdough
The quality of the flour is essential for designing a successful Benenton sourdough bread. Opt for high quality flour, preferably biological, which can be a mixture of T65 or T80 wheat flour. These types of flour ensure better fermentation and a beautiful crumb structure.
As to leaven, a key element of sourdough bread, it is crucial to use active and well-maintained sourdough. For Benenton sourdough bread, a rye or wheat sourdough provides the best results, providing both deep flavors and a nice rise to the bread.
Water and Salt: Mixtures and Proportions
The water, preferably filtered or sourced, must be at an ideal temperature of 20°C to optimize the activity of the leaven. The amount of water may vary depending on the absorption of the flour; generally, a hydration level around 75% is ideal for a good balance between the workability of the dough and crispy result.
THE salt, preferably unrefined sea salt, is crucial not only for taste, but also for strengthening the gluten structure. A proportion of 2% relative to the weight of the flour is recommended to balance taste and texture without inhibiting the fermenting activity of the leaven.
Fermentation Time and Temperature
Fermentation is a crucial step in making sourdough bread. It is generally divided into two phases: bulk fermentation and the final fermentation. The first is ideally carried out at a controlled room temperature of 24°C for a period of 3 to 4 hours. This allows the sourdough to develop its aromas and strength.
There final fermentation, carried out after shaping, generally requires a slightly lower temperature, around 21°C, for a period of 10 to 12 hours. This long fermentation promotes the formation of a crispier crust and a light, honeycombed crumb.
List of ingredients for Benenton Sourdough Bread:
- Organic flour T65 or T80
- Active sourdough
- Filtered or spring water
- Unrefined sea salt
Benenton Sourdough Bread Making FAQ
How important is the quality of flour in making sourdough bread?
The quality of the flour strongly influences the structure, texture, and taste of the bread. High quality flour, rich in gluten, allows you to obtain a more airy crumb and a crispier crust.
How do I know if my sourdough starter is ready to use?
A ready-to-use sourdough must have a bubbly surface and must double, or even triple, in volume after its last refreshing. A simple method is the float test: a small quantity of sourdough placed in water should float.
Why is it advisable to let the dough rest in the cold before baking?
Cold rest, or autolysis, allows enzymes in the flour to break down starch into simple sugars, which promotes more efficient fermentation and develops more complex flavors in the finished bread.
Articles sur le même Sujet
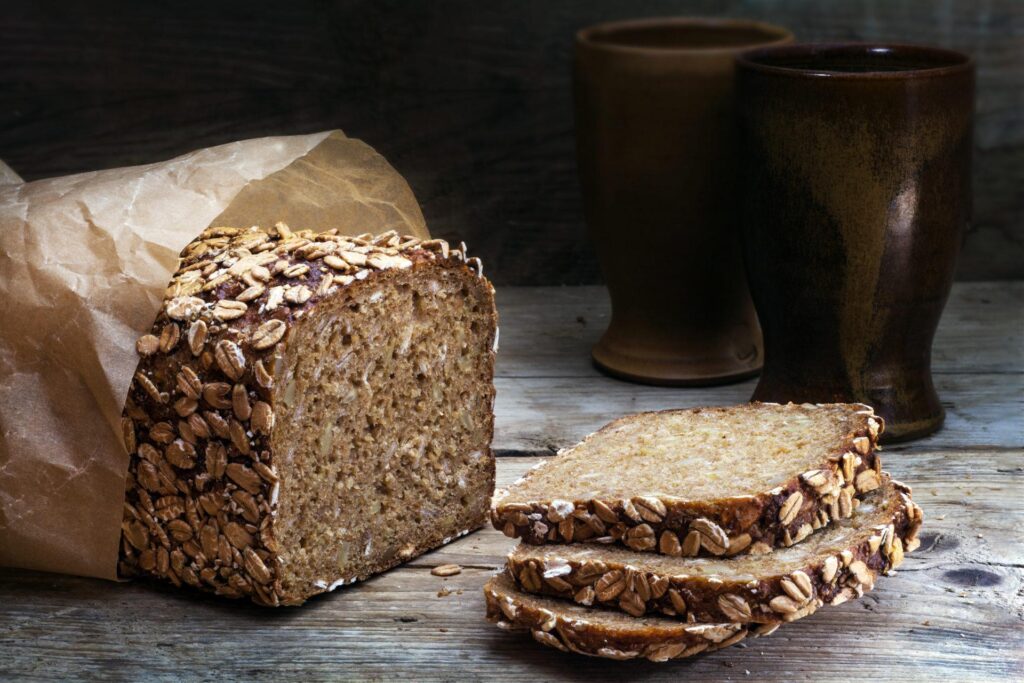
**Step by step: preparing durum wheat sourdough**
The Basics of Durum Wheat Sourdough
The creation of a durum wheat sourdough requires precision and patience to achieve sourdough bread of exceptional quality. Sourdough, this natural ferment, is the heart of the bread-making process and considerably influences the texture, flavor and nutritional quality of bread.
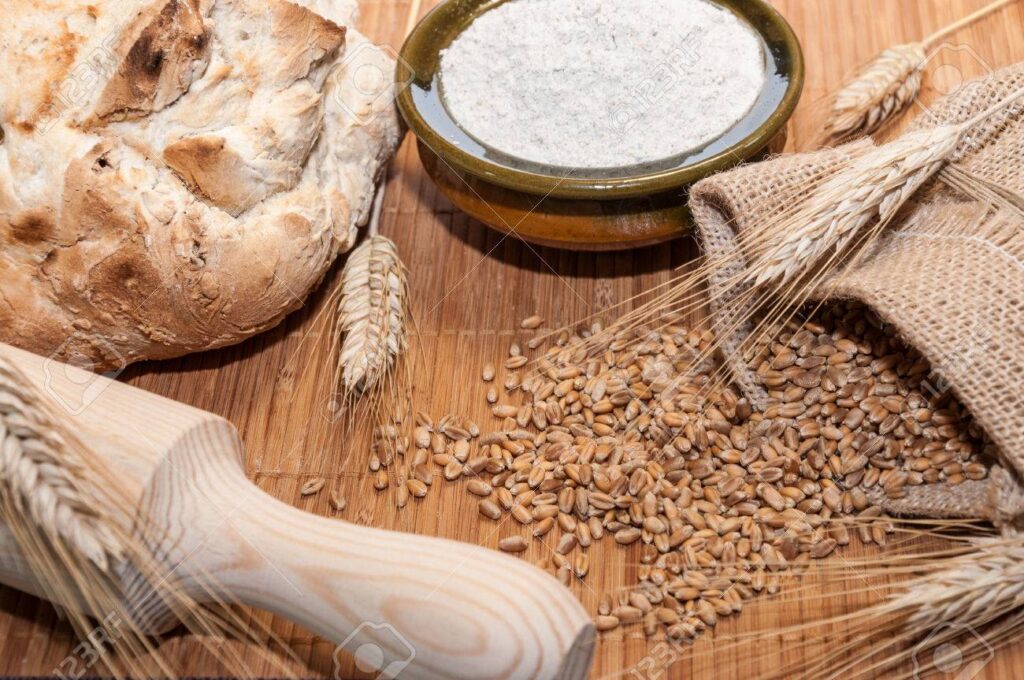
To get started, it is essential to select a durum wheat flour high quality, preferably organic to take advantage of its natural fermentative properties. The high gluten content of durum wheat flour is perfect for obtaining an active leaven capable of rising well.
Initiation of sourdough: composition and fermentation time
To initialize your sourdough starter, mix equal parts durum wheat flour and room temperature water. The recommended quantity to start with is often 50 grams of each, which allows easier management of the sourdough. Once mixed, the ingredients should be kept in a covered, but not airtight, container in a place with a stable temperature, ideally between 20°C and 25°C.
The first days are crucial: it is advisable to feed the leaven every 24 hours with the same weight of durum wheat flour and water to promote the growth of beneficial yeasts and bacteria. After several days, the mixture will begin to bubble and exude a characteristic sweet-sour smell: a sign that the leaven is beginning to be active.
Long-term operation and maintenance of sourdough
Once active, sourdough requires regular maintenance. If you plan to bake bread frequently, continue to feed it daily. For less frequent use, it is possible to store the sourdough in the refrigerator and feed it once a week. Before using it for breadmaking, remove the starter from the refrigerator, let it come to room temperature and feed it to reactivate it.
Each feeding should ideally represent around a third of the total mass of the sourdough, always respecting the equality between flour and water. Balance and regularity in care are essential to maintain a healthy and active sourdough capable of effectively rising bread.
Integration of sourdough into the preparation of sourdough bread
When your sourdough is ready to be used in the recipe sourdough bread, it must have a foamy consistency and must have doubled in volume following the last feeding. Then add it to the other ingredients in your recipe, such as flour, water and salt, remembering to keep a small amount for the next feeding cycle.
Using a well-maintained sourdough positively influences the taste, texture and nutritional value of your bread, providing it with more complex aromas and better natural preservation.
FAQs on preparing durum wheat sourdough
What is the difference between durum wheat sourdough and sourdough made with other types of flour?
Durum wheat sourdough, thanks to its high gluten content, offers better rising capacity and a more elastic texture to bread. It is ideal for breads requiring an airy and robust structure.
How long does it take to create active sourdough?
The creation of an active sourdough can vary from a few days to a week, depending on environmental conditions and the regularity of feedings.
Can you use sourdough straight away after reactivating it from the fridge?
It is recommended to feed the sourdough and allow it to resume activity at room temperature for approximately 12 hours before using it in your bread recipes.
Articles sur le même Sujet
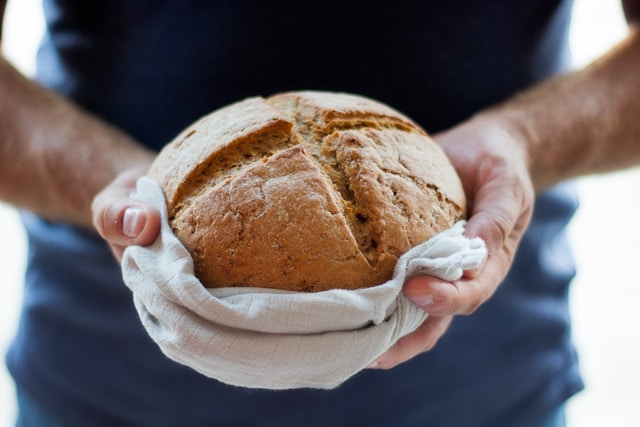
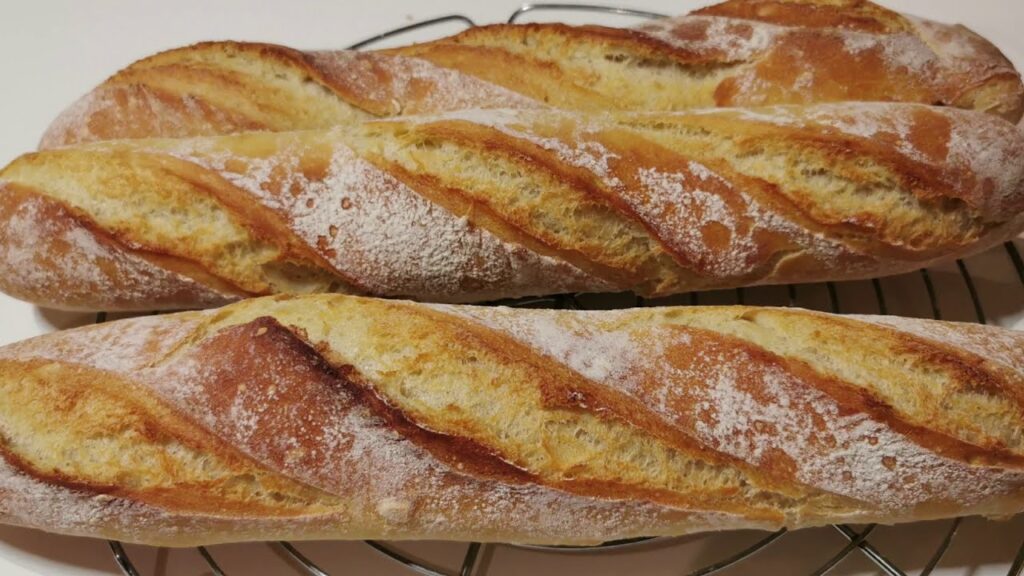
**Kneading and first rising: essential techniques**
The Basics of Kneading Sourdough Bread
THE kneading is a crucial step in the preparation of sourdough bread. This technique not only allows the ingredients to be mixed evenly, but also develops the gluten network, essential to the structure of the bread. Kneading must be carried out precisely to optimize the quality of the dough without overworking the gluten.
To begin, it is important to mix all the dry ingredients before gradually incorporating the water and the sourdough. Once the dough begins to form a cohesive mass, transfer it to a lightly floured surface to begin kneading. Use the palms of your hands to push and fold the dough, doing this for about 10 to 15 minutes until the dough becomes soft and elastic.
While kneading, do not hesitate to adjust the quantity of water or flour to achieve the desired consistency. Well-kneaded dough should be smooth and should not stick excessively to your hands or the work surface.
Mastering the First Rise of Sourdough Bread
After kneading, the first lifting plays an essential role in the development of aromas and texture of bread. This phase allows the dough to ferment and develop its flavorful characteristics and characteristic airy texture.
Place the dough in a lightly oiled container, cover with a damp cloth or plastic wrap to prevent drying out. Let the dough rest in a warm place (ideally between 20°C and 24°C) to allow the leaven to act effectively. This step can last between 3 and 5 hours depending on the ambient temperature and the vigor of your sourdough.
During the first rise, the dough should double or even triple in volume. This process can be evaluated using the finger print technique: by lightly pressing on the dough, the indentation should slowly disappear when sufficient rise is achieved.
Techniques to Optimize Kneading and Proofing
To improve the efficiency of kneading and rising sourdough bread, it is advisable to use a kitchen scale to precisely measure ingredients and ensure the consistency needed for optimal gluten development and fermentation. The temperature of the added water must be controlled to activate the leaven without compromising it.
It is also beneficial to adapt the kneading process depending on the strength of the leaven and the type of flour used. Flours with higher protein levels may require longer kneading to develop robust gluten.
Regarding the first rise, avoid drafts and sudden temperature fluctuations which can affect the behavior of natural yeast. Consider using a banneton to hold the shape of the dough during rising.
Sourdough Bread FAQ
What is the ideal kneading time for sourdough bread?
The ideal time is usually between 10 and 15 minutes, but this can vary depending on the flour used and ambient conditions.
How do you know if the first rise is sufficient?
Use the fingerprint method. If the indentation returns slowly, the dough has risen sufficiently.
Can you use hot water to knead sourdough bread?
It is preferable to use lukewarm water (between 20°C and 25°C) to optimize the activation of the leaven without destroying it.
Articles sur le même Sujet
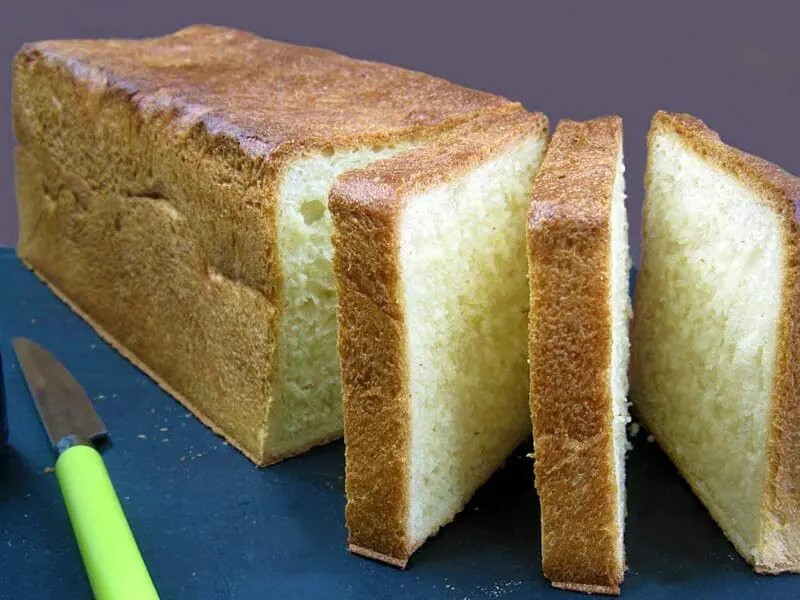
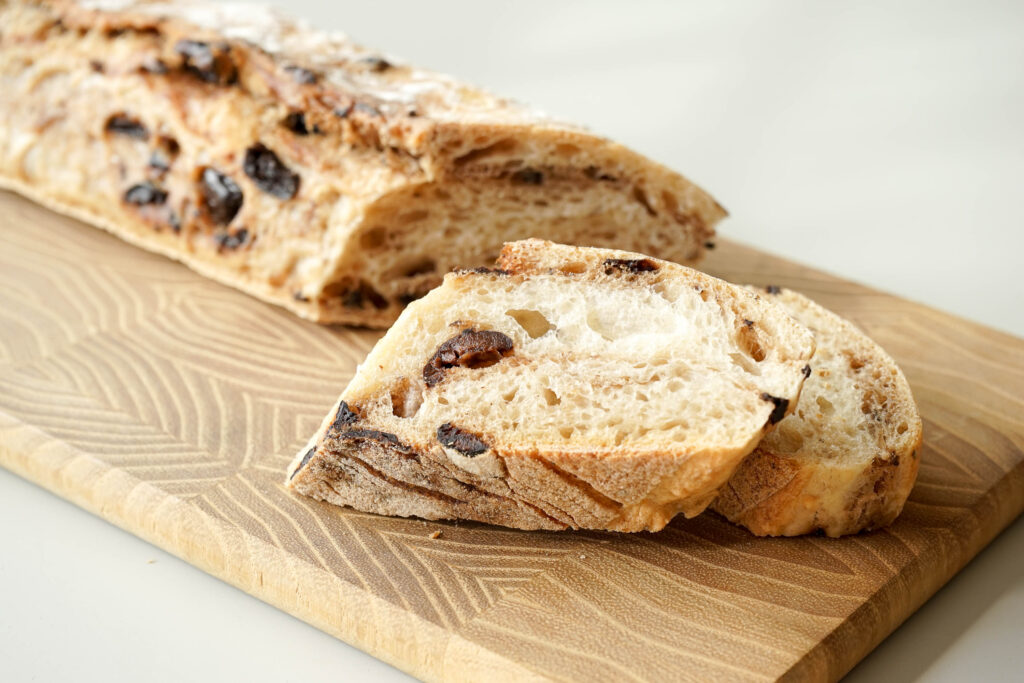
**Shaping bread: tips for a perfect shape**
Prepare the Dough for Optimal Shaping
To obtain impeccable results when bread shaping, it is essential to prepare the dough carefully. Proper kneading plays a crucial role as it develops the necessary gluten which gives the dough the required strength and elasticity. Start by kneading your dough until it reaches a soft, smooth consistency, a sign that it has developed enough gluten. Then let the dough rest sufficiently, covered, to allow fermentation which would improve its texture and taste.
Shaping Techniques
THE shaping techniques vary depending on the type of bread you want to make. For baguettes, regular and tight rolling is essential. For a ball of bread, form a sphere by folding the edges towards the center and rotating the dough on itself to stretch the surface. It is essential to ensure that you do not tear the dough while maintaining an even surface tension which helps hold the shape during baking.
Equipment Suitable for Shaping
Using the right tools can make the shaping process much easier. A dough cutter A sharp knife or a baker’s horn are valuable instruments for handling the dough without tearing it. Additionally, work on a lightly floured surface with a rolling pin specific can help achieve uniform thickness.
Mastering Post-Shaping Rest Time
After shaping, the dough requires a rest time called “priming”. This is an essential step where the dough must rest under a damp cloth or in a floured banneton. This rest allows the dough to regain elasticity and ensures better rising in the oven. The proofing time varies depending on the ambient temperature and the nature of the dough.
Rising and Temperature Monitoring
Insufficient rising can compromise the shape and texture of the bread. Make sure your dough reaches the desired volume before scoring it and putting it in the oven. Likewise, good oven temperature management is crucial. A preheated oven ensures that the heat acts effectively as soon as the bread is introduced, activating the rapid rising of the dough which defines its final structure.
FAQs
How important is kneading in bread shaping?
Kneading is vital because it develops the gluten in the dough, which is essential to giving it the strength and elasticity needed to hold its shape when shaping and baking.
No, the choice of flour depends on the type of bread you want to make. High-protein flours, such as durum wheat flour, are preferable for breads requiring a strong gluten structure.
The dough is ready if it has doubled in volume and, after being lightly pressed with a finger, slowly returns to its original shape without immediately sagging or springing back.
Articles sur le même Sujet
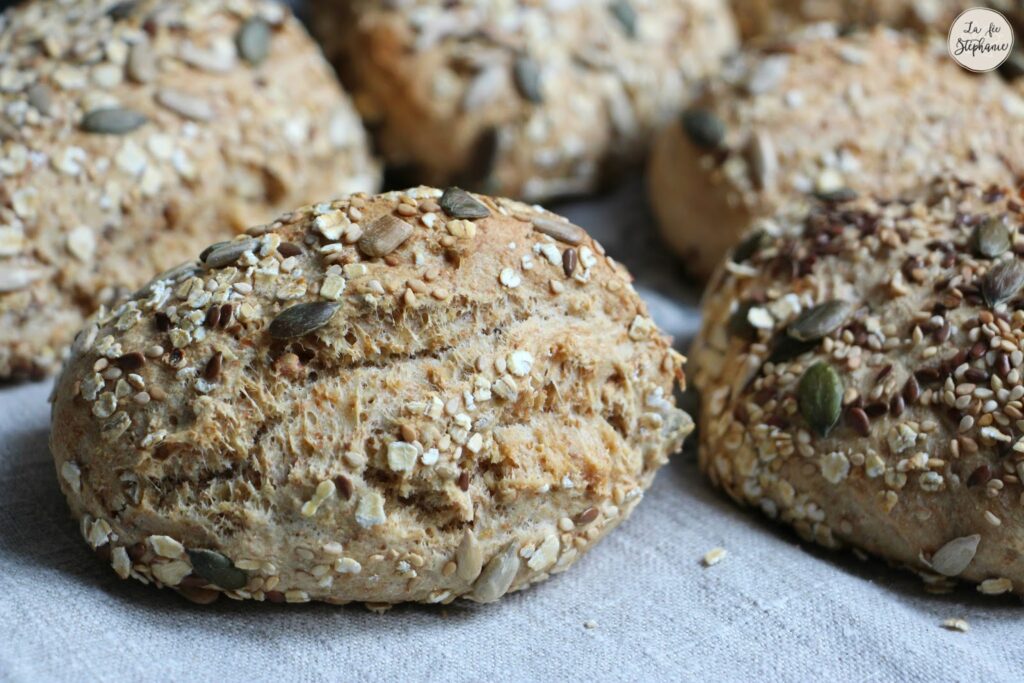
**Cooking sourdough bread: optimal temperature and duration**
Understanding the specificities of sourdough
There baking sourdough bread stands out for its need for adjusted temperatures and times to optimize the development of flavors and the texture of the crust. Sourdough, a mixture of flour and water fermented by natural yeasts and bacteria, requires a different approach than commercially yeasted breads. The slower fermentation and the particular texture of the dough directly influence the cooking parameters.
Set the ideal temperature
The optimal temperature for baking sourdough bread is generally between 230°C and 250°C. This high heat is crucial for the “oven stroke”, responsible for the rapid rise of the bread at the start of cooking. A well-preheated oven helps form a beautiful golden crust while retaining the necessary moisture inside the bread for ideal crumb development.
Control the cooking time
Cooking time varies depending on the size and shape of the loaf. On average, sourdough bread requires between 35 and 45 minutes Cooking. However, it is essential to adjust the time by monitoring the color of the crust and listening to the characteristic sound of well-baked bread when you knock on its base. A hollow sound indicates the inside is cooked through.
Using steam for a perfect crust
Adding steam during the first few minutes of cooking is an important step in obtaining a crispy, shiny crust. Using a broiling pan with hot water, or splashing small amounts of water into the oven, are effective methods of creating a moist environment that encourages crust development before the high temperature finishes baking. cooking the crumb.
Sustainability and quality of ingredients
The quality of the flour used and the viability of the leaven are also crucial for successful baking. High-quality ingredients and well-maintained sourdough ensure not only better rising, but also a richer taste and better preservation of the bread. It is therefore essential to select flours suitable for sourdough production, such as whole wheat flour or rye flour.
Sourdough Bread Baking FAQs
Why is my sourdough bread not rising properly in the oven?
Insufficient rising can be due to several factors, including a leaven that is not active enough, insufficient fermentation of the dough, or an incorrectly adjusted baking temperature.
How long should you preheat the oven for baking sourdough bread?
It is recommended to preheat the oven for at least 30 minutes at maximum temperature before reducing to the desired cooking temperature when introducing the bread.
Is it necessary to vary the temperature during cooking?
Yes, some professional bakers lower the temperature after the first 20 minutes of baking to allow for even baking and avoid burning the crust.
**Preserving sourdough bread to prolong its freshness**
Basics of storing sourdough bread
When it comes to keeping the sourdough bread, understanding the factors influencing its freshness is essential. This type of bread, known for its crispy crust and honeycomb crumb, requires special attention to maintain these characteristics. Since sourdough is a living culture, temperature and humidity play crucial roles in the preservation of bread.
Room temperature storage techniques
Sourdough bread is ideally stored at ambient temperature. To do this, wrap the bread in a clean cloth or place it in a paper bag. These materials allow the bread to “breathe” and minimize the risk of mold development. It is recommended to cut it only when eating to prevent the crumb from drying out too quickly.
Using the refrigerator for extended storage
Storing sourdough bread in the refrigerator can extend its life, especially in times of high heat or humidity. However, this method can alter the texture of the crust, making it less crisp. If this method is chosen, wrapping the bread in airtight plastic can help maintain its freshness longer.
Freezing, a solution for long periods
There freezing is often the best option for preserving sourdough bread without losing its qualities. After slicing the bread, place the slices in a freezer bag, making sure to remove as much air as possible. This allows you to defrost only the quantity needed, which contributes to optimal management of consumption and preserves the freshness of the bread.
FAQs on Storing Sourdough Bread
What is the optimal shelf life for sourdough bread at room temperature?
Sourdough bread can generally be stored for 3 to 4 days at room temperature, depending on weather conditions and packaging method.
Can sourdough bread lose its nutritional properties when frozen?
No, freezing does not change the nutritional properties of sourdough bread. However, it is important to follow the freezing steps correctly to preserve optimal quality.
How to restore crust crispness after storage?
To restore its crispness to the crust after storage, you can reheat the sourdough bread in an oven preheated to 180°C for a few minutes.