


How to obtain an impeccable aesthetic result for your brioches?
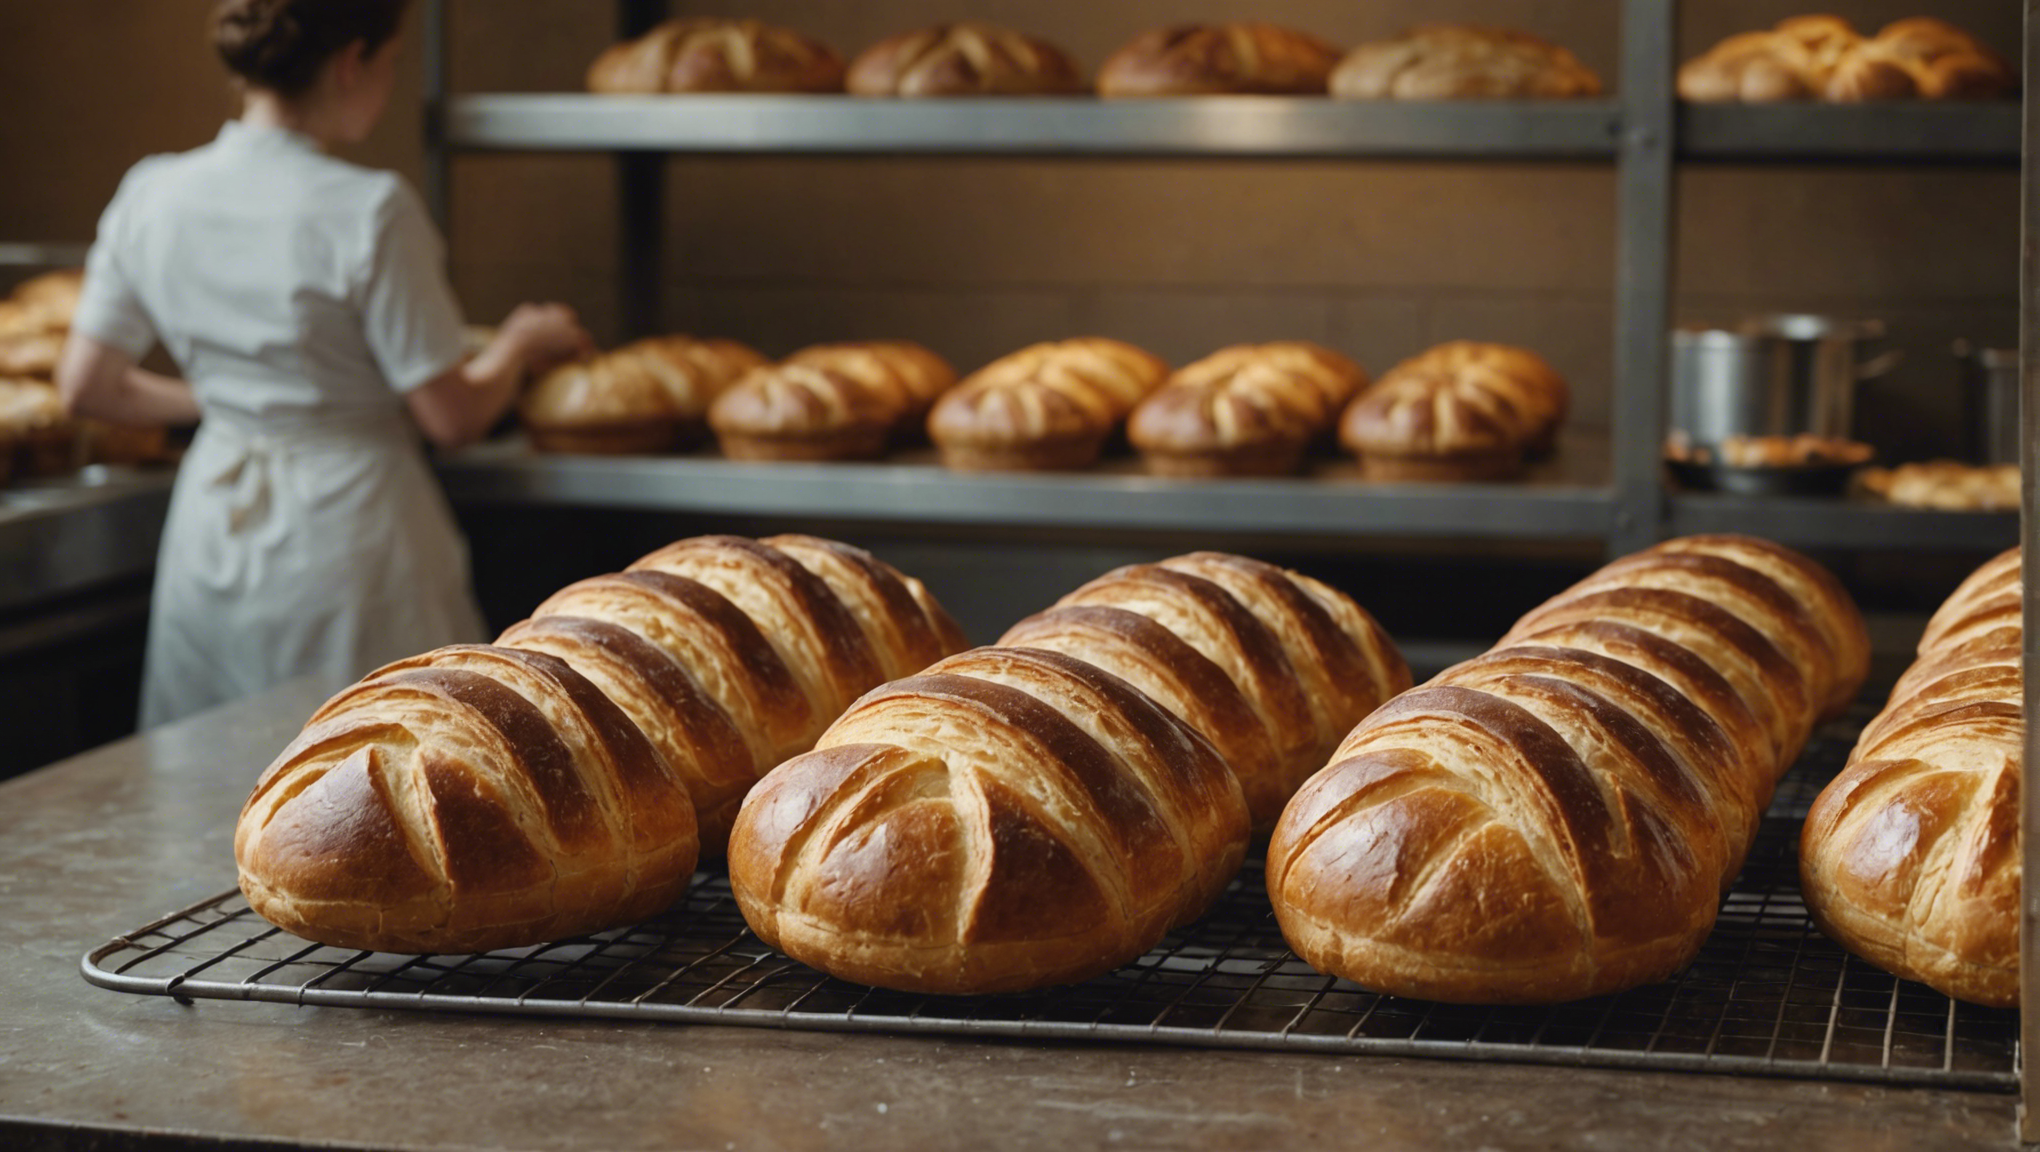

In this article, we explore methods and tips for perfecting the visual appearance of your buns, transforming each creation into a work of art that is as attractive as it is delicious. From precise shaping techniques to delicate finishes, discover how to achieve a level of aesthetic perfection that will showcase your artisanal know-how.
Choosing ingredients for perfect brioches
Flour: Base of the Soft Texture
The choice of flour is decisive in the making of brioches. To obtain an airy and light brioche, T45 or T55 type flour is ideal. These types of flour contain a suitable level of protein which allows good elasticity of the dough and ensures optimal rising. Organic or unbleached flours can also add richness in taste and nutrients.
Yeasts: Essential Leavening Agents
There yeast plays a crucial role in dough fermentation. Fresh baker’s yeast is often favored for its effectiveness and its ability to provide a richer taste. Allow around 20 to 30 grams of fresh yeast per 500 grams of flour for optimal results. Active dry yeast is an alternative, but it is important to rehydrate before use to activate the yeast.
Sugar: Sweetness and Coloring
THE sugar is not only used to soften the taste of the brioche, but also to nourish the yeast and promote a beautiful golden color during baking. Refined white sugar offers a neutral flavor while cane sugar or vanilla sugar can enrich the flavor profile of the brioche.
Fats: Smoothness and Richness
The addition of fat is essential for the soft texture and flavor of the brioche. Butter is traditionally used for its exceptional taste qualities. You should choose butter with a high fat content (minimum 82%) for greater richness and tenderness. The plant-based alternative like margarine can be used for a dairy-free version.
Liquids: Hydration of the Dough
THE liquids, such as milk and eggs, add moisture to the dough, contributing to the final texture of the brioche. Whole milk adds richness, while eggs provide color and volume. A good balance between these ingredients guarantees a well hydrated and elastic dough.
FAQs
1. What type of flour is recommended for homemade brioche?
For a homemade brioche, type T45 or T55 flour is recommended for its ability to produce an elastic and light dough.
2. Can we replace butter in brioche?
Yes, for a lactose-free version, the butter can be substituted with margarine or high-fat vegetable alternatives. This will slightly affect the taste but helps maintain proper texture.
3. How long should you let brioche dough rest?
The resting time for brioche dough varies, but an initial rise of about 1 to 2 hours at room temperature is usually sufficient. After shaping, a second rise until the dough doubles in volume guarantees optimal texture.
Articles sur le même Sujet

Kneading techniques for ideal texture
The Fundamentals of Kneading
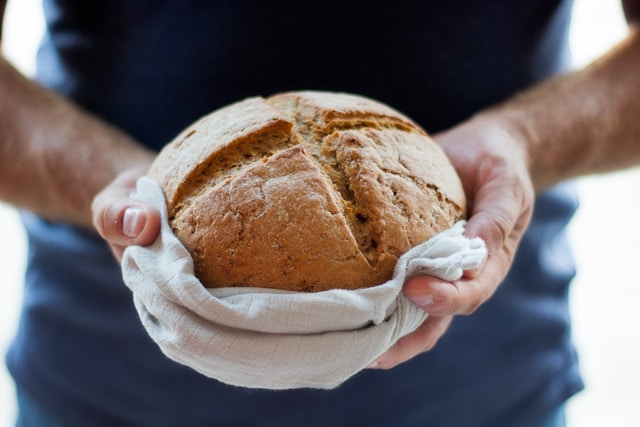
Kneading is a crucial element in making brioche, as it develops the gluten network necessary to give the dough its structure and texture. Efficient kneading ensures a brioche that is both light and airy. It is important to choose the kneading method that best suits the texture you want to achieve.
Two main kneading methods are often recommended: hand kneading and mechanical kneading. Manual kneading allows for more intuitive control of dough consistency, while mechanical kneading, performed using a mixer, provides consistent force and is ideal for large volumes of dough.
Choosing the Right Consistency
The consistency of the brioche dough should be sufficiently elastic and not too tight. It should neither stick excessively to the hands nor be too dry. Hydration plays a key role here. A classic brioche might require a hydration ratio around 50 to 60%. This means that for every kilogram of flour you need to add around 500-600ml of liquid, usually a combination of eggs and milk.
The temperature of the liquid is also an influential factor. Liquid that is too cold will delay rising, while liquid that is too hot can damage the yeast and affect the rise of the dough.
Appropriate Rest Times
Rest plays an essential role in the development of the texture of the brioche. After the first kneading, it is crucial to let the dough rest. This first resting phase, often called proofing, allows the yeast to act and the dough to double in volume.
After this first swelling, it is recommended to degas the dough, that is to say, to knead it lightly to expel the air. This helps to even out the texture and avoid large cells in the crumb of the brioche. A second rest, or proofing, will follow to allow the dough to regain volume before baking.
Delicate incorporation of additional ingredients
When making brioches, certain ingredients like butter, sugar and flavorings can be added to enrich the flavor. These ingredients must be gently incorporated after the first kneading so as not to interfere with the development of the gluten. Butter, in particular, should be soft but not melted, and added gradually to ensure even distribution without saturating and weighing down the dough.
FAQs
What is the ideal kneading time for a brioche?
Kneading time generally varies between 10 and 15 minutes when done mechanically. If you knead by hand, it may take a little longer to reach the same consistency.
Can you make a brioche without a mechanical mixer?
Absolutely, hand kneading is completely doable and sometimes even gives more satisfaction due to the direct involvement in creating the perfect texture.
How do I know if my brioche dough is kneaded enough?
A simple test is the “veil test”: take a small piece of dough and gently stretch it between your fingers. If the dough forms a thin, translucent membrane without tearing, it is ready.
Articles sur le même Sujet
The importance of the first rise in the making of brioches
The Crucial Role of the First Rise
There first lifting is a fundamental step in the manufacturing process of buns. It involves resting the dough after its first fermentation. This phase not only allows the dough to develop the necessary volume, but also promotes the formation of complex flavors and aromas thanks to the activity of the yeasts.
The duration and conditions of this leavening are critical variables which directly influence the texture and quality of the final product. Adequate rising ensures a fine and homogeneous honeycomb structure, characteristic of high quality brioches.
Impact of Temperature and Humidity
The environment in which the first lifting takes place is essential. There temperature ideal for effective rising is generally between 24°C and 28°C. A temperature that is too low slows down the fermentative activity of the yeasts, unnecessarily extending the rising time, while a temperature that is too high can cause fermentation to occur too quickly, compromising the development of flavors and affecting the texture of the brioche.
L’humidity also plays an important role. Too dry an atmosphere can cause the surface of the dough to dry out, while excessive humidity can make the dough too sticky and difficult to handle in subsequent steps.
Mastering Rising Time
The control of rising time is essential. Insufficient time does not allow the dough structure to fully develop, while excessive time can lead to overfermentation. This often results in a brioche with an overly yeasty taste and a texture that can become elastic.
It is advisable to monitor the dough and perform touch tests to determine if it has risen sufficiently. A common indicator is the finger test: light pressure with the finger on the dough should leave an imprint that slowly rises.
Optimal Techniques for Perfect Raising
To ensure ideal rising, it is often recommended to use a oven or another controlled environment where temperature and humidity are precisely regulated. This is particularly useful in professional culinary environments where consistency and quality must be maintained at a high level.
Additionally, the pointing technique, which involves letting the dough rest in the cold after the first rise, can also be used to slow fermentation and improve the flavor as well as workability of the dough.
FAQs
1. What is the ideal time for the first rise of a brioche?
The duration generally varies between 1 and 2 hours, but this can depend on various factors such as the ambient temperature and the composition of the dough.
2. Why is it important to control humidity during proofing?
Correct humidity prevents the surface of the dough from drying out, which can negatively affect the rising and therefore the texture of the brioche.
3. Can you use baking powder instead of baker’s yeast for leavening?
No, baking powder is not suitable for brioches, because it does not allow fermentation which contributes to the characteristic texture and taste of the finished product.
Articles sur le même Sujet
Shaping and preparing the brioches before baking
The Basics of Making Brioches
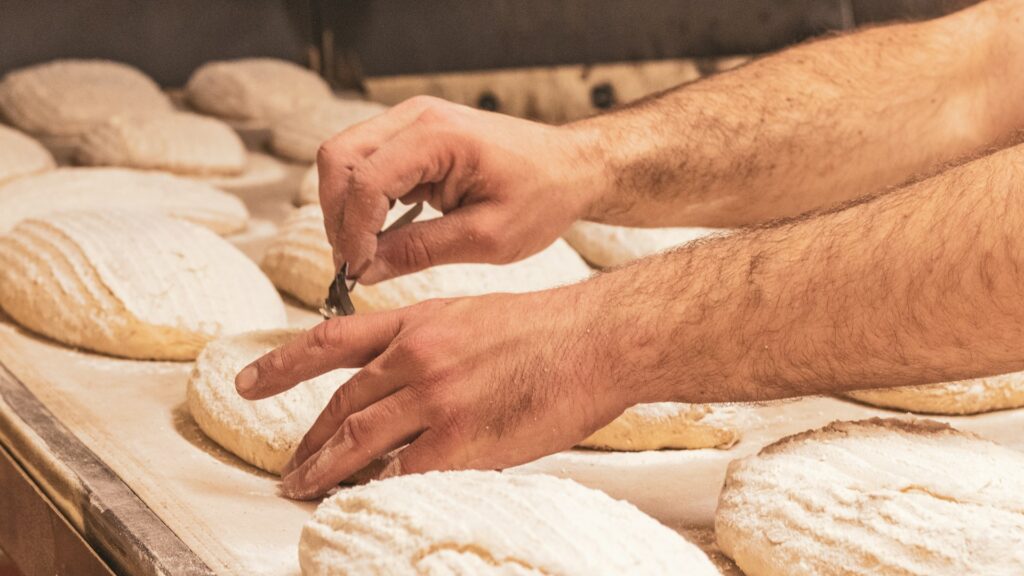
The process of shaping buns is crucial to achieve a soft texture and attractive appearance. Before you start, make sure the dough is perfectly fermented, which influences the lightness and fluffiness of the final product. To shape, first divide the dough into equal portions. Roll each piece on a lightly floured work surface so as not to incorporate too much flour, which could toughen the texture.
Depending on the desired shape, several techniques can be adopted. For a classic head brioche, create a ball with a small ball placed on top. For braided buns, divide the dough into three or more strands and gently braid them. Proper shaping is essential for even heat distribution when cooking.
Preparation Before Cooking
Once the shaping is completed, the rest is an essential step. Let the shaped dough rest in a warm place away from drafts until it doubles in volume. This step, called primer, is decisive for the development of the flavor and airy texture of the brioche.
Before placing your brioches in the oven, apply a gilding using a brush. A mixture of beaten egg with a pinch of salt is ideal to obtain a golden and uniform color. The browning also contributes to the characteristic silky crust.
Temperature Management and Rest Time
Room temperature plays a crucial role in the amount of rest time needed. A room that is too cold can slow down the rising process, while an environment that is too hot could cause it to ferment too quickly, affecting the taste and structure of the brioche. Ideally, maintain a room temperature around 24°C to 26°C for optimal results.
Also monitor the brioche while it rests. Excessive rising can cause the dough to overflow and affect its shape and texture. Properly controlled rest is the secret to good alveolation and a texture that remains light and airy after cooking.
FAQs
1. How long should you let a brioche rest before baking it?
Resting time may vary depending on the temperature of your kitchen, but it generally takes 1 to 2 hours for the dough to double in size.
2. Can you prepare the brioche dough the day before?
Yes, it is possible to prepare the brioche dough the day before. After the first kneading, place it in the refrigerator. Cold slows down fermentation and can develop more complex aromas.
3. What type of flour is best for making brioches?
For brioches, it is recommended to use type 45 or type 55 flour. These flours have a sufficient gluten level to support the richness of the dough in butter and eggs while remaining light.
Articles sur le même Sujet

Tips for perfect and uniform gilding
To obtain a perfect gilding and uniform on your brioches, several elements must be taken into account, from the preparation of the dough to the baking process. Here are specific techniques and tips to ensure the success of your artisanal bakery.
Choice of gilding method
The selection of the gilding method is crucial to influence the final appearance of your brioches. The most common include using a beaten egg, milk, or a mixture of the two. Whole egg provides a richer color and crispier crust, while milk tends to result in a softer, less shiny color. For vegans, a glaze with almond or soy milk can be applied.
Crucial step, the application must be uniform and moderate. Using a silicone kitchen brush helps distribute the mixture evenly without saturating the dough.
Adjusted cooking temperature and time
Control of the oven temperature plays a significant role in achieving ideal gilding. Too high a temperature can cause the surface to brown too quickly before the brioche is completely cooked inside. Ideally, cooking should begin in a hot oven (around 190°C) to stabilize the rise, then the temperature can be reduced to allow slow and gradual cooking.
It is also advisable to place the brioches in the central part of the oven to ensure even cooking. Using an oven thermometer can help maintain the required temperature accuracy.
Avoid drying out
An often overlooked but vital aspect, humidity in the oven, affects the texture of the gilding. To prevent your brioches from becoming dry or too hard, it is useful to place a small container of water at the bottom of the oven during baking. This technique creates steam which helps to keep the surface of the buns soft and shiny while they cook.
FAQs
1. What is the best composition for gilding on brioches?
A mixture of a whole egg with a small amount of milk provides a good balance of shine and color. However, the selection may vary depending on your preferences and dietary needs.
2. How long should you bake a brioche for perfect browning?
The cooking time may vary depending on the size of the brioches, but in general, cooking for 20 to 35 minutes at 190°C is sufficient. Adjust the temperature and time depending on your oven and the desired coloring.
3. How to apply egg wash evenly without saturating the dough?
Using a fine-bristled silicone brush allows for gentle and even application. Avoid over-dipping the brush so as not to saturate the dough, which could affect the rising and final texture.
Presentation and decoration tips to enhance your brioches
The Basics of Presenting Brioches
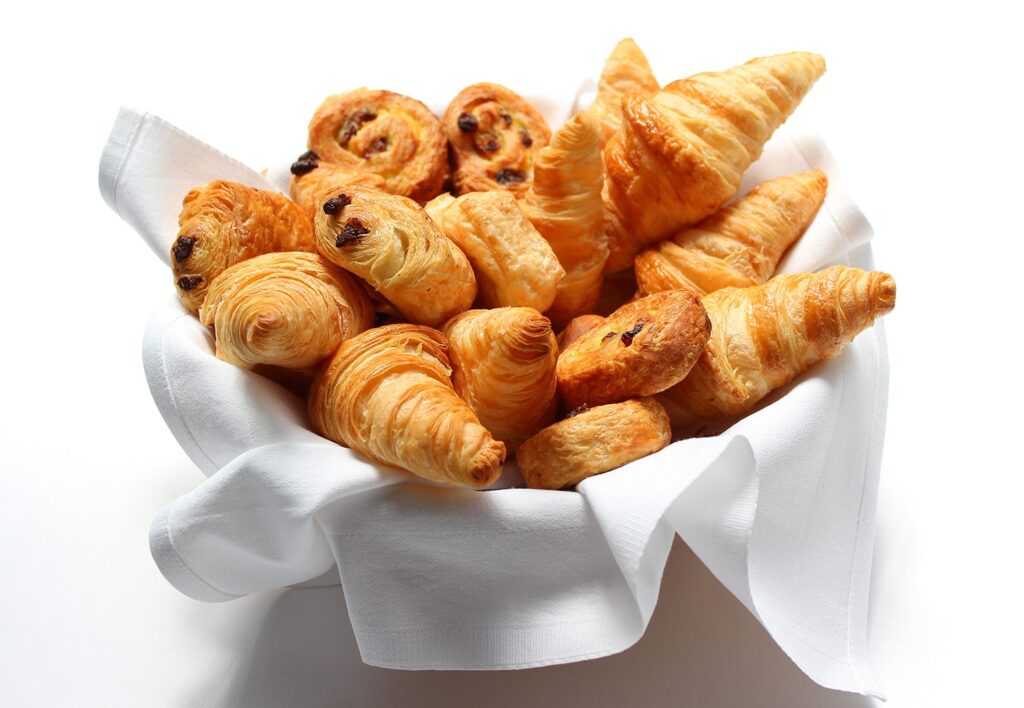
There presentation brioches take on capital importance when it comes to captivating the eye even before the palate is conquered. A neat visual appearance invites tasting and enhances the culinary experience. It is essential to start by ensuring that your buns are perfectly golden and evenly cooked. Use a glaze made from egg yolk diluted with a little milk to obtain a rich and appetizing color.
Place your buns on a dish or plate that contrasts with their color to bring out their golden hue. Using a dark-colored dish or rustic material like ceramic can accentuate the visual warmth of your creations.
Creative Decoration Techniques
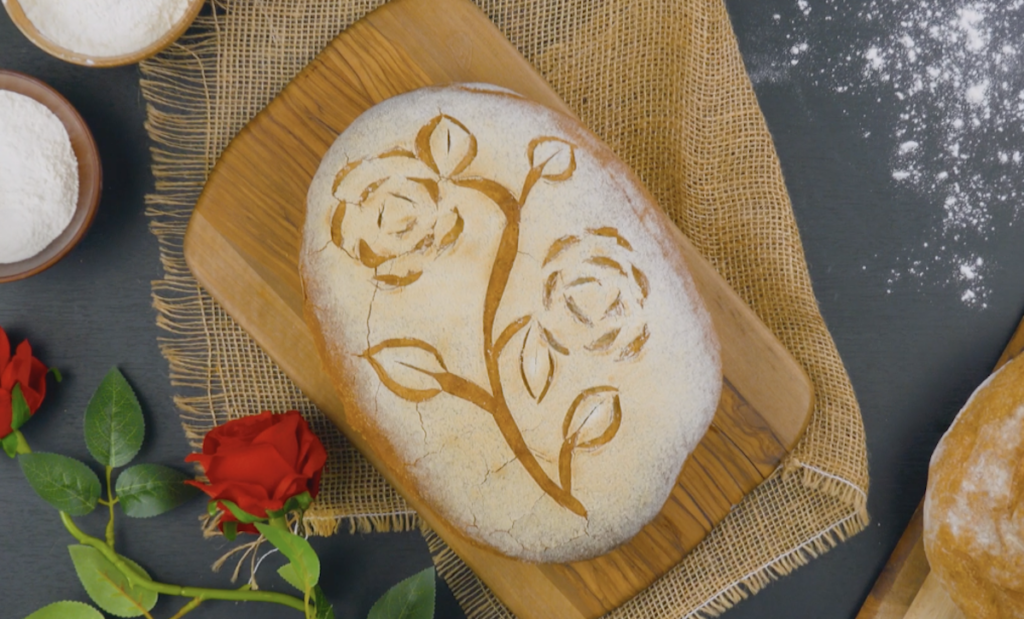
For those looking to add a touch of originality to their buns, using edible decorations is ideal. You can sprinkle your brioches with pearls of sugar or dried fruit before baking for a pleasant texture and enriched taste. Incorporating grains of pearl sugar just before cooking not only adds a pleasant crunch but also gives a shiny and attractive appearance.
Another method is to apply designs to the icing after baking. A light icing made from icing sugar and a few drops of lemon juice can be used to draw elegant lines or zigzags on the tops of the buns. For a more colorful approach, opt for natural food colors like beet juice or turmeric mixed into the icing.
Enhance through Flavors
Decorating your brioches is not limited to visual aspects, it can also involve enriching the flavors. Incorporating orange or lemon zest into the dough subtly enriches the taste while pleasantly scenting your brioches. Spices like cardamom or cinnamon can be sprinkled lightly before cooking for a warm, spicy note that will make all the difference.
A hint of flower of salt on lightly sweetened brioches can also contrast and intensify the taste of your creations. It’s a bold combination that will pleasantly surprise your guests or customers.
FAQs
How do I prevent the icing from making my buns too sweet?
It is recommended to use icing in moderation. You can also opt for an icing made from cream cheese mixed with a little icing sugar, which will be less sweet than traditional icings.
What type of dish is recommended for serving brioches?
Ceramic or glass dishes are excellent because they keep the buns warm longer. Avoid metal dishes which can alter the flavor of the brioches.
Can we prepare the brioches the day before?
Yes, you can perfectly prepare your brioches the day before. Make sure to cover them tightly to prevent them from drying out. Reheat them slightly in the oven before serving to restore their freshness.