How to use banneton for crusty breads?

Discover how to transform your homemade bread into a crispy, airy work of art with the expert use of banneton. Learn the precise preparation, fermentation and baking techniques that fully exploit this valuable baking tool for professional results. A technical journey to the heart of the baking tradition awaits you.
Choosing the right banneton for each type of bread
The essential criteria to consider
When you are about to choose a banneton, several criteria must be considered to guarantee the quality of the bread that you want to produce. First of all, the material of the banneton impacts the rise and texture of the crust of the bread. Wicker bannetons are known for their ability to absorb moisture, which helps create a crispy crust, while plastic bannetons are popular for their durability and ease of cleaning.
The size of the banneton must also be adapted to the planned quantity of dough. A good ratio is essential, as a banneton that is too small or too large can affect the shape and final quality of the bread. Furthermore, the shape of the banneton, whether round or oblong, must correspond to the type of bread desired.
Choose according to the type of bread
For rustic breads like sourdough, a wicker or rattan banneton is preferable, because it allows better aeration of the dough during fermentation. Fans of more traditional and structured breads will opt for linen or coated canvas bannetons, which prevent the dough from sticking.
Specialty breads, such as those containing fruit or nuts, often require bannetons with a non-stick coating for easy release without damaging the inclusions. For fine bakery products, such as baguettes or ciabattas, specific bannetons exist to support directional dough growth.
Additional accessories
It is also important to consider the accessories that can accompany the use of your banneton. The use of diapers or linen cloths can be considered to facilitate unmolding and keep the banneton clean. Grignettes, useful for scoring dough before baking, are another essential tool for bakers looking to personalize the appearance of their breads.
FAQs on using bannetons
What is the best way to clean a banneton?
It is recommended to shake off flour residue after each use and allow the banneton to air dry. For heavier dirt, a soft brush can be used, avoiding water so as not to damage the wood.
Why use a wicker banneton rather than plastic?
The wicker promotes better air circulation around the dough, which helps form a crispier crust and a well-aerated crumb. Plastic, on the other hand, is easier to maintain but does not provide the same benefits in terms of bread texture.
Is it necessary to flour banneton before each use?
Yes, flouring the banneton helps prevent the dough from sticking. Using flours such as rice or rye is particularly effective in creating a non-stick barrier between the dough and the banneton.
Articles sur le même Sujet
Preparing and maintaining your banneton
Preparing the banneton before use
Proper preparation of a banneton is essential to ensure the quality and structure of the bread during fermentation. Before first use, it is crucial to condition the banneton to prevent the dough from sticking. here are some tips to efficiently prepare your banneton:
- Sprinkle it banneton of flour generously, using a brush to evenly distribute the flour over the entire interior surface.
- Lightly tap the banneton to remove excess flour and ensure a thin protective layer.
- For wicker bannetons, an initial spray with water can help the flour adhere better.
Banneton bread fermentation techniques
The use of a banneton during fermentation plays a key role in developing the texture and flavor of the bread traditional. It is important to master these techniques to optimize the use of your banneton:
- Make sure the dough is firmly and evenly placed in the banneton to avoid warping.
- Maintain a constant ambient temperature and humidity to promote even rising.
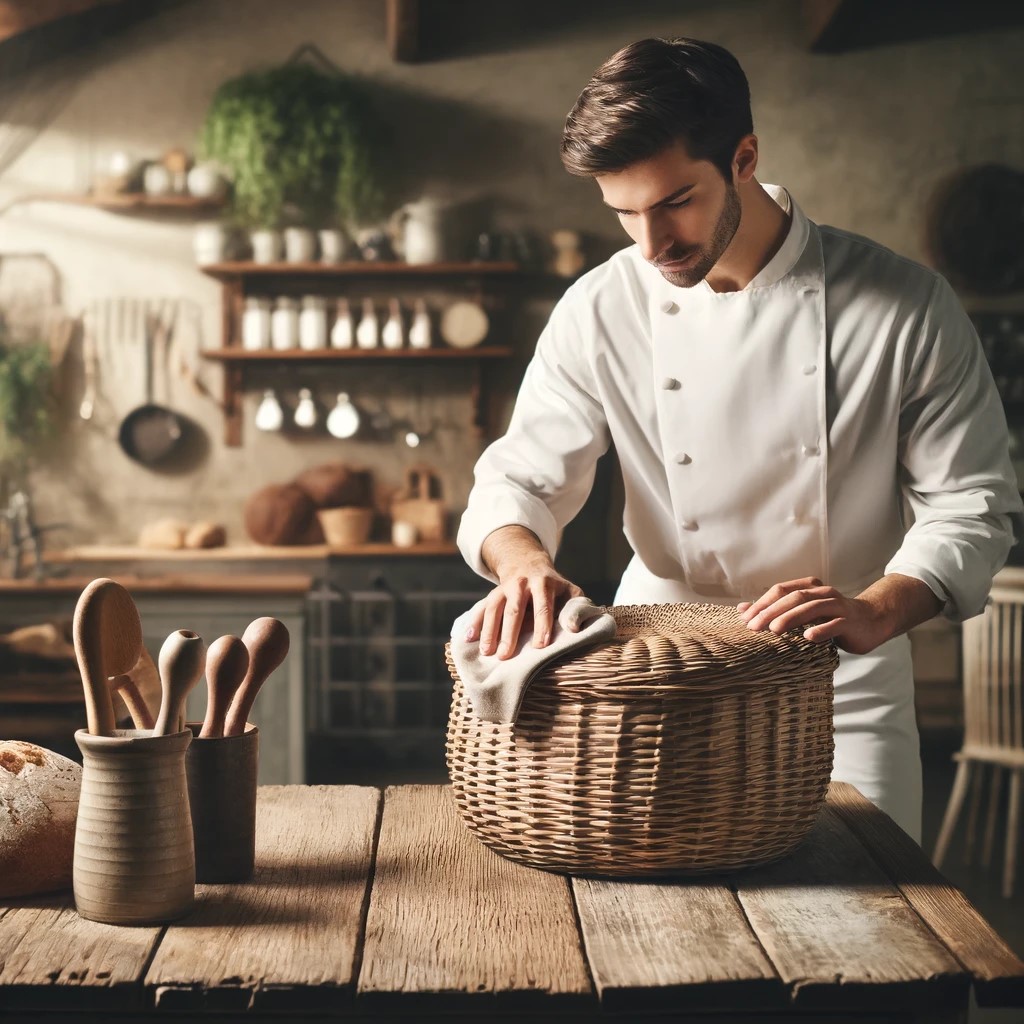
- Cover the banneton with a clean cloth to protect the dough and prevent it from drying out during fermentation.
Maintenance and cleaning of the banneton after use
After each use, cleaning the banneton is essential to extend its lifespan and maintain optimal hygienic conditions. Here are the steps to follow:
- Allow the banneton to air dry completely before cleaning.
- Remove paste residue using a soft brush or dry cloth.
- Avoid using water for cleaning, as the natural banneton material can absorb moisture and form mold.
- Do not use soap or other chemicals that could alter the quality of the bread.
- Store the banneton in a dry, well-ventilated area to avoid any accumulation of moisture.
FAQ: Frequently Asked Questions
What is the difference between a wicker banneton and a plastic banneton?
Wicker bannetons are traditionally favored for their ability to absorb moisture, thus promoting a nice, crisp bread crust. Plastic bannetons are easier to clean and maintain but may not offer the same results in terms of crust texture.
Can you use rice flour to dust banneton?
Yes, rice flour is often recommended for dusting banneton because it adheres well to the surface and has natural non-stick properties superior to those of wheat flour.
Is it necessary to wash the banneton between each use?
It is not necessary to wash the banneton between each use, except in the event of contamination or the development of mold. Good dry cleaning and good ventilation are generally enough to keep the banneton in good condition.
Articles sur le même Sujet

Chalking techniques for perfect unmolding
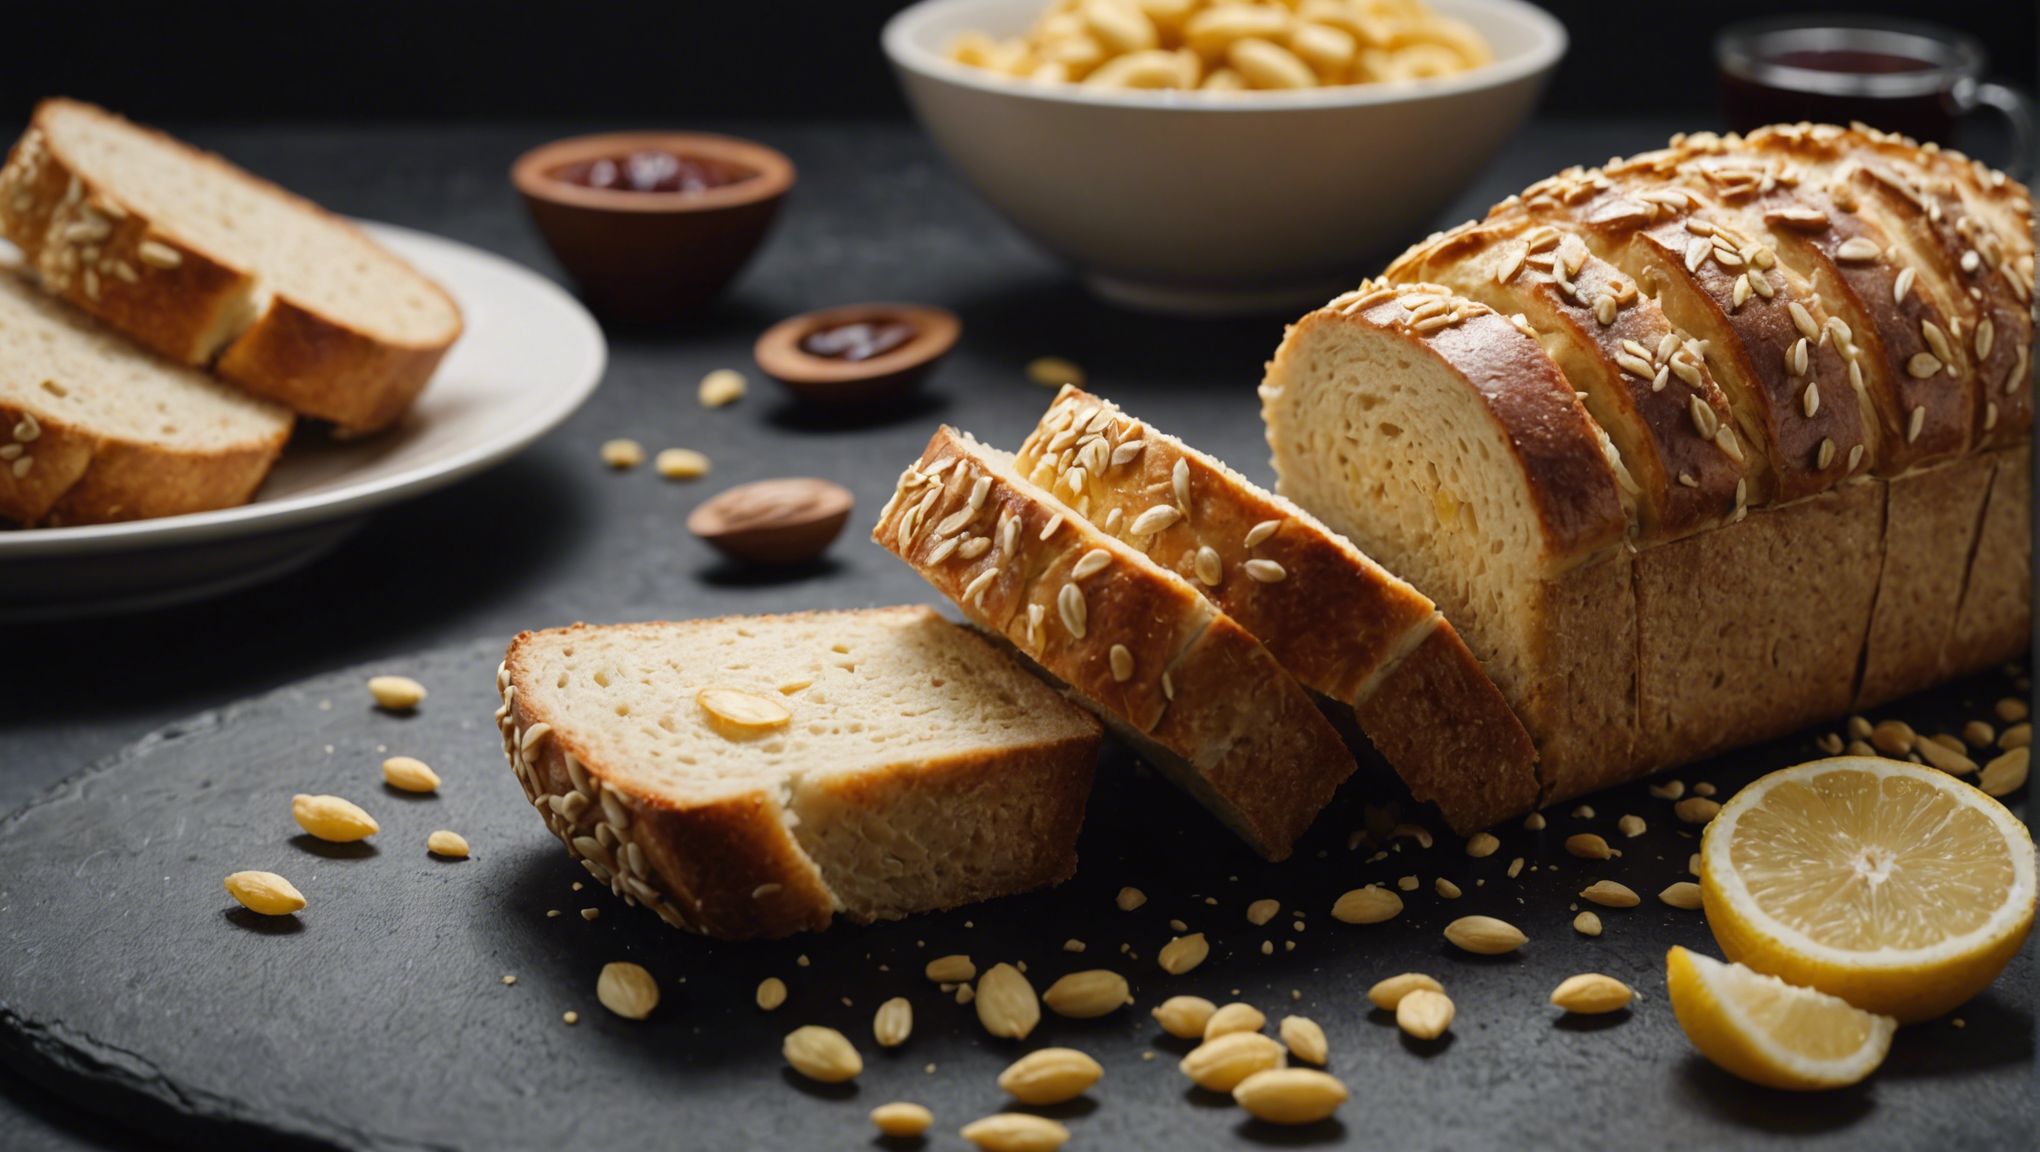
The Fundamentals of Flouring Banneton
The success of an artisanal bread depends significantly on the effectiveness of flouring the banneton. This essential technique ensures not only adequate fermentation but also smooth unmolding of the bread. The quality of the flour used and the method of application are decisive in obtaining a perfect crust and an airy crumb.
To start, it is recommended to use T55 or T65 type flour, which are finer and less rich in gluten than wholemeal flours. These characteristics make it possible to create an effective non-stick barrier while maintaining the lightness of the dough.
Step by Step: Flouring the Banneton
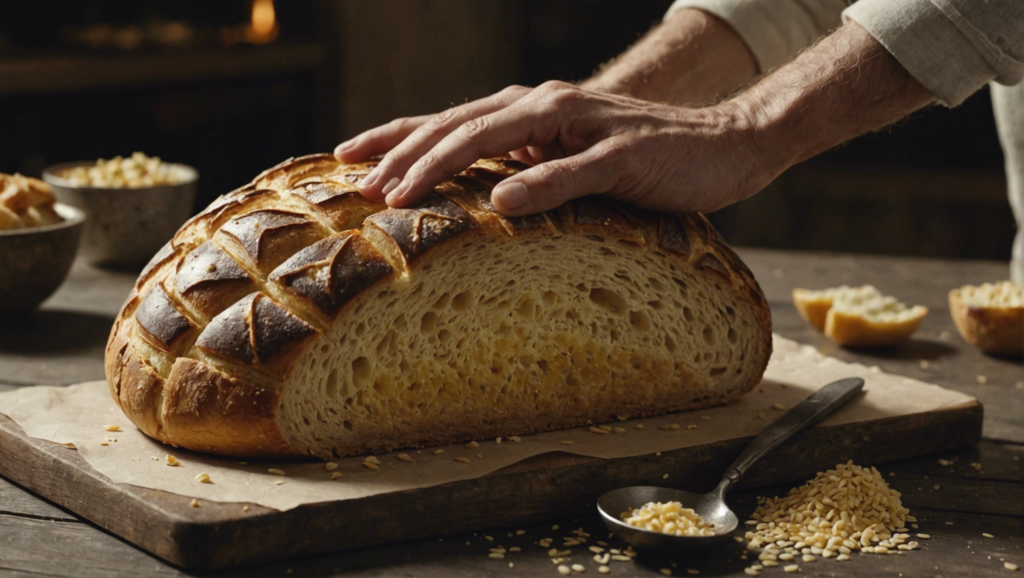
Before flouring the banneton, make sure it is clean and dry. Then place an even layer of flour over the entire internal surface of the banneton. One method is to sift the flour through a fine sieve to cover evenly. Once the flour has been applied, lightly tap the banneton to remove excess and avoid a too thick layer which could dry out the surface of the dough.
Let the flour rest for a few minutes in the banneton before placing the dough in it. This wait allows the flour to absorb any residual moisture from the banneton, reducing the risk of the dough sticking.
Optimization of the Technique for Different Dough Types
Some doughs with high hydration content may require adjustments in flouring technique. For these types of pasta, it may be useful to incorporate a mixture of rice flour and wheat flour. Rice flour, because of its grainy texture and low gluten content, serves as an excellent release agent, reducing the tendency of sticky dough to adhere to the banneton.
It is also beneficial to reapply a small amount of flour just before each use if the banneton is used frequently. This reapplication helps maintain the protective layer without overloading the dough with flour, which could alter its baking characteristics and taste.
Post-Use Banneton Maintenance
After each use, it is crucial to clean the banneton properly to remove flour and dough residue. This prevents the formation of mold and preserves the quality of the banneton. Gentle brushing followed by exposure to the sun allows the banneton to dry completely before storing it, thus preparing the tool for its next use.
FAQs
What is the best flour to use for flouring banneton?
For most doughs, fine wheat flour (T55 or T65) is ideal. For highly hydrated doughs, a mixture of wheat flour and rice flour can be used to make unmolding easier.
How many times can you reuse flour in a banneton?
It is recommended to change the flour after each use to avoid the risk of contamination and to guarantee optimal release.
Is it necessary to wash the banneton after each use?
It is not necessary to wash the banneton every time, but it is crucial to brush it thoroughly to remove flour and dough residue, then let it dry completely to prevent mold.
Articles sur le même Sujet


Baking Tips to Maximize Bread Crispness
Understanding the Role of Banneton in Bread Crispness
THE banneton is essential for preparing breads with a perfectly crispy crust. This support, traditionally made of rattan or synthetic material, offers a cozy nest allowing the dough to maintain its shape while facilitating the evaporation of humidity. The use of banneton directly impacts the final cooking result, because it allows homogeneous fermentation and helps to develop an airy crumb structure and a robust and crispy crust.
Choice and Preparation of Banneton
Selecting a suitable banneton is crucial. For beginners, a wicker banneton is recommended for its breathability and ability to absorb moisture. Before each use, it is advisable to generously flour the banneton to prevent the dough from sticking, preferably using rice flour which is more resistant to humidity than wheat flour.
- Flour the banneton evenly before placing your dough on it;
- Allow the dough to ferment at a controlled temperature for optimal rising;
- Gently turn out the formed loaf onto a preheated baking tray to maintain the temperature.
Cooking Techniques to Optimize Crispness
To maximize the crispness of the bread, some cooking techniques must be implemented. Incorporating steam at the start of cooking can paradoxically help form a crispier crust. Steam allows the crust to remain soft during the first few minutes of baking, giving the dough more time to rise before the crust begins to harden.
- Inject steam into your oven during the first 10 minutes of cooking;
- Increase the oven temperature to speed up crust formation;
- Reduce the temperature after the first few minutes and continue cooking until the crust is completely ripe.
This combination of high initial temperature with introduction of steam ensures maximum dough expansion and optimal crust development.
Banneton Maintenance for Long Life
Proper maintenance is crucial to maintaining the functionality of the banneton. After each use, it is important to remove any flour residue and allow the banneton to air dry completely. Avoid washing banneton with water, as moisture can soak into the fibers and encourage mold growth. Instead, brushing the banneton with a soft brush to remove any leftover dough and flour may be enough.
FAQ on Using Banneton for Crispy Bread
What type of flour is best for flouring a banneton?
Using rice flour is often preferred for its ability to not absorb moisture as quickly as wheat flour, making it easier to remove from the bread without sticking.
Can we use a plastic banneton rather than wicker?
Yes, plastic bannetons are a viable alternative. They provide a non-porous surface that is easy to clean and can also be floured to prevent dough from sticking.
How long should you leave the bread in the banneton before baking?
The resting time in the banneton depends on the recipe and temperature conditions. In general, the dough can rest there for 1 to 2 hours, until it has almost doubled in volume.