


How to prepare Nordic bread with a banneton?
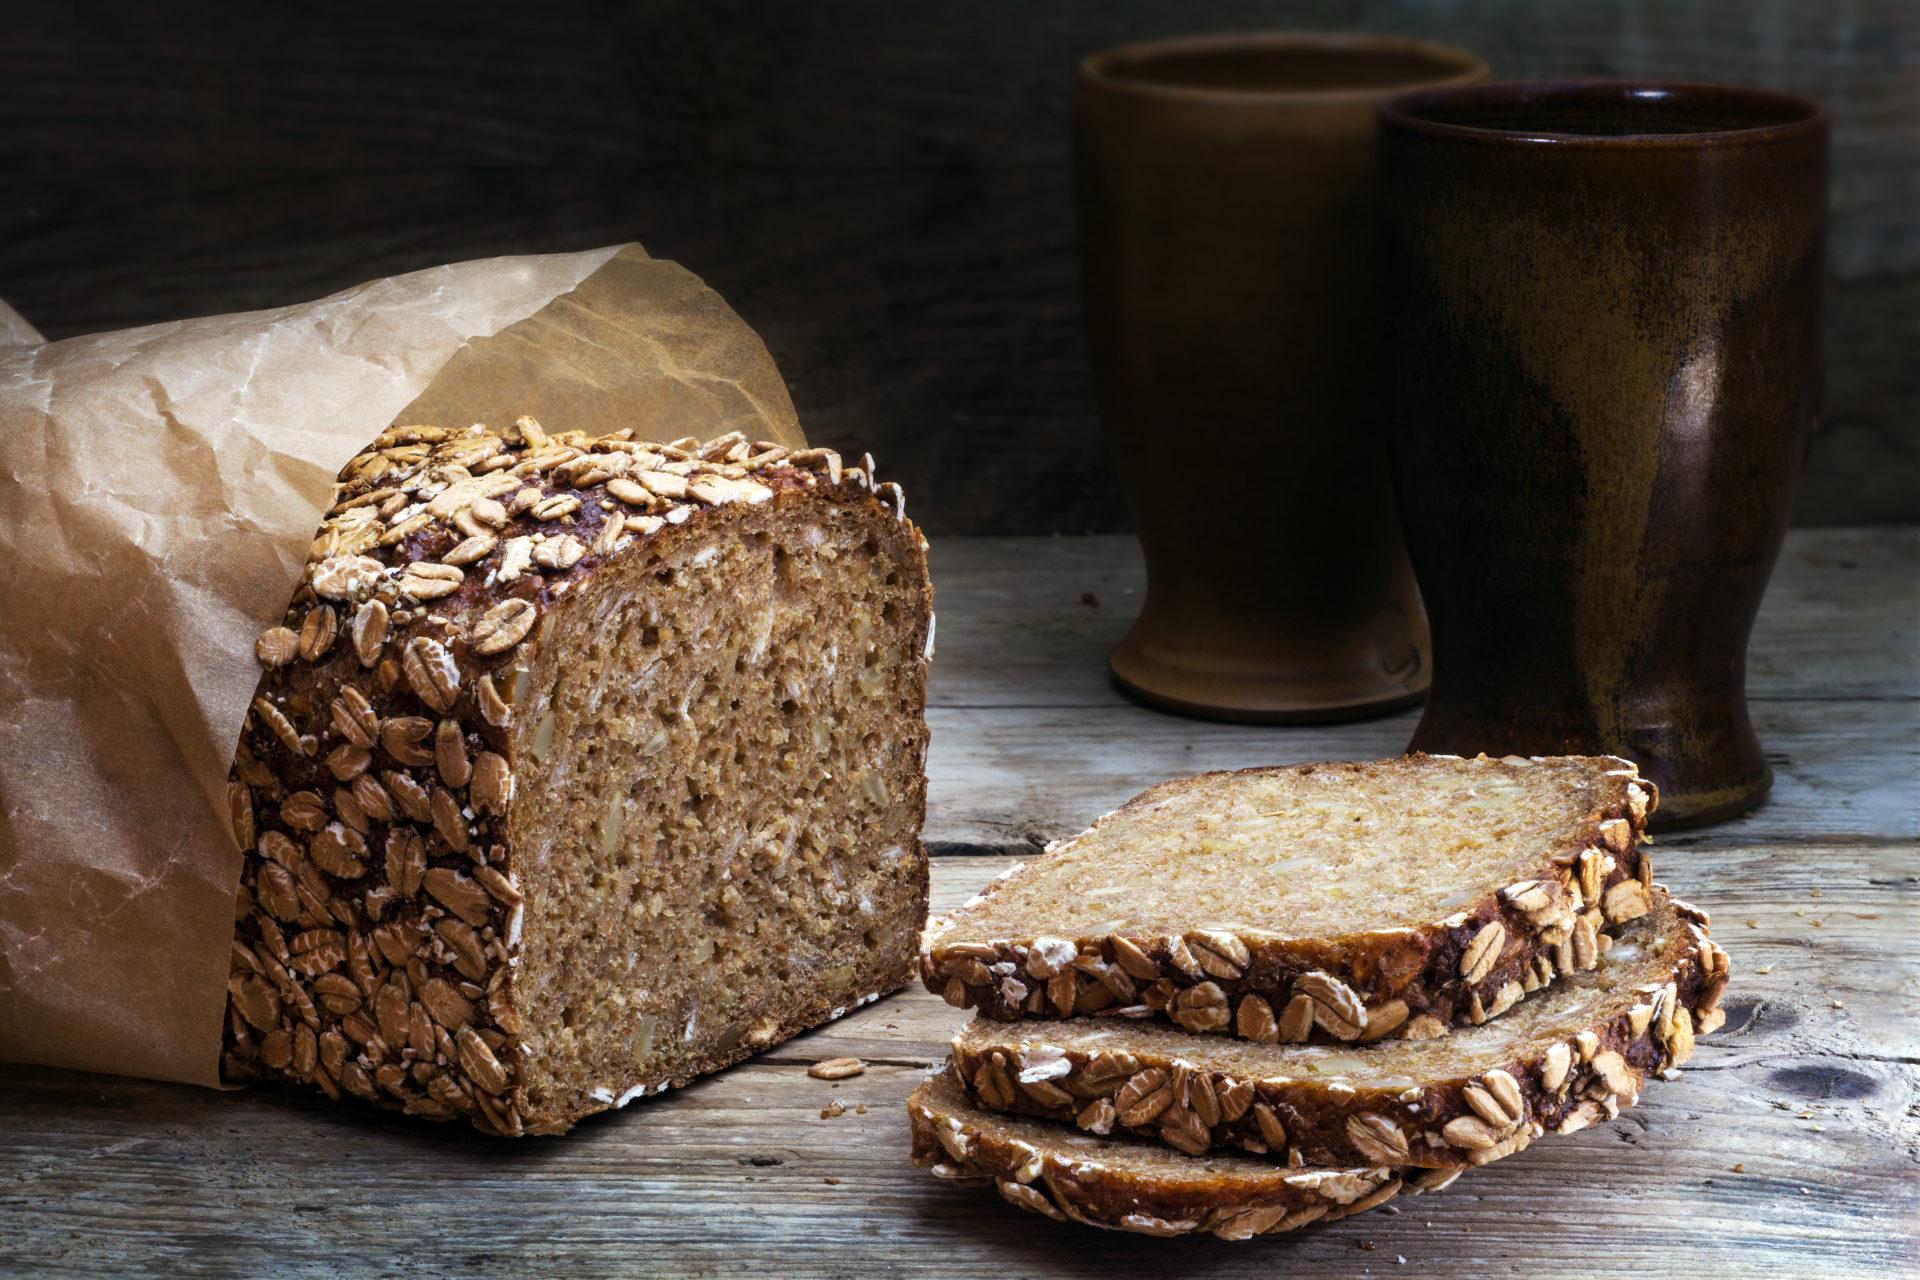

Discover in this article the advanced techniques for mastering the preparation of authentic Nordic bread using a banneton. You will learn how to select the right ingredients, knead with precision, and use banneton efficiently to obtain an airy crumb and a perfectly crispy crust. This detailed guide will accompany you step-by-step, giving you the opportunity to perfect your art of baking and bring a traditional touch to your table. Follow our tips to excel in this recipe rich in flavors and textures.
Choice of ingredients for authentic Nordic bread
Basic Flours for Nordic Bread
The choice of flour is crucial for the success of authentic Nordic bread. Ideally, opt for a wholemeal flour like rye flour or whole wheat flour. These flours not only impart a deep, rich taste but also improve the nutrient density of the bread. There Rye flour provides a specific texture and a slightly acidic taste, while the whole wheat flour gives a denser and richer crumb.
Seeds and Additives
Nordic breads are often enriched with various seeds, adding texture and flavor. The most commonly used include Sun-flower seeds, THE pumpkin seeds and the linseed. These seeds must be of good quality and fresh to guarantee the best possible results. It is also common to add oatmeal for a rustic side and an extra dimension in the mouth.
Natural Sourdough
For authentic Nordic bread, using a Natural leaven is recommended. Sourdough promotes long, slow fermentation, which deeply develops the aromas and improves the texture of the bread. If you’re just getting started with sourdough, it may be helpful to obtain a sourdough culture from a reputable bakery or grow it yourself using organic flour and water.
Choice of Salt and Water
THE salt must be chosen carefully; Fine, unrefined sea salt is ideal for its ability to naturally enhance the flavors of ingredients. As for the water, it must be as pure as possible, preferably filtered or spring, to avoid the taste of chlorine or other impurities that could alter the quality of your bread.
FAQ about the Nordic Bakery
What is the difference between rye flour and whole wheat flour?
Rye flour gives a denser texture and slightly acidic taste to the bread, while whole wheat flour makes the crumb heavier and richer, perfect for rustic breads.
Can we use non-organic seeds in Nordic bread?
Although possible, it is better to opt for organic seeds to avoid pesticide residues and retain the natural flavors of the seeds used.
How do I know if my sourdough starter is ready to use in baking?
A sourdough starter is generally ready when it is voluminous, foamy and gives off a sweet and sour aroma. It should double in size about 8 hours after being fed.
Articles sur le même Sujet
Preparing the dough: Techniques and tips
The Basics of Dough Preparation
The preparation of the dough forms the basis of many baking and pastry recipes. Understanding the basics, like proper hydration, temperature and kneading, can greatly influence the texture and taste of your creations. Be sure to measure your ingredients accurately and follow the recommended proportions for optimal results.
The use of quality flours is also essential. Depending on the type of bread you want, choose a suitable flour – for example, durum wheat flour for pizza dough, or rye flour for rustic, dense bread.
Kneading and Shaping Techniques
Kneading is crucial for developing gluten, which gives the dough its structure and suppleness. There are different methods such as manual kneading, which allows full control of the process, or the use of a kneading robot for larger batches. Shaping, for its part, is a delicate step which influences not only the final appearance of the product but also its internal texture.
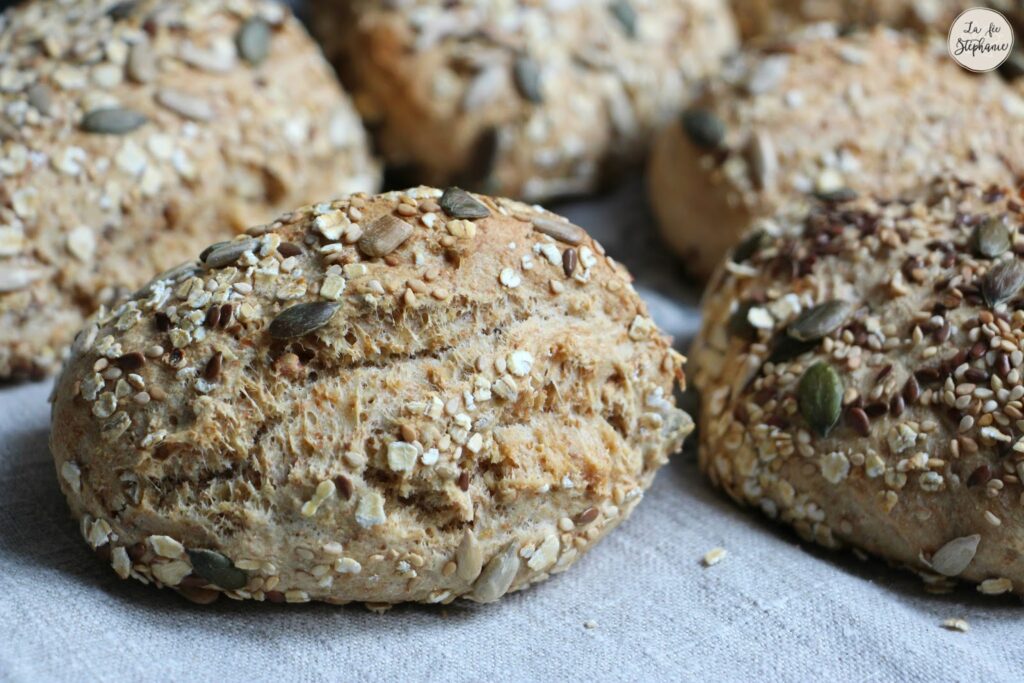
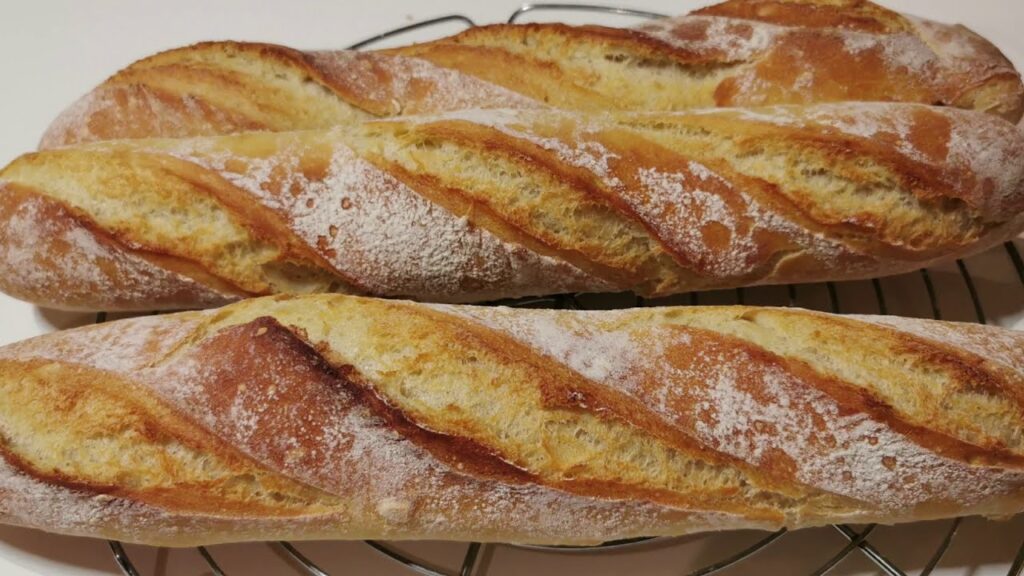
Various techniques can be used depending on the type of bread. For example, balls for country breads, bastards for baguettes, or crowns for special breads.
Mastery of Fermentation
There fermentation is an often underestimated but vital aspect of dough preparation. It not only allows the bread to rise but also to develop a rich and complex taste. Controlling the temperature and humidity of your fermentation environment can make all the difference.
The use of Natural leaven or specifically cultivated yeasts offer aromas and textures that commercial yeasts cannot reproduce. Each type of yeast brings its own characteristics, which can be optimized according to the desired style of bread.
Optimization of Resting and Cooking Times
The rest time, or autolysis, between kneading steps allows the flour to fully absorb water, which facilitates gluten formation and reduces the kneading time required. Baking times also vary depending on the type of finished product desired and can affect the crust and crumb of the bread.
It is advisable to monitor the internal temperature of the bread to ensure proper cooking. Ideally, a loaf is perfectly cooked when its internal temperature reaches around 210°F (99°C).
FAQs
- What is the ideal kneading time for bread dough?
Kneading time varies depending on the type of dough and the method used. Generally, 10 to 15 minutes in the machine and up to 25 minutes by hand is enough for a basic dough. - How do you know if a dough has fermented well?
A well-fermented dough should have doubled in volume and, when lightly pushed with a finger, the mark should slowly disappear. - Can you use dry yeast instead of sourdough?
Yes, dry yeast is a viable alternative, although it offers a different flavor profile than sourdough. Make sure to activate it correctly before use.
Articles sur le même Sujet

Using banneton for optimal rising
What is a banneton?
A banneton, often called bread basket, is an essential tool in the bakery craft. It serves to support the dough during its phase of lifting, allowing it to maintain its shape and promote a uniform crust. Typically made of wicker, wood, or synthetic materials, the banneton comes with a fabric or spiral covering that helps create distinctive patterns on the bread.
Choosing the right equipment
The choice of banneton depends mainly on two factors: the size of the dough to be fermented and the type of bread desired. For rustic, traditional breads, a wicker banneton is preferable as it absorbs excess moisture and promotes a crispy crust. Synthetic bannetons, on the other hand, are practical and easy to clean, ideal for frequent and diverse use.
Preparation and maintenance
Prepare your banneton before each use is crucial to effective proofing. A light dusting of flour before placing the dough in it prevents it from sticking during fermentation. Between two uses, it is recommended to to clean the banneton using a brush, and let it dry in the open air to prevent the formation of mold.
Fermentation techniques in a banneton
The dough should be placed in the banneton with the seam side up. During fermentation, gravity works the structure of the gluten, and the dough takes the shape of the container. Once proofing is complete, the dough is inverted onto a baking sheet for baking, revealing the patterns printed by the banneton.
Optimal Use for Professional Results
To maximize banneton efficiency, it is essential to follow the prescribed rising times for each type of dough. For example, extended use for moisture-rich doughs might require adjustments in duration and environmental conditions. A stable temperature and a controlled humidity level are factors that positively influence the development of the dough.
FAQs
1. Can you use a banneton for all types of bread?
Yes, bannetons are suitable for most types of bread, although some specific breads such as French baguettes require special molds.
2. How to prevent the dough from sticking to the banneton?
Using flour generously is the best method to prevent dough from sticking. Make sure the banneton is well dusted with flour before each use.
3. How long does it take for dough to rise in a banneton?
Proofing time can vary depending on recipe and environment, but is generally between 1 and 1.5 hours at room temperature for natural sourdoughs.
Articles sur le même Sujet
Bread shaping and scoring: traditional methods
The Fundamentals of Shaping
Shaping the bread is a crucial step before baking. This technique consists of giving a specific shape to the dough, which influences not only the appearance of the bread but also its texture and its cooking. For a traditional approach, the baker mainly uses his hands, thus avoiding damaging the structure created during kneading. There are various shapes: balls, bastards, baguettes or twists, each adapted to a specific type of bread.
It is important to work delicately so as not to expel the carbon dioxide formed during fermentation, essential to obtain an airy crumb. After shaping, it is common to leave the bread in primer, a rest period which allows the dough to take definitive shape while continuing fermentation.
Scoring Techniques
THE scoring, or bread incision, is a technique which consists of making cuts on the surface of the dough just before putting it in the oven. The objective of these incisions is multiple: they allow the crust to develop harmoniously during baking, control the expansion of the bread and improve the visual appearance of the finished product. For optimal results, use a very sharp blade, often called a baker’s blade or grenette, is recommended.
The scoring pattern can vary from a simple cross to more elaborate designs, with each incision having an impact on how the bread develops. The depth and angle of the cuts are critical: shallow cuts will create a thin crust, while deeper cuts will promote a thick, crispy crust.
Practical Considerations for Cooking
Once shaped and incised, the bread is ready to be baked. However, it is crucial to maintain a warm and humid environment during the first minutes of cooking to promote good expansion. This atmosphere can be achieved by using steam in the oven. Steam allows the crust to stay soft longer, giving the dough more time to rise before the crust becomes stiff.
The temperature of the oven, which must be preheated, depends on the type of bread and the recipe used. Usually, a high temperature is used to start baking, then reduced to allow the bread to cook through without burning the crust.
FAQs
- How important is rest after shaping?
Resting, or proofing, allows the dough to finalize its fermentation and stabilize its shape. This contributes to the texture and volume of the finished bread. - What type of blade should I use for scoring?
A baker’s blade, known as a grenette, is ideal because it is designed to be extremely sharp and maneuverable, allowing for precise incisions. - How can you generate more steam in a household oven?
One method is to place a heatproof container filled with hot water in the oven, or to spray the walls of the oven with water immediately after placing the bread in it.
Articles sur le même Sujet
Perfect cooking: Recommended temperatures and times
The Fundamentals of Cooking Meats
When it comes to cooking meats, each type requires special attention to achieve optimal doneness. Temperature and time are essential to avoid an overly dry or undercooked dish. Red meats, such as beef or lamb, generally benefit from cooking at a high temperature for a well-caramelized surface with a juicy center. For example, a rare steak is ideally cooked to an internal temperature of 52-54°C. On the other hand, white meats like chicken or turkey require an internal temperature of 75°C to ensure that the meat is both safe to consume and tasty.
Cooking Temperature and Times for Eggs and Dairy Products
Eggs and dairy products require a delicate approach to avoid overcooking. Eggs, for example, become hard and rubbery if cooked at too high a temperature. For soft-boiled eggs, keep the water just below boiling around 85°C and leave them for 3 to 5 minutes. Products such as flan or crème brûlée require cooking in a bain-marie at a constant temperature of 100°C, to obtain a soft and homogeneous texture.
Optimization of Vegetable Cooking
Cooking vegetables is crucial to preserve their texture and nutritional value. Root vegetables such as carrots or potatoes thrive well at temperatures around 200°C for roasting, while green vegetables like broccoli or spinach prefer a short steaming at around 100°C to retain their vibrant color and nutrients.
Precision in Baking Pastries and Biscuits
Pastry requires great precision. Too high a temperature can char the bottom of a pie without completely cooking the top. For perfectly golden biscuits, an oven temperature of 180°C is ideal. As for complex cakes such as egg cakes or sponge cakes, they must be cooked between 160°C and 175°C. It is crucial to follow recommended cooking times and use a preheated oven for even heat distribution.
FAQ: Ideal Cooking
What is the ideal temperature for roast chicken?
The recommended internal temperature for a roast chicken is 75°C. It is best to place your thermometer in the thickest part of the thigh, without touching the bone.
How to prevent vegetables from losing their texture when cooking?
To preserve the texture and nutrients of vegetables, opt for gentle cooking techniques such as steaming, and limit cooking time. Blanching can also be effective, by quickly plunging vegetables into boiling water and then immediately into ice water.
Is there a universal temperature for baking cakes?
No, each type of pastry may require a different temperature. However, a good rule of thumb is to bake most cakes at 175°C. It is essential to follow the directions in your specific recipe for the best results.
Preserving Nordic bread for prolonged freshness
Optimal preservation of Nordic bread
THE Nordic bread, also known as Scandinavian bread, is loved for its dense texture and rich flavors. In order to maintain these characteristics, it is crucial to adopt the right methods of conservation.
Choosing Appropriate Storage Materials
To ensure effective preservation, select materials that allow the bread to “breathe”. Use a linen or cotton cloth bag to store your bread. These materials absorb excess moisture while maintaining a proper environment around the bread.
Storage at room temperature
Store Nordic bread ambient temperature is recommended to maintain its freshness for two to three days. Place the bread in a cool, dry place away from direct heat sources like the sun or heaters.
Using the Refrigerator for Long-Term Storage
For extended storage, the refrigerator may be an option. However, this method can alter the texture of the bread, making it denser. If you opt for the refrigerator, be sure to wrap the bread carefully in plastic to prevent it from drying out.
Freezing, an effective method for large quantities
Freezing is the best option for storing Nordic bread for a long time. Slice the bread before freezing and wrap each slice individually. This will allow you to defrost only the amount needed.
Nordic Bread Storage FAQ
1. Can Nordic bread be stored outside of a storage bag?
No, to preserve its freshness, it is best to store it in a cloth bag that balances the humidity around the bread.
2. How long does Nordic bread last in the freezer?
Nordic bread can be stored in the freezer for approximately 2 to 3 months without significantly affecting its quality.
3. How can you tell if Nordic bread is no longer fresh?
A hard texture and the presence of mold are the main indicators that Nordic bread has lost its freshness and should no longer be consumed.