


How to prepare delicious rye bread with banneton?
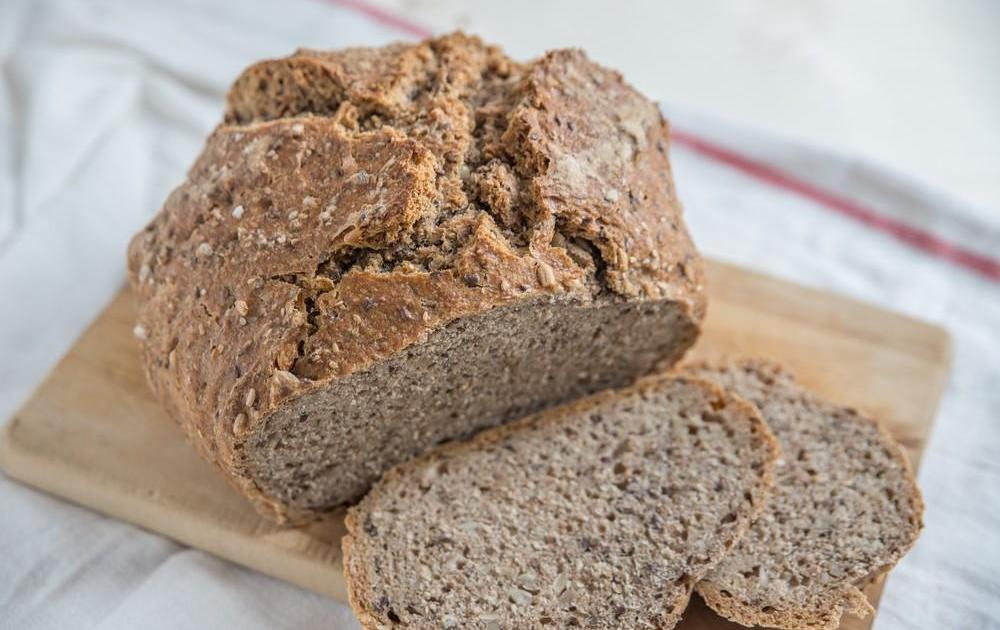

In this article, we will explore the traditional technique of preparing rye bread using a banneton. You’ll discover how this tool can transform the texture and shape of your bread, while guiding you step-by-step through the fermentation, shaping and baking process to achieve a perfectly crisp and flavorful loaf. Whether you’re a passionate amateur or an experienced baker, master the art of this rustic bread to enrich your culinary repertoire.
Choosing Ingredients for Perfect Rye Bread
The Type of Rye Flour
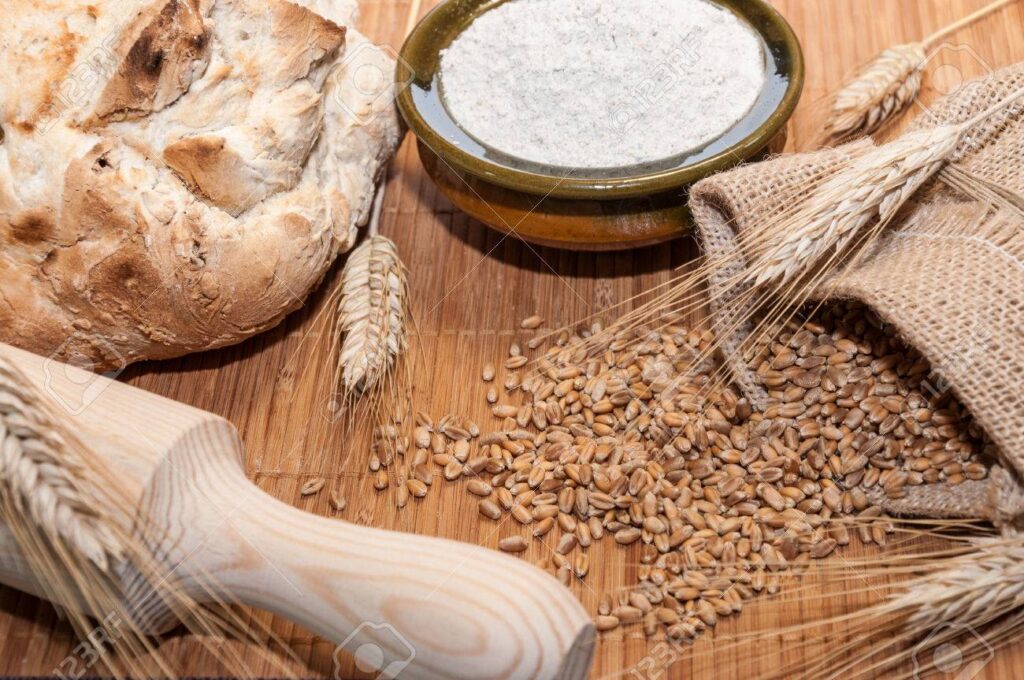
A crucial element in the preparation of Rye bread is the selection of flour. For optimal results, it is recommended to use wholemeal or semi-wholemeal rye flour. These types of flour retain a significant amount of the nutrients found in the whole grain, enriching the bread with fiber and minerals.
Natural Sourdough
Natural fermentation using leaven is preferred for rye bread. Sourdough not only promotes better digestibility of the bread but also imparts a characteristic texture and flavor. Creating a specific rye sourdough can be an interesting approach to accentuate the authenticity and taste quality of bread.
Proper Hydration
Hydration, or the ratio of water to flour, plays a determining role in the final texture of the bread. Rye absorbs more water than wheat. Therefore, hydration around 75% to 80% is recommended. Fine adjustment of the amount of water is necessary to ensure a workable dough and prevent it from being too sticky.
Salt and Other Additives
THE salt is essential not only for flavor, but also to strengthen the structure of the dough. A moderate amount, generally around 1.8% to 2% relative to the weight of the flour, is sufficient. For flavor variations, seeds such as sunflower, pumpkin or caraway seeds can be included in the recipe.
The Kneading Process
Kneading rye bread should be done carefully. Excessive kneading can degrade the quality of the gluten contained in rye, affecting the texture of the bread. Moderate kneading is enough to integrate the ingredients and form a homogeneous dough.
FAQs
What is the ideal resting time for rye bread dough?
The resting time for rye dough varies depending on the temperature and composition of the dough, but a fermentation of at least 2 hours is generally recommended.
Can rye flour be combined with other types of flour?
Yes, it is common to mix rye flour with wheat flour to balance the texture and improve the rising of the bread.
Are there any alternatives to sourdough for making rye bread?
Although sourdough is ideal, specific baker’s yeasts for rye bread are available and can be used to simplify the fermentation process.
Articles sur le même Sujet
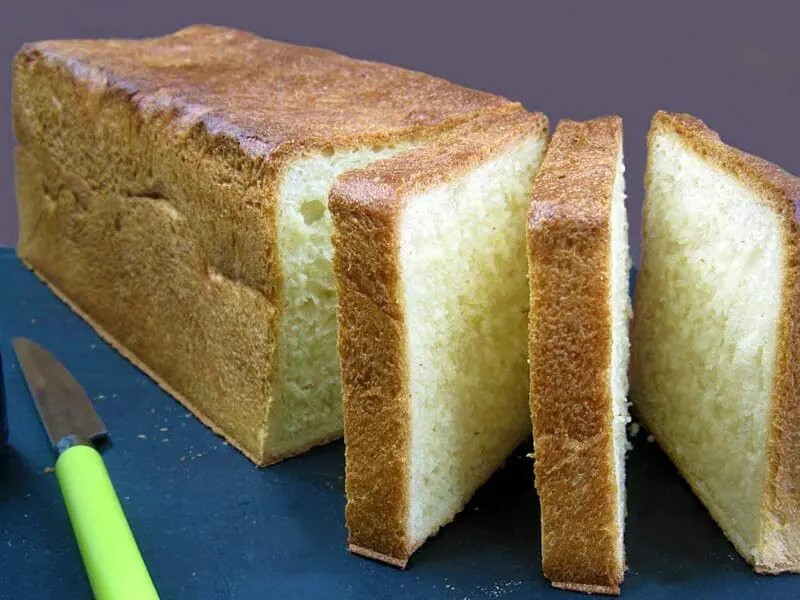

Preparing the dough: essential steps
Selection and Preparation of Ingredients
The success of Rye bread begins with the careful selection of its components. The rye used must be of high quality, ideally organic, to guarantee an authentic and natural taste. The choice of Rye flour is crucial: flour type 130 or 170 will provide a dense and rich texture. The water, preferably filtered or spring, must be tempered to optimize the activity of the yeast or leaven. As for yeast, fresh baker’s yeast or an active sourdough starter is necessary to ensure adequate rising.
Mixing and Autolysis
Once the ingredients are ready, start by mixing them gently. The technique ofautolysis is recommended to improve dough handling and gluten formation. This process involves mixing the Rye flour and water, then let the mixture sit for a period of 20 minutes to an hour. This rest time facilitates the hydration of the flour and reduces future kneading efforts.
Kneading and First Rise
Kneading can be done by hand or with a mixer. For the Rye bread, moderate kneading is sufficient, as rye dough is generally stickier and denser than white bread. After kneading, the dough should be covered with a clean cloth and left to rise in a warm place, away from drafts. This first rising time generally lasts between one and two hours, until the dough has almost doubled in volume.
Shaping and Second Rise
Once the first rise is complete, degas the dough by pressing it lightly to eliminate air bubbles. Shape the dough into the desired shape, often a bastard or a loaf. Then place the shaped dough in a banneton or on a baking tray covered with baking paper. A second rise is then necessary, it is often shorter than the first, but is crucial for the final structure of the bread.
Cooking
Preheat your oven to a high temperature (around 220°C) with a container of water placed on the oven floor to create steam. This will help develop a crispy crust. Place the bread in the oven and immediately lower the temperature to 200°C. Baking time generally varies between 35 and 45 minutes, depending on the size of your loaf. Leave to cool on a rack before eating.
Rye Bread FAQ
What is the difference between yeast and sourdough in making rye bread?
Baker’s yeast provides faster rise but can alter the natural taste of rye. Sourdough, for its part, ensures longer fermentation which develops more complex aromas and better preservation of the bread.
How to prevent rye dough from being too sticky?
It is advisable to adjust the quantity of water according to the absorption of the rye flour and to carry out autolysis to facilitate the management of the dough.
Can you mix rye flour with other types of flour?
Yes, mixing flours can change the texture and taste of bread. In particular, adding wheat flour can help lighten the texture of rye bread.
Articles sur le même Sujet
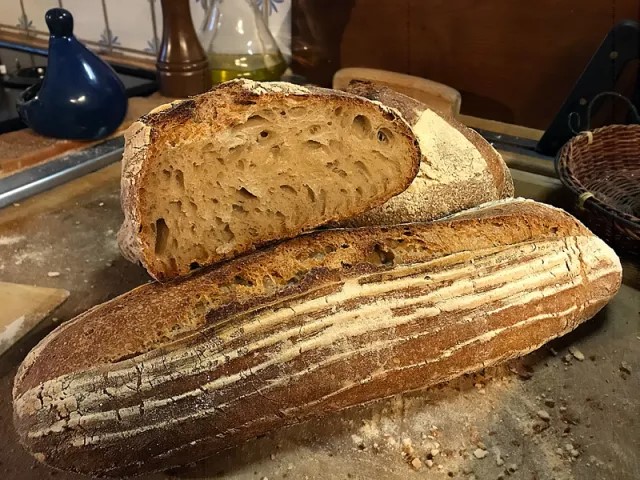
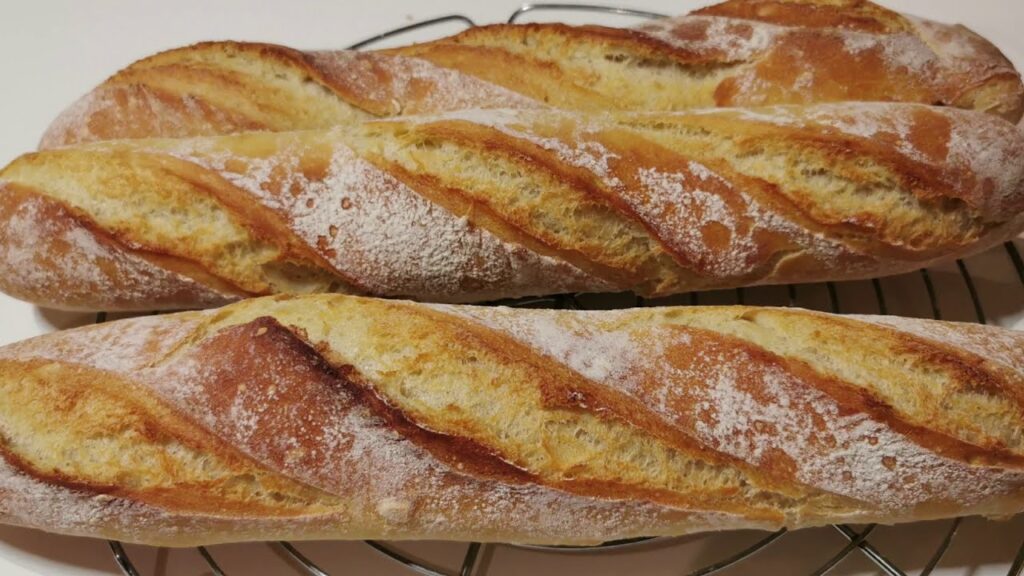
Using banneton to shape bread
The Benefits of Using a Banneton in the Preparation of Rye Bread
THE banneton, generally made of wicker or cane, is a crucial tool in the preparation of bread dough, especially for rye bread. This container helps maintain the shape of the dough during the final hours of fermentation. Its use creates a well-structured crust and improves the texture and taste of the bread.
Dough Preparation and First Fermentation
Before placing the dough in the banneton, it is essential to prepare it correctly. Start by mixing the ingredients – rye flour, natural sourdough, water, and salt – and let the dough ferment until it doubles in volume. This first fermentation is crucial for developing the flavors and texture of the bread.
Preparation and Maintenance of Banneton
Before each use, it is important to prepare the banneton. Sprinkle it generously with flour to prevent the dough from sticking to it. After each use, remove excess dough and flour, and let it air dry. This will preserve the quality and longevity of your banneton.
Shaping Techniques and Placement in Banneton
After the first rise, gently punch down the dough and begin to shape it according to the size of your banneton. This step, named shaping, is delicate because it defines the final shape of the bread. Then place the dough in the banneton with the seam side up.
Second Fermentation and Tips for Perfect Unmolding
Let the dough ferment again in the banneton. The duration of this fermentation can vary, but is generally around 1 to 2 hours. Before unmolding, make sure the dough is not sticking by checking the edges with a finger. Then invert the banneton onto a baking tray and carefully remove the basket.
Cooking and Expected Results
When baking, the dough will take the shape printed by the banneton, with the characteristic patterns left by the groove of the basket. The result will be a crispy rye bread on the outside with an airy and uniform crumb.
- FAQ:
- What type of flour should I use to dust banneton?
- Can we use a plastic banneton?
- How long should the second fermentation last in the banneton?
Articles sur le même Sujet
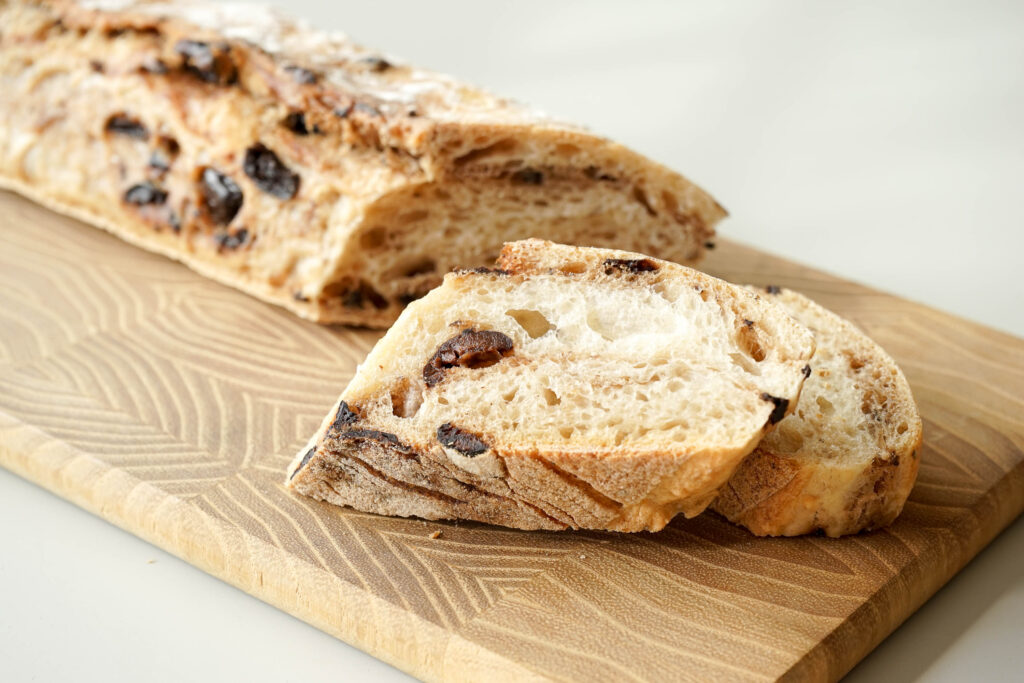
Fermentation Tips for an Airy Crumb
The Basics of Fermenting Rye Bread
Fermentation is a crucial process for obtaining airy crumb in the manufacture of Rye bread. Since rye contains less gluten than wheat, processing its dough requires specific methods to maximize rising and maintain bread structure.
First of all, it is essential to use a active leaven or a culture of fresh yeast. The quality and activity of the yeast play a determining role in the success of fermentation. Make sure your sourdough or yeast is vigorous and healthy to promote good development of carbon dioxide, essential for the formation of an airy crumb.
It is also recommended to opt for a long fermentation, at a controlled temperature. Rye dough benefits from prolonged fermentation, generally between 12 and 16 hours, at a temperature of around 24°C. This slow process allows the aromas to fully develop and the structure of the crumb to become more elastic and airy.
Specific kneading and hydration techniques
Kneading plays an important role in the development of gluten, a necessary element even in rye bread where gluten is less abundant. Kneading should be adapted so as not to tear the weak gluten proteins from the rye. Use gentle, less intensive movements than with wheat-based dough.
The hydration of the dough directly affects the consistency and final result of the crumb. Rye-based pasta absorbs more water. For a truly airy crumb, it is advisable to maintain a slightly higher hydration rate, around 75-85%. This high hydration will help create a softer dough, making it easier for gas bubbles to form and better rising when baking.
Management of rest times and temperature
Alternating rest and action, the break times allow the dough to develop naturally and fermentation to proceed optimally. Between kneading phases, let the dough rest to relax the glutens and incorporate more air. These periods, called autolysis, are crucial to allow the enzymes to work and improve the structure of the dough.
Temperature is also a key factor during the fermentation process. Dough fermented at temperatures that are too low or too high will not properly develop the desired characteristics. Maintain a stable temperature around 24°C during the main fermentation for ideal enzymatic and microbial activity.
FAQs
1. What type of sourdough is best for rye bread?
Well-grown and regularly fed sourdough is ideal for rye bread, as it adds acidity and improves the crumb structure.
The kneading time should be short, often between 10 and 15 minutes, with gentle movements to avoid degrading the fragile gluten of the rye.
The rye dough should double in volume and have a slightly rounded and matte surface. A slight imprint should remain when you press the dough with a finger.
Articles sur le même Sujet
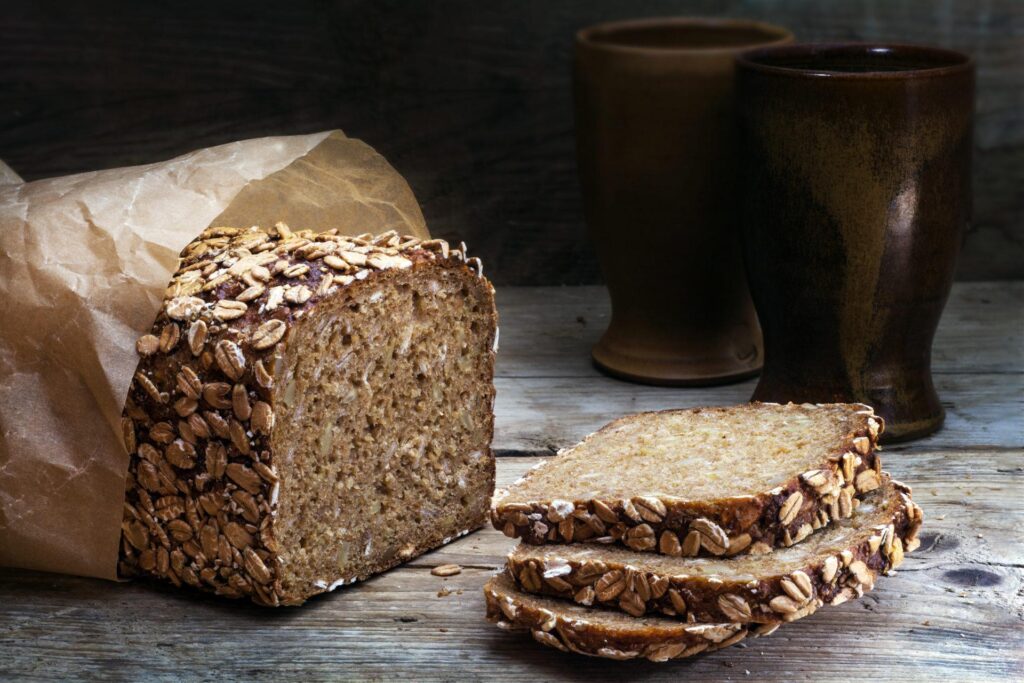
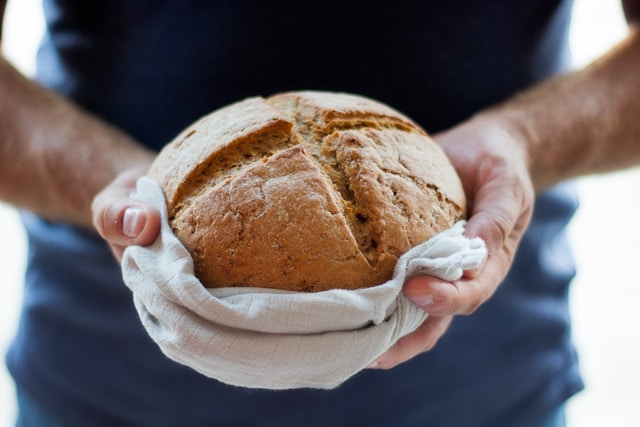
Baking rye bread: techniques and tips
The Basics of Baking Rye Bread
Cooking the Rye bread differs substantially from that of conventional wheat-based breads. This type of bread requires special attention due to its low gluten content, which impacts its texture and development. Mastering dough hydration, temperature control and baking timing is essential to achieving perfectly baked rye bread.
Dough Preparation: Hydration and Kneading
Hydration plays a crucial role in preparing rye dough. Due to its composition, rye absorbs more water than wheat. Therefore, it is recommended to maintain a hydration level around 75% to 85%. Kneading must be carried out carefully so as not to overload the potentially fragile rye dough. Short kneading followed by a series of foldings can help strengthen the structure of the dough without tearing it.
Fermentation Management
The fermentation of rye bread must be closely monitored. Since rye ferments more quickly than wheat, it is crucial not to let the dough overferment, which could lead to sagging of the bread and a gummy texture. Using a well-activated sourdough starter and adjusting rest periods based on ambient temperature are recommended practices to effectively control the fermentation process.
Rye Specific Cooking Techniques
Baking rye bread requires a slightly different approach. An oven preheated to a temperature of around 220°C is ideal. Using steam at the start of baking can improve the texture of the crust and encourage the bread to rise nicely. However, unlike other breads, the cooking time must be slightly extended and at a lower temperature after the first few minutes, to allow even cooking throughout.
Steps to Avoid Common Pitfalls
To avoid common mistakes in baking rye bread, it is essential to optimize the proportion of rye in the flour. Usually a combination with wheat improves the texture and workability of the dough. Also be sure to grease and flour your loaf pans well to prevent sticking, and monitor baking carefully to avoid burning or undercooking.
FAQs
- What is the best type of rye flour for artisan baking?
Whole-grain rye flour is often favored for its richness in nutrients and fiber, although mixed with wheat flour it can make dough easier to handle. - How long does it take to bake rye bread?
Generally, rye bread should bake for 40 to 50 minutes, adjust the time depending on the size and shape of the bread. - How do you know when rye bread is perfectly cooked?
A reliable indicator is the internal temperature of the bread, which should reach around 98°C for the bread to be completely cooked.
Serving and storing your rye bread
Optimizing the freshness of rye bread
Rye bread, known for its density and characteristic flavor, requires a specific approach to maintain its freshness. To best preserve your rye bread, it is advisable to store it in a cool and dry place. Avoid spaces that are humid or exposed to direct sunlight, as these can speed up the staling process. A paper bag might be ideal for allowing the bread to “breathe” and retain a crisp crust, while a plastic bag might keep it moist but might also soften the crust.
If you do not plan to eat the bread within a few days, the freezing is a great option. Slice the bread before freezing to make it easier to thaw the portions needed without thawing the entire bread. Wrap the slices or whole loaf carefully in plastic wrap, followed by a layer of aluminum foil to minimize exposure to air.
Rye Bread Serving Techniques
Rye bread goes perfectly with a variety of dishes and is an ideal accompaniment to soups and cold meats. To serve, cut the bread into thick or thin slices depending on preference. Using a serrated bread knife allows for a clean cut without crushing the crumb. It is optimal to slice rye bread just before serving to preserve its texture and aroma.
To accentuate the flavors, rye bread can be lightly toasted. Toasted, it develops a crunchy surface and a warm crumb ideal for buttering or garnishing with homemade jams or creamy cheeses.
Frequently asked questions about storing rye bread
- How long can you keep rye bread?
Rye bread generally keeps well for 2 to 3 days when stored properly at room temperature. If you choose to freeze it, it can last up to 3 months without losing quality. - Is it necessary to refrigerate rye bread to extend its life?
The refrigerator is not recommended for storing bread because it can quickly dry out the crumb. Instead, choose freezing if you want to keep the bread longer. - Can you revitalize rye bread that has become hard?
To restore freshness to hardened rye bread, you can briefly put it in the oven. Lightly moisten its surface and reheat it at 180°C for a few minutes. This will help restore its crisp texture and warm the crumb.