


How to properly use fermentation techniques in banneton?
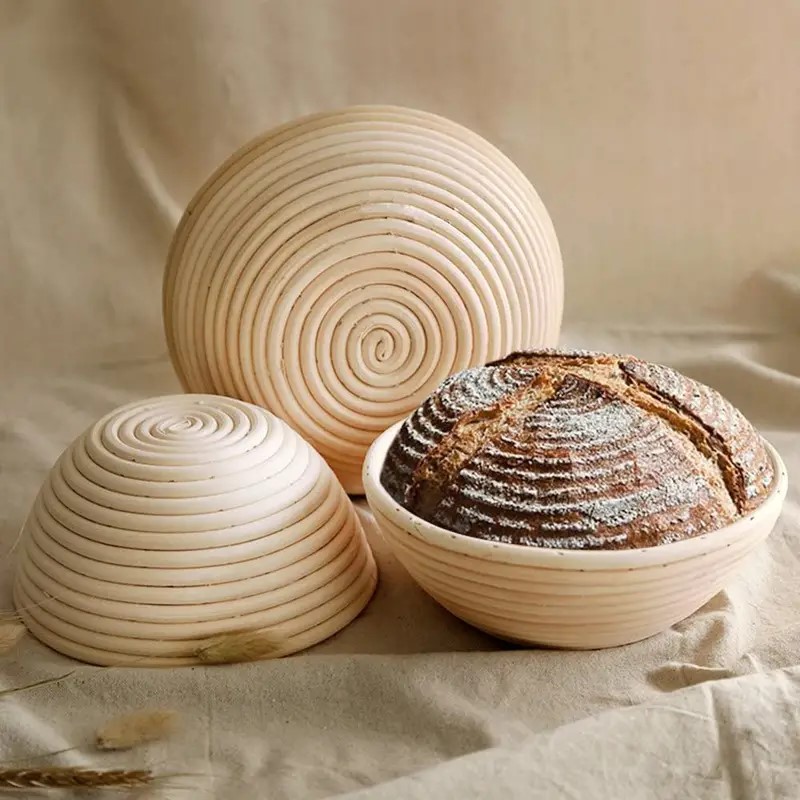

Discover the secrets of successful fermentation in a banneton to transform your homemade breads into works of culinary art. This article guides you through the key steps and precise techniques to master the use of banneton, thus guaranteeing a crispy crust and a perfectly airy crumb. Ideal for artisanal bakery enthusiasts wishing to improve their know-how.
Preparing the banneton for optimal fermentation
Choice and Maintenance of Banneton
Before tackling the preparation of banneton for a optimal fermentation, it is crucial to select the right type of banneton and ensure its proper maintenance. Bannetons can be made from wicker, rattan, wood or even food grade plastic. Each of these materials has its specificities, but the most popular for their ability to regulate humidity are those made of wicker and rattan.
It is also essential to clean the banneton regularly to prevent the build-up of dough residue and mold. A soft brush and slightly lukewarm water are sufficient for cleaning after each use. Allow the banneton to air dry completely before storing or reusing it.
Initial Banneton Preparation
There preparation of banneton starts with flouring it. Using rice flour is often recommended because it does not incorporate into the dough and makes it easier to unmold the bread after fermentation. Sprinkle flour evenly over the entire interior surface of the banneton to create a non-stick layer between the banneton fabric and the dough.
Fermentation Techniques in Banneton
After preparing and flouring the banneton, it’s time to take care of the dough. Make sure your dough has the right consistency and hydration for the type of bread you want to make. Carefully place the dough in the banneton, seam side down. This is crucial because when unmolding, this seam is at the top and allows the bread to expand better when baking.
Ambient temperature plays a significant role in the duration of fermentation. A temperature around 24°C is ideal for fermentation of most types of pasta. Cover the banneton with a clean, slightly damp cloth to prevent the surface of the dough from drying out.
Humidity and Temperature Control
Humidity is another key factor to control for optimal fermentation. A room that is too dry can dry out the dough, while a room that is too humid can prevent the crust from forming properly. Using a humidifier or placing a bowl of water nearby can help maintain adequate room humidity.
Banneton Preparation FAQ
What type of flour is best for flouring a banneton?
Rice flour is often recommended for flouring banneton, because it does not incorporate into the dough and ensures easy release.
How long should you leave the dough to ferment in the banneton?
Fermentation time depends on the recipe and temperature conditions. Typically this takes between 1-4 hours.
How to prevent the dough from sticking to the banneton?
Make sure to flour the banneton well and also use a dough with hydration suitable for this fermentation process.
Articles sur le même Sujet
Choosing the type of fermentation for different breads
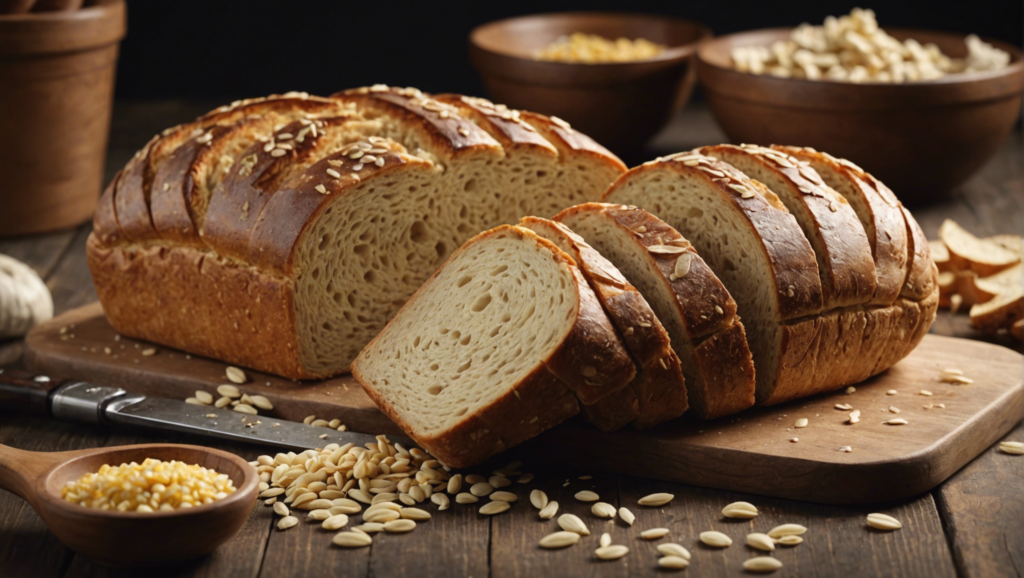
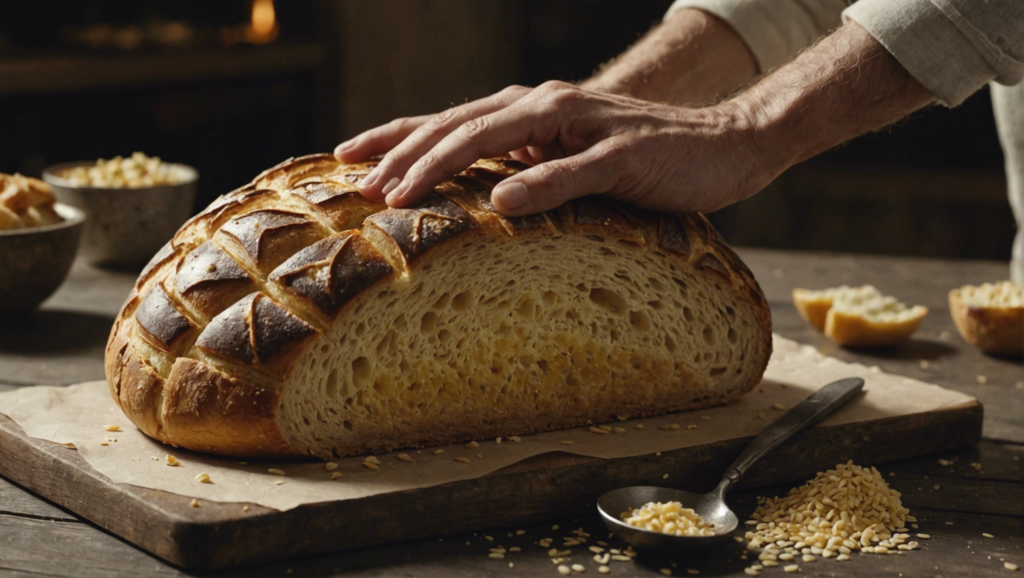
Fermentation is a crucial process in bread making, significantly influencing the texture, taste and shelf life of the final product. Each type of bread requires a specific fermentation method to optimize its qualities. In this article, we will discuss the different fermentation techniques suitable for various types of bread, with an emphasis on best practices and tips for the bakerss professionals and informed amateurs.
Natural Sourdough: The soul of Artisanal Bread
Fermentation at Natural leaven is one of the oldest and most respected techniques in artisan baking. It consists of using a culture of yeast and lactic acid bacteria naturally present in flour. This type of fermentation is particularly suitable for breads with character such as sourdough bread or wholemeal bread. To successfully ferment with sourdough:
- Prepare and maintain your starter regularly.
- Make sure the room temperature is stable, ideally between 21°C and 26°C.
- Give the sourdough plenty of time to develop a complex taste and texture, often over several days.
Poolish Fermentation: For Breads with an Airy Crumb and Crispy Crust
The poolish fermentation method, a pre-fermentation of Polish origin, is extremely beneficial for making baguettes, ciabattas and other European breads. It is distinguished by the use of an equal amount of flour and water, with a small amount of yeast. The benefits of poolish fermentation include:
- Improved crumb texture, making bread lighter and softer.
- Extension of the durability of bread thanks to the acidity developed during fermentation.
- Strengthening the aromas and flavors of the final bread.
Direct Fermentation: Speed and Efficiency
For certain applications, notably large-scale production, direct fermentation is often preferred. This method consists of integrating the yeast directly into the kneading of the dough, without pre-fermentation. It is ideal for sandwich bread or other types of bread requiring less development of specific taste or texture. To optimize direct fermentation:
- Monitor water and environmental temperatures to control yeast activity.
- Adapt the fermentation time according to the type of bread desired and the production conditions.
- Uses high quality baker’s yeast to ensure consistent and efficient rising.
Delayed Fermentation: Flexibility and Development of Aromas
Delayed fermentation, where the dough is left to slowly ferment in a cold environment (usually a refrigerator), is a favored method for developing deeper flavors and better texture in breads like pumpernickel or multigrain bread. This process allows bakerss professionals to plan and spread out production according to needs, while enriching the quality of the product. To carry out a delayed fermentation:
- Prepare the dough as usual, but with a reduced quantity of yeast.
- Let the dough rest in the fridge for 12 to 24 hours before shaping and baking.
- Make sure the dough returns to room temperature before shaping for better volume.
FAQ:
What are the benefits of slow fermentation for bread?
Slow fermentation, which is often achieved by the delayed method, allows for more complete development of flavors, improved crumb texture and better digestibility of the bread. In addition, it facilitates the management of working time in bakeries.
How to choose the right fermentation method for a specific type of bread?
The choice of fermentation method depends on various factors such as the type of bread desired, the desired characteristics of the final product (texture, taste, shelf life), as well as the practical production conditions (volume, equipment).
Is it possible to combine different fermentation methods?
Yes, it is entirely possible to combine different fermentation methods to benefit from the advantages of each. For example, using sourdough with poolish can enrich the taste while improving the texture of the bread.
Articles sur le même Sujet

Time and temperature management during fermentation
Importance of temporal control in bread fermentation
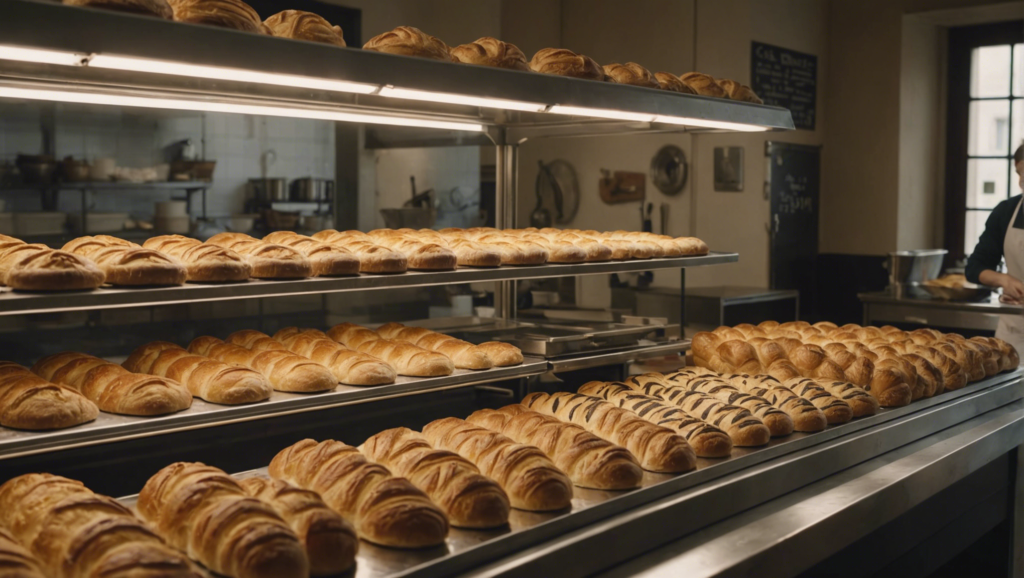
Fermentation is a key process in the manufacture of bread which directly influences the texture, flavor and final quality of the product. The fermentation time must be precisely controlled to allow the dough to develop the desired characteristics. Too brief fermentation will not allow the dough to develop enough gas and aromas, resulting in a dense and unflavorful bread. Conversely, fermentation for too long can lead to the breakdown of gluten proteins, weakening the structure of the bread and negatively affecting its texture and volume.
Role of temperature in yeast activation
Temperature is another determining factor in the fermentation of bread. Yeasts, the main fermentation agents in dough, are very sensitive to temperature variations. An ideal temperature for fermentation is generally between 24°C and 28°C. At this threshold, yeasts are active and efficiently produce carbon dioxide as well as alcohols that contribute to the distinctive taste of bread. Lower temperatures slow yeast activity, extending fermentation time, while higher temperatures can speed up the process, but at the risk of overfermentation.
Strategies to Optimize Fermentation Time and Temperature
There are many tips to effectively regulate time and temperature during fermentation. Using a thermometer to maintain accurate temperature control is essential. For timing, it is recommended to rely on the consistency and appearance of the paste as well as fingerprint tests, rather than strictly relying on time indications. In order to achieve optimal consistency and flavor, it is often helpful to adjust these parameters according to the specific conditions of the baking environment and the characteristics of the flour used.
FAQs
- What is the ideal temperature for bread fermentation?
The ideal temperature is generally between 24°C and 28°C. This allows optimal activation of the yeasts for efficient fermentation. - How long should bread ferment?
This can vary depending on the recipe and ambient conditions, but a first fermentation often lasts between 1 and 2 hours, while the final fermentation can last up to 1 hour. - How do you know if the dough has fermented too much?
If the dough has a very sour smell, seems flabby, or does not rise when cooked, it is likely that it has fermented too much.
Articles sur le même Sujet
Maintenance of the banneton after use
Initial Cleaning of the Banneton
Before diving into the specifics of post-use care, it is crucial to understand the initial cleaning of a banneton. Usually made of rattan, bamboo or plastic for more modern models, the banneton must be purged of any impurities before first use. Light brushing accompanied by exposure to the sun may be enough to remove manufacturing residue and prepare your tool for kneading.
Elimination of Paste Residues
After each use, it is essential to remove any remaining paste from the banneton to prevent the development of mold. Using a stiff-bristled brush or a wooden spatula can effectively remove fragments of dried paste. Once the residue is removed, let the banneton air dry in a cool, dry place to preserve its shape and structure.
Occasional Washing
Washing bannetons does not have to be frequent, but periodic cleaning is necessary to maintain impeccable hygiene. The ideal is to wash the banneton in hot water with a small amount of white vinegar or mild soap. This helps disinfect and dislodge any oils or residue that may have become encrusted. Be sure to rinse thoroughly with cold water to remove any cleaner residue.
Proper Drying and Storage
Proper drying is essential to prevent fungi and bacteria from taking hold on your banneton. After cleaning, make sure the banneton is completely dry before storing it. Place it in a well-ventilated area for optimal air drying. Avoid confined or damp spaces for storage, as they can promote mold growth.
Maintaining the Banneton Shape
Maintain the original shape of your banneton is also essential to ensure prolonged use. Avoid placing heavy objects on the banneton when it is stored. Improper storage can distort the natural weave of the fiber, which will affect the quality of your breads.
FAQs
1. Can the banneton be put in the dishwasher?
No, the dishwasher can damage the natural fibers or materials making up the banneton. It is best to wash it by hand carefully.
2. How often should you clean your banneton?
Thorough cleaning is recommended every 5 to 10 uses, depending on how often you use your bannetons and the types of dough made.
3. How do I know if a banneton needs to be replaced?
If you notice persistent mold buildup despite regular maintenance, cracks, or significant warping in the material, it’s probably time to replace it.
