


How to make seeded bread with banneton?
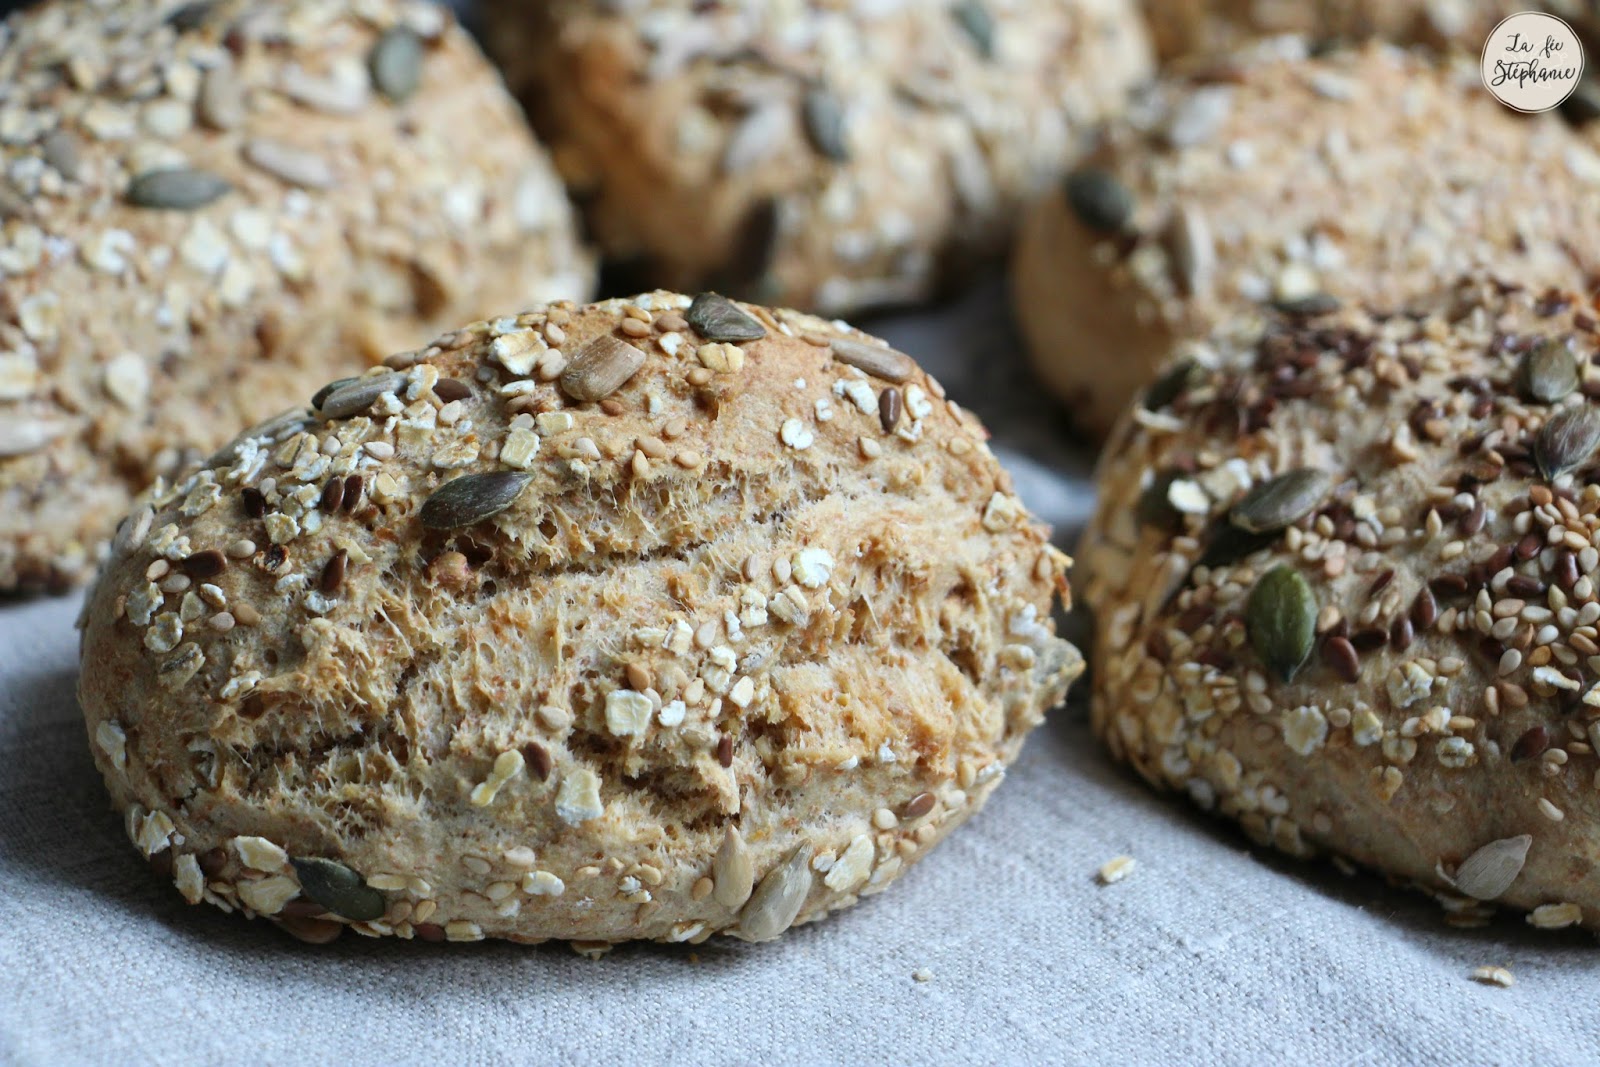

Discover in this article the professional techniques for making your seeded bread to perfection using a banneton. Learn how to prepare your dough, choose the best seeds and use banneton effectively to achieve an airy crumb and crispy crust. Whether you are an amateur or experienced baker, these tips will help you master the art of homemade seed bread.
Choosing Ingredients for Perfect Seed Bread
Flour Selection
When preparing a seed bread, the choice of flour is crucial. Opt for flours complete or semi-complete such as wheat, rye or spelled flour, because they contain essential nutrients and give a pleasant texture to your bread. Make sure the flour is good quality and, if possible, biological, it can make a big difference both in terms of taste and in terms of health benefits.
Types of Grainess to Integrate
The choice of seeds is also decisive. THE Sun-flower seeds, of linen, of sesame, of poppy or even pumpkin are very popular in making seed breads. These seeds not only provide richness in taste but also in varied textures. For a nutritious bread, consider additions such as chia or flax seeds, known for their beneficial health properties.
The Importance of Yeast or Sourdough
The choice between yeast And leaven has a considerable impact on the taste profile and texture of the bread. Sourdough, with its longer fermentation process, provides depth of flavor and better preservation of the bread. Yeast, on the other hand, is ideal for bread that rises quickly. For seeded breads, starting with sourdough can enrich the complexity of flavors.
Proportions and Mixing Method
The proportion of seeds in the dough should not exceed 20% of the weight of the flour used, so as not to compromise the structure of the bread. It’s better to lightly roast the seeds before incorporating them into the dough to enhance the aromas. Make sure to hydrate your seeds like flax or chia, if you choose to use them, so they don’t dehydrate the dough.
The Role of Water and Fat
Water plays an essential role in the final result of the bread. Use filtered or spring water to avoid chlorine and other elements that could affect the yeast and the taste of the bread. As for fats, a small amount ofolive oil or butter can be added to enrich the crumb. This also helps preserve the bread.
FAQs
1. How important is water temperature in making seed bread?
The water temperature should be adjusted between 20°C and 25°C to optimize the activity of the yeast or sourdough. Water that is too hot can kill yeast and inhibit fermentation, while water that is too cold will slow the rising process.
Yes, mixing different flours can enrich the nutritional and taste profile of your bread. For example, mixing wheat flour with a little rye or spelled flour can improve the texture and taste.
It depends on the type of seeds. Flax or chia seeds, for example, benefit from soaking for a few hours, because this allows them to release mucilage which promotes hydration of the dough.
Articles sur le même Sujet

Preparing the dough: techniques and tips
Choice of flour and its impact on the dough
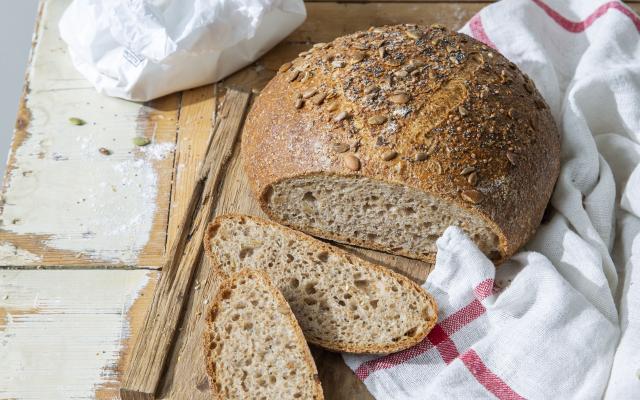
The choice of flour is fundamental in the preparation of the dough. For rustic breads like rye bread or corn bread, it is essential to select flour corresponding to the type of bread desired. Wholemeal rye flour offers a dense texture and a distinct taste, while corn flour brings softness and yellow color to the dough. Each type of flour has a capacity of Water retention different, influences fermentation, and impacts the structure and final texture of the bread.
Dough Hydration: Techniques and Tips
L’hydration plays a crucial role in the preparation of the dough. Well-hydrated dough is easier to handle and develops gluten better, which is essential for the texture of bread. For doughs made with rye or corn flour, adjusting hydration levels may be necessary, as these flours absorb water differently. Gradually adding water and regular kneading allows you to obtain the ideal consistency.
Kneading: Methods and their effects on the dough
Kneading is essential to develop the network of gluten, essential for the structure of the bread. There are several kneading techniques, including manual kneading and mechanical kneading. For wholemeal flours or those less rich in gluten, such as corn flour, gentler kneading methods are preferable to avoid tearing the gluten. Additional rest times between kneading sessions can also help maximize gluten formation without overworking the dough.
Fermentation and time management
There fermentation is another key step in preparing the dough. Using a natural leaven facilitates fermentation and enriches the flavor of your bread. Controlling the temperature and fermentation time greatly influences the texture and taste of the bread. For specific breads like those made with rye or enriched with whole grains, longer fermentation periods at controlled temperatures can improve digestibility and loaf structure.
FAQs
- What is the best method to add water to dough?
- How do you know when kneading is enough?
- Can you prepare dough in advance and bake it later?
Articles sur le même Sujet
Using banneton for better rising
Preparing the Banneton Before Use
Before you start using a banneton for the first time, it is crucial to prepare it correctly in order to optimize the rise of the dough. Sprinkle the banneton generously with flour, preferably rice flour as it is less sticky than other types. Make sure the flour covers all internal surfaces, including the sides and bottom. This helps prevent the dough from sticking to the banneton during rising and makes unmolding easier.
Choice of Dough for Banneton
The choice of dough is essential for successful rising in a banneton. Hydrated, soft doughs are ideal because they take full advantage of the shape and structure of the banneton to maintain their shape. Slowly incorporate the water into your dry ingredients to obtain a homogeneous and elastic dough. Proper fermentation is also crucial so that the dough can rise properly and develop a desirable honeycomb texture.
Proofing Process in Banneton
When you place your dough in the banneton, make sure to place it gently. The smooth surface of the dough should be in contact with the banneton, while the rough side should be facing up. This is important because when flipping the dough onto a baking sheet, the smooth surface will be on top. Cover the dough with a clean cloth and let it rise in a warm place away from drafts until it has almost doubled in volume.
Unmolding and Cooking
After rising, it is time to unmold the dough from the banneton. Carefully invert the banneton onto a prepared baking sheet. If the dough sticks slightly, gently tap the banneton to release it. Be sure to make cuts in the top of the dough with a sharp blade to control the expansion of the bread as it bakes. Bake following your specific recipe instructions.
Maintenance of the Banneton
After each use, it is important to clean the banneton properly to maintain its longevity and effectiveness. Brush off flour residue and allow to air dry completely before storing. Avoid using water for cleaning as it can damage the natural fibers of the banneton and encourage the formation of mold.
FAQ:
1. Can you use a banneton with all kinds of flour?
Yes, but for optimal results, it is recommended to use type 55 flour or rice flour to dust the banneton, as they adhere less to the dough.
2. How long should the dough rise in the banneton?
Rising time may vary depending on room temperature and recipe used. In general, it takes between 1 and 2 hours for the dough to double in volume.
3. Should we oil the banneton before using it?
No, you should not oil the banneton. Instead, use flour to prevent the dough from sticking and to make it easier to unmold after rising.
Articles sur le même Sujet
Shaping and incorporation of seeds
Shaping Techniques for Seed Breads
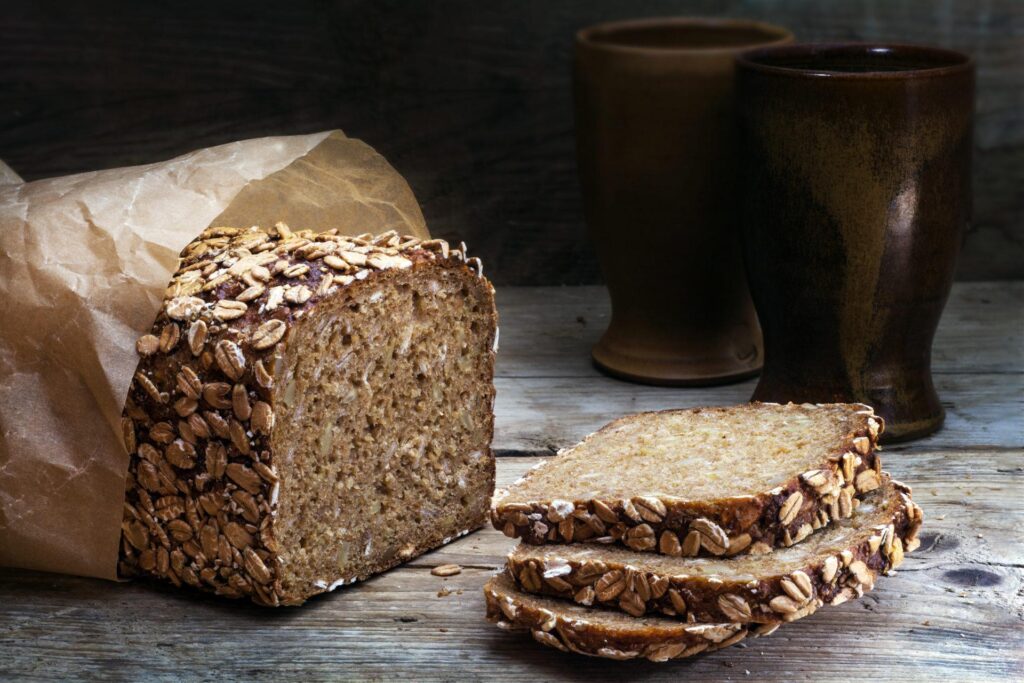
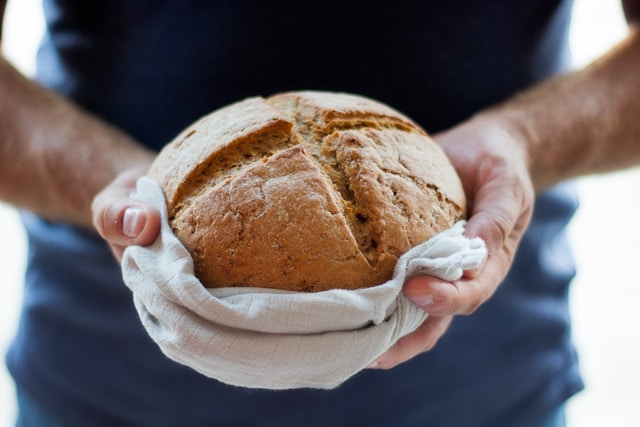
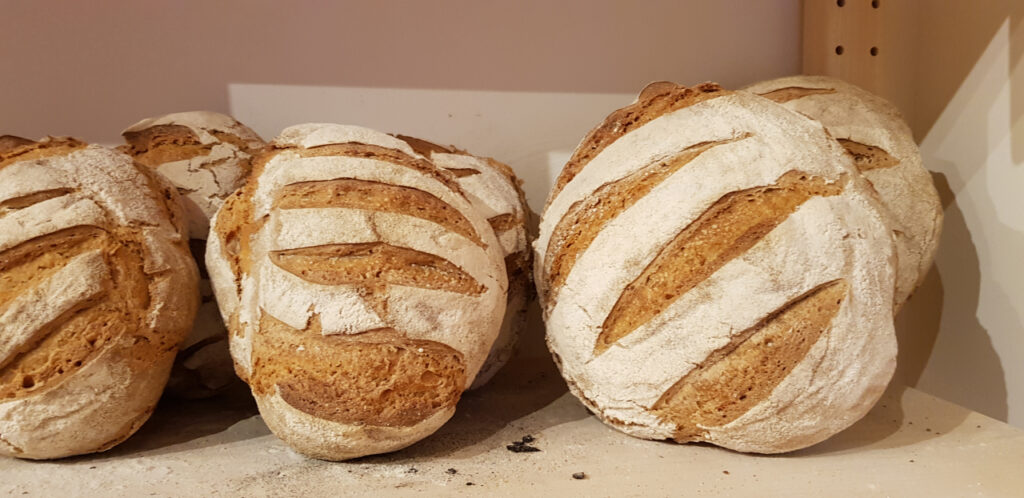
THE shaping bread plays a crucial role in the texture and final presentation of the product. For breads incorporating seeds, some specific techniques are recommended. One common method involves shaping into a ball or bastard shape, followed by a light incision allowing the seeds to become aesthetically embedded on the surface. Before shaping, it is essential to let the dough rest after the first kneading to ensure even distribution of seeds inside the dough.
Another popular technique is “lamination,” which involves rolling out the dough into a wide rectangle, scattering a mixture of seeds, and then rolling the dough on itself before final shaping. This method is ideal for breads such as sports bread, where the seed mixture provides additional nutritional value.
Choice and Preparation of Seeds
The choice of seeds to incorporate into your bread recipes must be done judiciously, depending on the taste profiles and nutritional benefits sought. Sunflower, flax, pumpkin and sesame seeds are among the most popular. Each provides a unique texture and flavor, as well as essential fatty acids, vitamins and minerals.
Before their incorporation, it is often recommended to lightly roast the seeds to intensify the taste. However, to maximize their nutritional benefits, especially for those interested in health-promoting recipes, the use of raw seeds may be preferred.
Integration of Seeds into Dough
L’integration seeds in the dough requires precision and finesse. It is recommended to add them to the dough during the second kneading to minimize disruption of the gluten structure. The quantity of seeds should not exceed 25% of the total weight of the flour to avoid compromising the structure of the bread. Even distribution is essential to ensure even cooking and a pleasant texture.
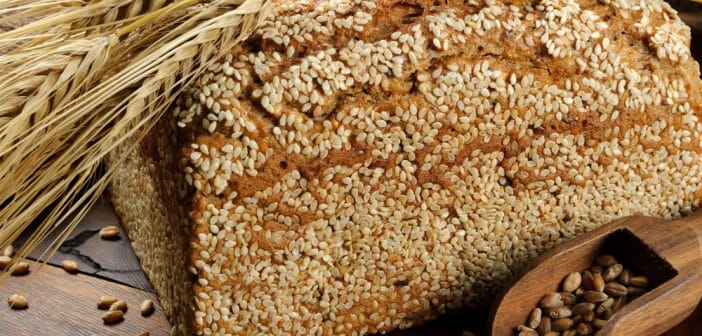
If you’re looking to add an extra crunchy layer to the outside of your bread, the seeds can also be incorporated on the outside of the dough. After shaping, lightly moisten the surface of the bread with water and roll it in a seed mixture before final fermentation and baking.
FAQs
What seeds are recommended for breads intended for sports activities?
Flax, chia and sunflower seeds are excellent for sports breads due to their high content of omega-3, protein and fiber which support muscle recovery and sustained energy.
Should I grind the seeds before incorporating them into the dough?
It depends on the desired texture. For a finer texture and to facilitate nutrient absorption, the seeds can be ground. For a crunchier texture, use them whole.
How can I prevent the seeds from burning when cooking?
Incorporating the seeds inside the dough and avoiding excess seeds on the outside can reduce the risk of burning. Additionally, monitoring the cooking and covering the bread with foil if necessary can help protect the seeds.
Articles sur le même Sujet
Cooking: secrets for a golden and crispy crust
The Role of Oven Temperature
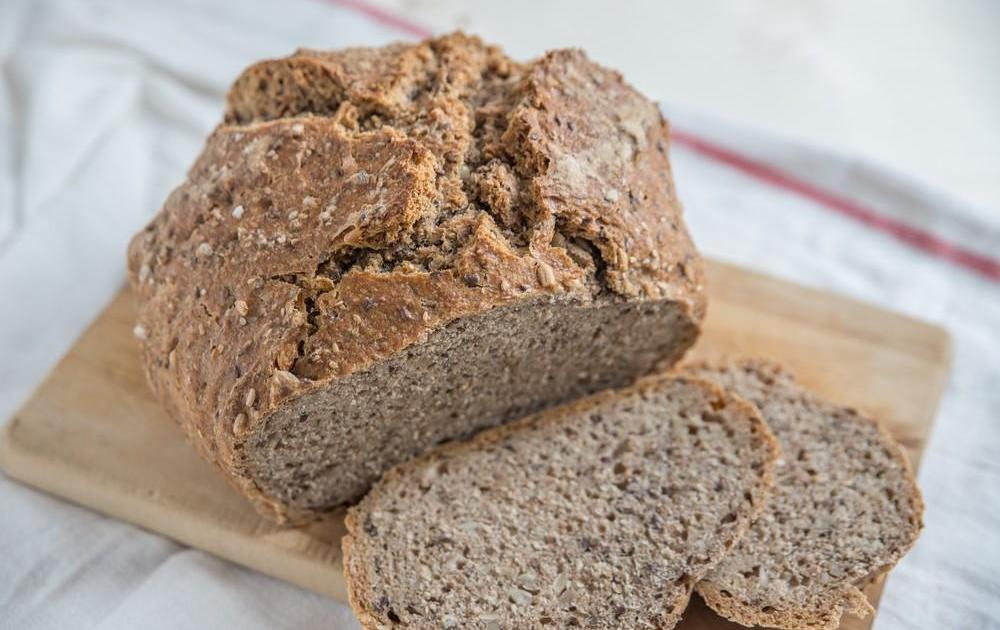
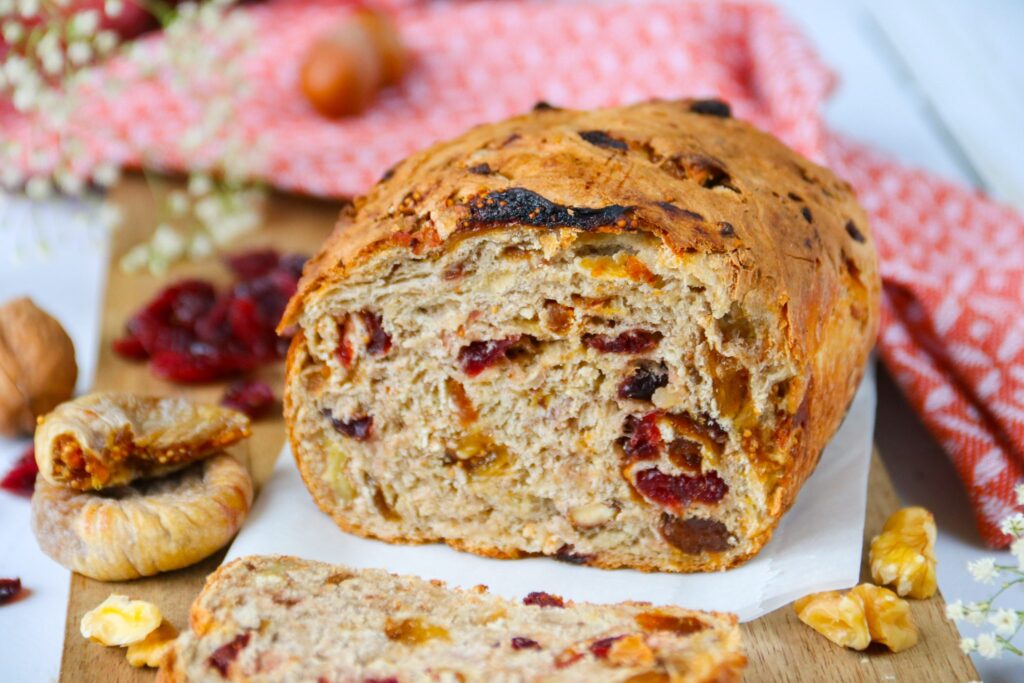
The cooking temperature is crucial to obtain a golden and crispy crust. A high initial temperature is recommended, often around 230°C, then reduced after a few minutes to finish cooking thoroughly. This high heat allows the water present on the surface of the dough to quickly evaporate, thus accelerating the caramelization of the sugars and the formation of a robust and attractive crust.
The Importance of Steam
Introducing steam at the start of cooking is an essential technique. The steam helps keep the surface of the bread soft during the first few minutes of baking, allowing the dough to continue to rise without the crust becoming too hard too quickly. To generate steam, place a drip pan with hot water in the bottom of the oven or use a spray bottle to moisten the walls of the oven.
Choice of Ingredients and Their Impacts
The composition of the dough also influences the quality of the crust. Ingredients like sugar and the butter can promote faster, richer coloring when cooking. On the other hand, flours rich in gluten, such as durum wheat flour, are ideal for developing a well-structured and crispy crust.
Shaping Techniques
The shaping of the dough also plays a significant role. A taut surface created during shaping helps form an even, crispy crust. Be sure to deflate the dough and shape it firmly to avoid large air bubbles forming which could weaken the structure of the crust.
The Cooling Phase
After cooking, the cooling process must be managed correctly. Removing the bread from the oven and placing it on a rack allows air to circulate around the bread, preventing moisture from softening the crust. This helps maintain the desired crispy texture until eating.
FAQs
What is the best temperature to get a golden crust?
The ideal temperature to start baking bread is around 230°C, then reduce the heat to allow even cooking throughout.
Are all types of flour suitable for a good crust?
For an optimal crust, choose flours rich in gluten, such as durum wheat flour, which better support the structure of the crust.
How to create steam in a home oven?
Use a grill pan filled with hot water placed at the bottom of the oven, or spray water on the walls of your oven using a spray bottle at the start of cooking.
Storage and tasting of seed bread
Preserving Seed Bread
The conservation of seed bread strongly depends on the conditions in which it is stored. The first recommendation to prolong the freshness of your bread is to store it at room temperature, well wrapped in a clean cloth or in a cloth bag. This helps maintain the right humidity around the bread without drying it out too quickly.
It is also possible to store seeded bread in a bread box or a wooden or metal bread box, which will regulate humidity and protect the bread from temperature fluctuations. Avoid storing your seeded bread in the refrigerator, as cold speeds up the starch aging process and will make the bread go stale more quickly.
Freezing Techniques
For long-term storage, freezing is an effective method. Be sure to slice the bread before freezing for ease of use later. Wrap the slices individually or separate them with baking paper so as not to stick together when defrosting. Use airtight freezer bags to prevent ice crystals from forming and flavor loss.
The bread can be stored in the freezer for approximately 2 to 3 months. When defrosting, remove the necessary slices and leave them at room temperature or toss them lightly in the toaster to achieve the crispy texture of fresh bread.
Maximize the Taste Experience
To savor your seed bread under the best conditions, lightly toasting the slices can revive their texture and intensify their flavor. Topping the bread with jam, cheese or other accompaniments can also enrich the taste experience.
The combination of a good preservation technique with optimized preparation guarantees not only the pleasure of tasting a tasty bread but also of enjoying the nutritional benefits of the seeds, rich in fiber and essential fatty acids.
FAQs
- How long can seeded bread be stored at room temperature?
Typically, seeded bread can be stored for 2 to 4 days at room temperature if properly packaged. - Can you freeze seeded bread?
Yes, seeded bread freezes very well. Be sure to slice it before freezing and use suitable packaging to avoid drying out and loss of flavor. - How do you restore freshness to stale seeded bread?
To restore freshness to stale bread, you can lightly toast it or moisten it and quickly put it in the oven at low temperature.