


How to Knead Dough Effectively for Beginner Bakers?
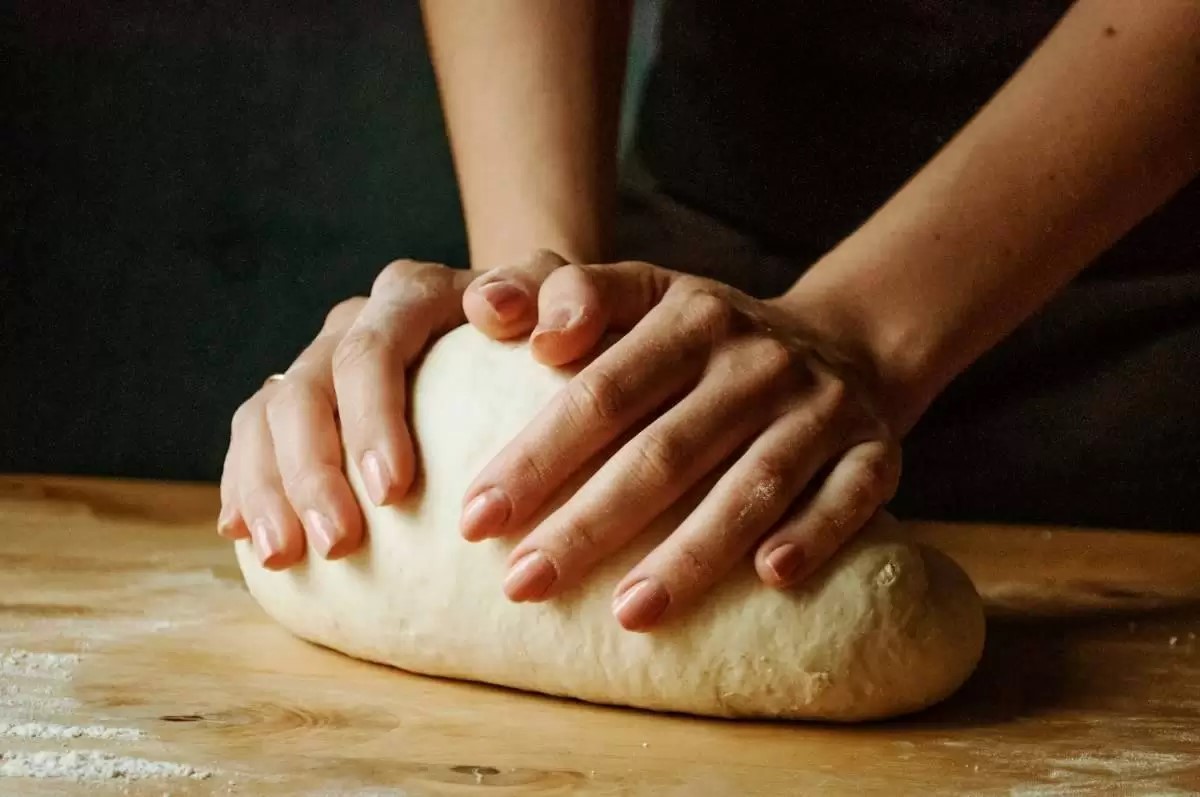

Discover the essential techniques for mastering the art of kneading, a fundamental skill for any beginning baker. This article guides you through proven methods for working your dough to give it the ideal texture and elasticity, while teaching you how to avoid common mistakes that could compromise the quality of your loaves. Take control of your kneading and transform simple ingredients into exceptional baking creations.
Choice of ingredients for optimal kneading
Flour Quality
The quality of the flour plays a crucial role in the bread kneading process. It is essential to choose a flour rich in protein, ideally between 12% and 14%, because these influence the ability of the dough to develop a good gluten network. For breads requiring a lighter and more airy structure, opt for T45 or T55 type flour. For rustic or whole grain breads, choose T85 or T110 type flours, which offer a denser texture and a more pronounced taste.
The Importance of Water
L’water is an essential ingredient in gluten formation and dough temperature control. Using filtered water at room temperature promotes even fermentation. The amount of water may vary depending on the type of flour used and the relative humidity of your working environment. Hydration between 60% and 75% relative to the quantity of flour is generally effective for most types of bread.
Salt and Yeast: Moderating Elements
The quantity of salt and of yeast directly affects the fermentation speed and structure of the bread. Salt, added at 1% to 2% of the weight of the flour, helps strengthen the gluten network while slowing fermentation, allowing for more complex flavor development. The yeast, for its part, must be measured precisely: too little and the dough will not rise sufficiently, too much and the bread will be too fluffy. For fresh yeast, use about 2% of the flour weight, and for dry yeast, 1% is enough.
Additives and Improvers: Use with Caution
THE additives and improvers such as ascorbates, enzymes, or emulsifiers are sometimes integrated into the preparation of industrial or specialized breads to modify the texture and preservation. However, for an artisanal and traditional approach, their use should be limited or avoided, in order to preserve the purity of natural flavors and the authenticity of the finished product.
FAQ on Choosing Ingredients for Optimal Kneading
What is the best water temperature for kneading?
The ideal water temperature is 20°C to 24°C. This range makes it possible to maximize the activity of the yeast without unduly accelerating fermentation.
Can you use mineral water when making bread?
Yes, the use of mineral water can be beneficial, especially if it is poorly mineralized. It can add minerals that promote yeast health and improve dough texture.
What is the ideal ratio of salt to flour?
A good ratio is 1.5% to 2% salt to the weight of the flour. This level of salinity is enough to strengthen the structure of the dough while balancing the flavors.
Articles sur le même Sujet

Understanding the role of yeast and water
The Fundamentals of Yeast in Kneading
There yeast, a biological leavening agent, plays an essential role in the making of bread. It works by fermenting the sugars present in the flour, thus producing carbon dioxide and alcohol. This process is essential for the formation of the gas bubbles which give the bread its airy and light structure.
There are mainly two types of yeast used in baking: fresh bakery yeast and the active dry yeast. Each has specific characteristics that influence the texture, taste and volume of the bread. Fresh yeast is often favored for its ability to produce faster rise and richer flavor.
The Crucial Impact of Water in the Kneading Process
L’water is a key component in kneading dough. It not only hydrates the flour, but also facilitates enzyme activity that breaks down starch into simple sugars, providing food for the yeast. The amount and temperature of water added plays a crucial role in the elasticity and workability of the dough.
To obtain a quality dough, the water temperature must be precisely controlled. Water that is too cold will slow fermentation, while water that is too hot can damage the yeast, affecting the final volume of the bread. Ideally, the water should be between 20°C and 26°C to optimize yeast activity.
Kneading Techniques to Optimize Fermentation
THE kneading is the method used to mix flour, water, yeast, and other ingredients to form a homogeneous dough. This step is crucial because it develops the gluten network, an essential element in the structure and texture of the bread.
There are several kneading techniques, such as manual kneading, hook kneading or plunge arm kneading, each with its specific advantages. Manual kneading allows for more intuitive control of dough texture, while mechanical methods provide consistent force and are more appropriate for large quantities of dough.
- Slow kneading: develops the gluten gradually for a finer structure
- Quick kneading: increases the temperature of the dough, accelerating fermentation
FAQs on Kneading, Yeast, and Water
1. What type of yeast is best suited for artisan bread?
Fresh yeast is often preferred for artisan breads due to its rapid fermentation activity and distinct flavor profile.
2. How to adjust the amount of water depending on the type of flour?
Flours with a high protein content (like durum wheat flour) require more water, while flours with a lower protein content require less water to achieve optimal dough.
3. Is it possible to knead dough for too long? What are the effects?
Excessive kneading can overdevelop the gluten, making the dough too elastic and difficult to shape. It can also affect the texture of the bread, making it too dense.
Articles sur le même Sujet

Basic techniques for kneading by hand
THE hand kneading is an essential skill for any artisan keen to create quality breads. This technique not only mixes the ingredients evenly, but also aerates the dough, which is crucial for the texture and taste of the final product.
Choose the right tools and ingredients
Before you start kneading, make sure you have a clean, flat surface, preferably a marble or wooden worktop. The basic ingredients needed are flour, water, yeast and salt. It is recommended to use high quality flour, suitable for the type of bread you want to make.
Hand kneading technique
Start by mixing all the dry ingredients. Make a well in the center and gradually pour in the lukewarm water mixed with the yeast. Use a wooden spoon to gather the ingredients in the center before kneading by hand.
Form the dough into a ball and start kneading it with the palm of your hand. Apply firm pressure and fold the dough over itself, continuing this movement for at least 10 to 15 minutes. This process develops the gluten present in the flour, which is essential for the structure and elasticity of the dough.
Pointing and maturation of the dough
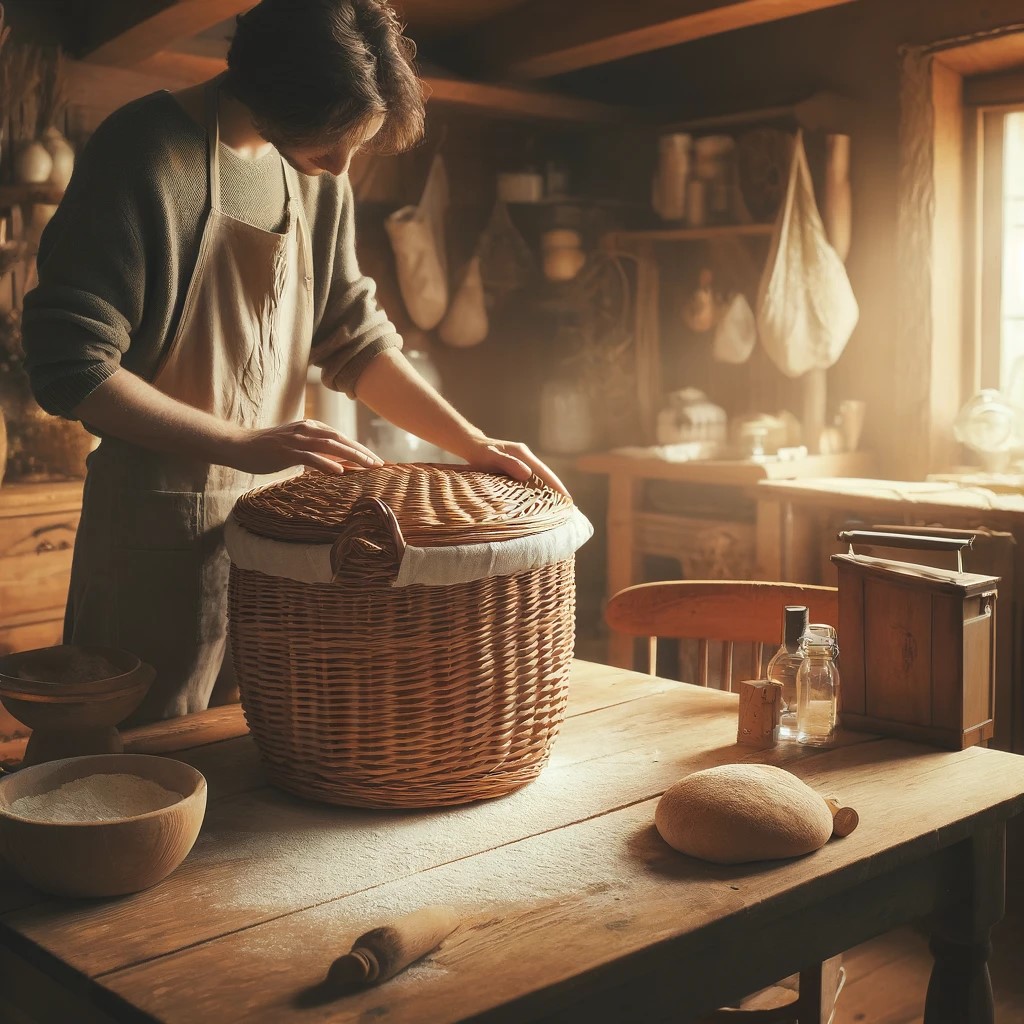
After kneading, it is crucial to let the dough rest. This rest time, also called first fermentation or pointing, allows the dough to develop its aromas and texture. Cover the dough with a damp cloth and let it rest in a warm place for at least an hour. The dough must double in volume.
Hand Kneading FAQs
What is the ideal hand kneading time?
Kneading time may vary depending on the force applied and the type of flour used. In general, it is recommended to knead the dough for at least 10-15 minutes.
How do you know if the dough is kneaded enough?
A well-kneaded dough should be smooth and elastic. It should not tear easily when stretched slightly. You can also perform the veil test: stretch a small portion of dough between your fingers, it should form a fine veil without breaking.
Can you knead all types of dough by hand?
Yes, it is possible to knead most types of dough by hand. However, some highly hydrated doughs may be more difficult to handle and require a slightly different technique, called frasage. This involves crushing the dough under the palm of your hand to integrate the ingredients.
Articles sur le même Sujet

Using mechanical mixers for beginners
The art of kneading is crucial in bread making. This process not only mixes the ingredients, but also develops gluten, an essential element that gives the dough its texture and elasticity. The use of mechanical mixers offers an efficient and uniform solution, particularly interesting for beginners in baking.
Choosing the right mechanical mixer
In the baking sector, there are different types of mechanical mixers. Choosing the right equipment depends on several factors such as the desired production volume, the type of bread you plan to make, and the space available. Oblique axis and spiral models are the most popular due to their ability to knead heavy doughs and maintain dough freshness.
Operation of mechanical mixers
The operating principle of mechanical mixers is to recreate the manual action of kneading while respecting the specific needs of the dough. The effectiveness of the mixer depends on its ability to combine speed and force in a way that activates gluten development without overheating the dough. Mechanical mixers are equipped with different speed settings, which allows you to adjust the kneading depending on the type of flour used and the hydration of the dough.
Parameters to consider when kneading
When using a mechanical mixer, several parameters must be considered to optimize the result. The kneading time must be adjusted according to the quality of the flour and the type of bread desired. A dough for country bread will not have the same needs as a dough for a traditional baguette. Likewise, the temperature of the dough must be controlled to ensure adequate fermentation.
Cleaning and maintenance of the mechanical mixer
Regular cleaning and maintenance of the mixer are essential to guarantee its longevity and the sanitary quality of the preparations. It is recommended to clean the mixer after each use following the manufacturer’s instructions, paying particular attention to the hooks and the bowl. Periodic maintenance by a professional may also be necessary to check the condition of mechanical components.
FAQs on using mechanical mixers for beginners:
Q: What type of mechanical mixer is recommended for a beginner?
A: A spiral model is often recommended because it is suitable for a wide variety of doughs and is relatively simple to use.
Q: How long should you knead dough in a mechanical mixer?
A: Kneading time may vary depending on the type of dough, but 10 to 20 minutes is usually sufficient for most recipes.
Q: How is mechanical kneading different from manual kneading?
A: Mechanical kneading is more consistent and less laborious than manual kneading, reducing quality variations between batches of dough and making it easier for new bakers.
Articles sur le même Sujet
Tips for recognizing well-kneaded dough
Visual characteristics of perfectly kneaded dough
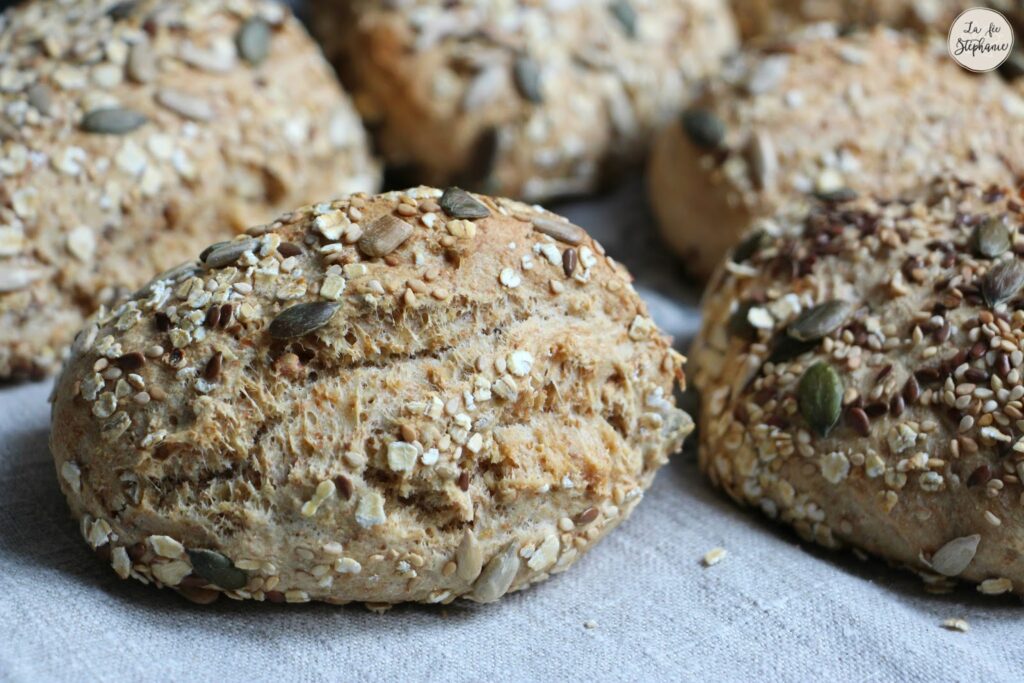
Optimally kneaded dough has a homogeneous appearance, without lumps or visible separation of ingredients. Its texture should be soft and elastic, capable of stretching without tearing immediately. The surface of the dough should be smooth and slightly shiny, a sign that the gluten is well developed and that the dough has been sufficiently worked.
The “windowing” test to assess elasticity
The windowing test is a foolproof method for testing the elasticity and strength of the gluten in your dough. To perform this test, take a small piece of dough and gently stretch it between your fingers. The dough should stretch, forming a thin, translucent membrane without breaking easily. If the membrane forms without tearing, this indicates that the dough has been kneaded sufficiently.
Consistency and reaction to touch
A good dough should also have a certain firmness to the touch, while remaining supple. By gently pressing it with your finger, it should spring back slightly. If it stays depressed or if your finger leaves a deep impression on it, it may mean that the dough requires more kneading to strengthen the gluten network.
Kneading Dough FAQs
How do I know if I’ve kneaded my dough too much?
Dough that is overkneaded can become very tight and difficult to shape. It may also have a tendency to retract quickly when trying to spread it.
Is there a difference between kneading by hand and by machine?
Kneading by hand provides more direct control over the process and can help develop the to touch necessary to judge the quality of the kneading. Mechanical mixers are very effective in obtaining a uniform consistency, especially for large quantities.
What is the ideal kneading time?
Kneading time varies depending on the type of flour and recipe. In general, effective manual kneading can take between 10 and 15 minutes, while mechanical kneading can take around 8 minutes.
Time and temperature management during kneading
Time Control in the Kneading Process
Time management is a crucial aspect in the process of kneading dough. Well-timed kneading can significantly influence the quality of the finished bread. The main goal is to develop enough gluten without overworking the dough, which can cause protein breakdown and affect the structure of the bread.
First, the kneading time largely depends on the type of dough and the method used: manual or mechanical. Dough for a classic baguette typically requires between 15 and 20 minutes of machine kneading, while the same process by hand can take up to 25 minutes. It is essential to refer to the recommended times according to the types of dough to achieve adequate elasticity and extensibility.
Using a timer helps standardize the process and achieve consistent results. Furthermore, programmable kneaders can automate this timing for various recipes, thus guaranteeing optimal time management and reduced effort.
Impact of Temperature on Kneading
The temperature at which kneading takes place plays a key role in the final quality of the product. Adequate temperature allows better activation of the yeast and, therefore, efficient fermentation which is essential for the texture and taste of the bread.
Ideally, the kneading temperature should be between 24°C and 26°C. If the temperature is too high, the dough can ferment too quickly, which compromises the development of flavors and the structure of the bread. Conversely, a temperature that is too low will slow down fermentation and unnecessarily prolong the proofing process.
It is therefore crucial to control the temperature of the room, the ingredients (especially the water) and possibly the kneader. Using thermometers or automated systems helps maintain this consistency.
Advanced Techniques for Kneading Optimization
For bakers looking to perfect their technique, introducing breaks in kneading, known as autolyse, allows the enzymes in the flour to work more efficiently, making the dough more stretchy and easier to work with. This technique involves mixing only the flour and water and letting the mixture sit before adding the other ingredients.
Additionally, adjusting the kneading speed can also play a key role. Starting at low speed allows the ingredients to be mixed evenly without overheating the dough, then increasing the speed to effectively develop the gluten.
- Timer for standardization
- Thermometers for temperature control
- Programmable kneaders for automation
FAQs
What is the ideal kneading time for bread dough?
The optimal time varies depending on the type of bread and kneading method, but in general it is between 15 and 25 minutes.
Adequate temperature promotes good yeast activation and efficient fermentation, essential for the texture and taste of the bread.
Autolysis is a technique that involves mixing only flour and water, then letting the mixture sit. It allows the enzymes in the flour to prepare the dough for optimal gluten development during subsequent kneading.